
I remember back in the olden days that we had iron-ons. Cute little stickers that Mom put on our jeans or T-shirts. Unfortunately, they used to come off after a couple of washes and mom would have to put another one on or we would retire the t-shirt. They have been around for a long time and they will live on.
On a recent trip to my favourite dressmaker store, I found this cute little book of iron-ons with cool and interesting pictures. It is in the form of a little notebook and inside you can find sheets, where you can cut out the design that you want to use. The book is called Sukie Iron-Ons and it looks like this.


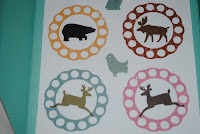
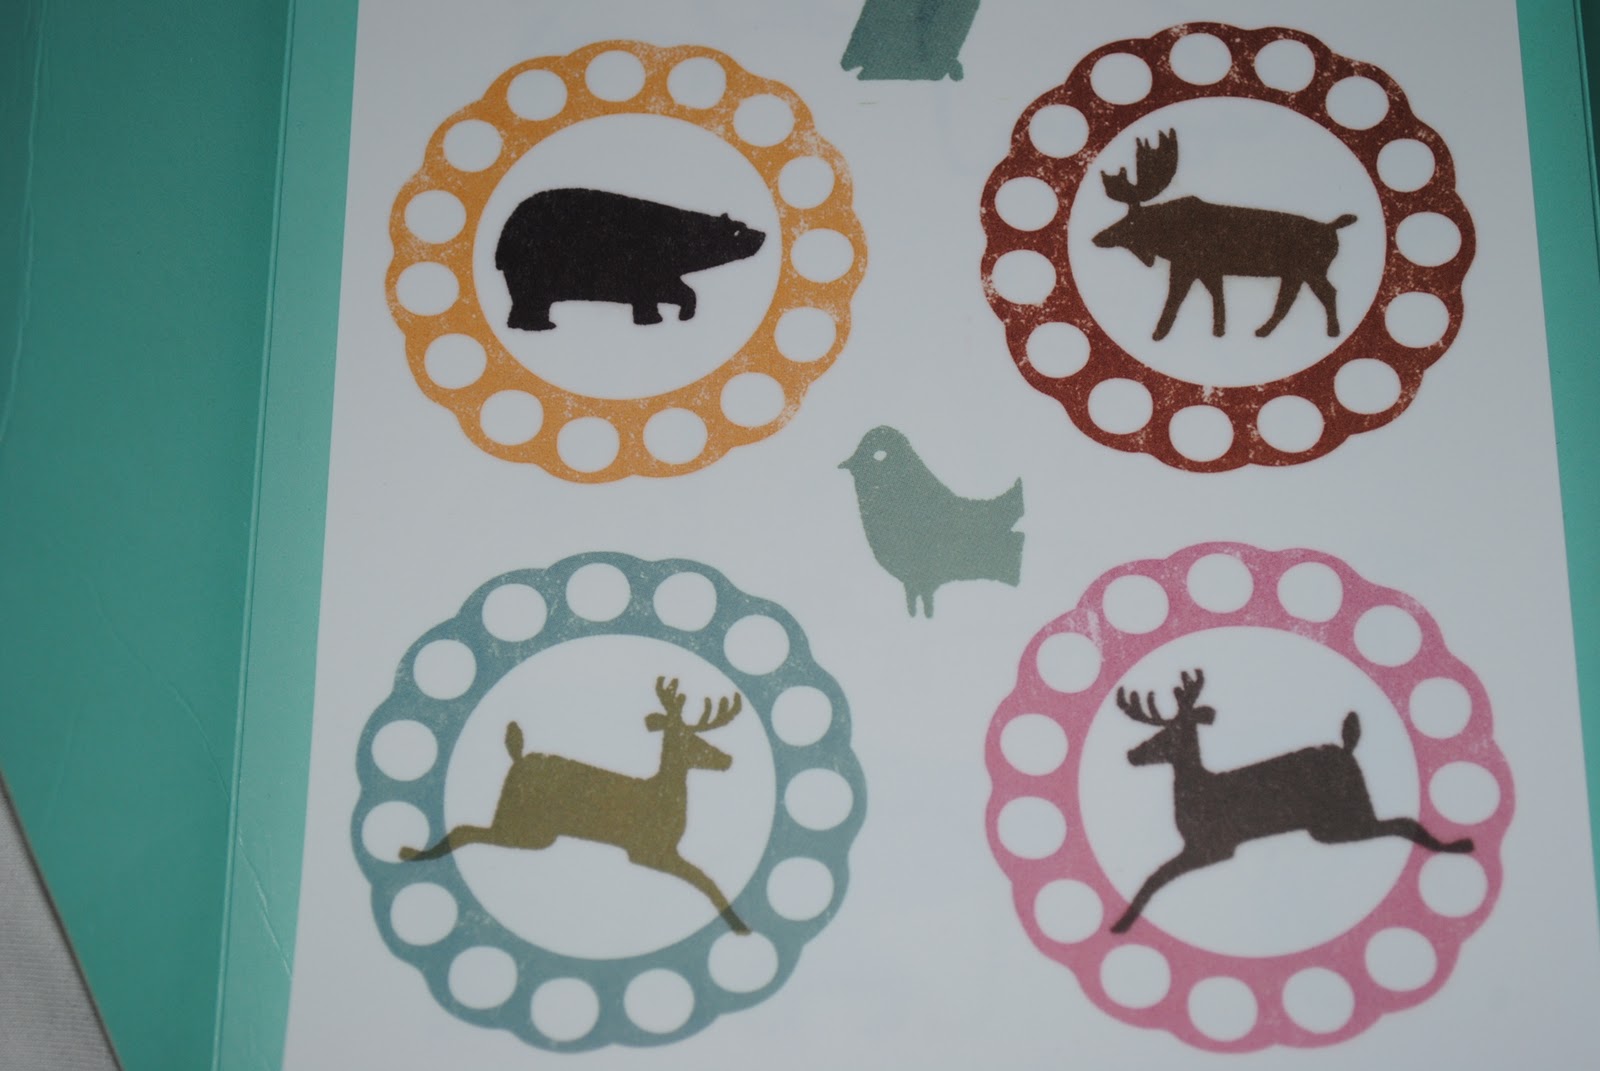
I had a closer look and I saw that it had really unique, one of a kind designs, letters, faces, drawings. Here are some pictures from the book to give you some ideas. They would be lots of fun on tote bags or cloth pencil cases.


On a recent trip to my favourite dressmaker store, I found this cute little book of iron-ons with cool and interesting pictures. It is in the form of a little notebook and inside you can find sheets, where you can cut out the design that you want to use. The book is called Sukie Iron-Ons
I had a closer look and I saw that it had really unique, one of a kind designs, letters, faces, drawings. Here are some pictures from the book to give you some ideas. They would be lots of fun on tote bags or cloth pencil cases.

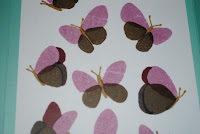
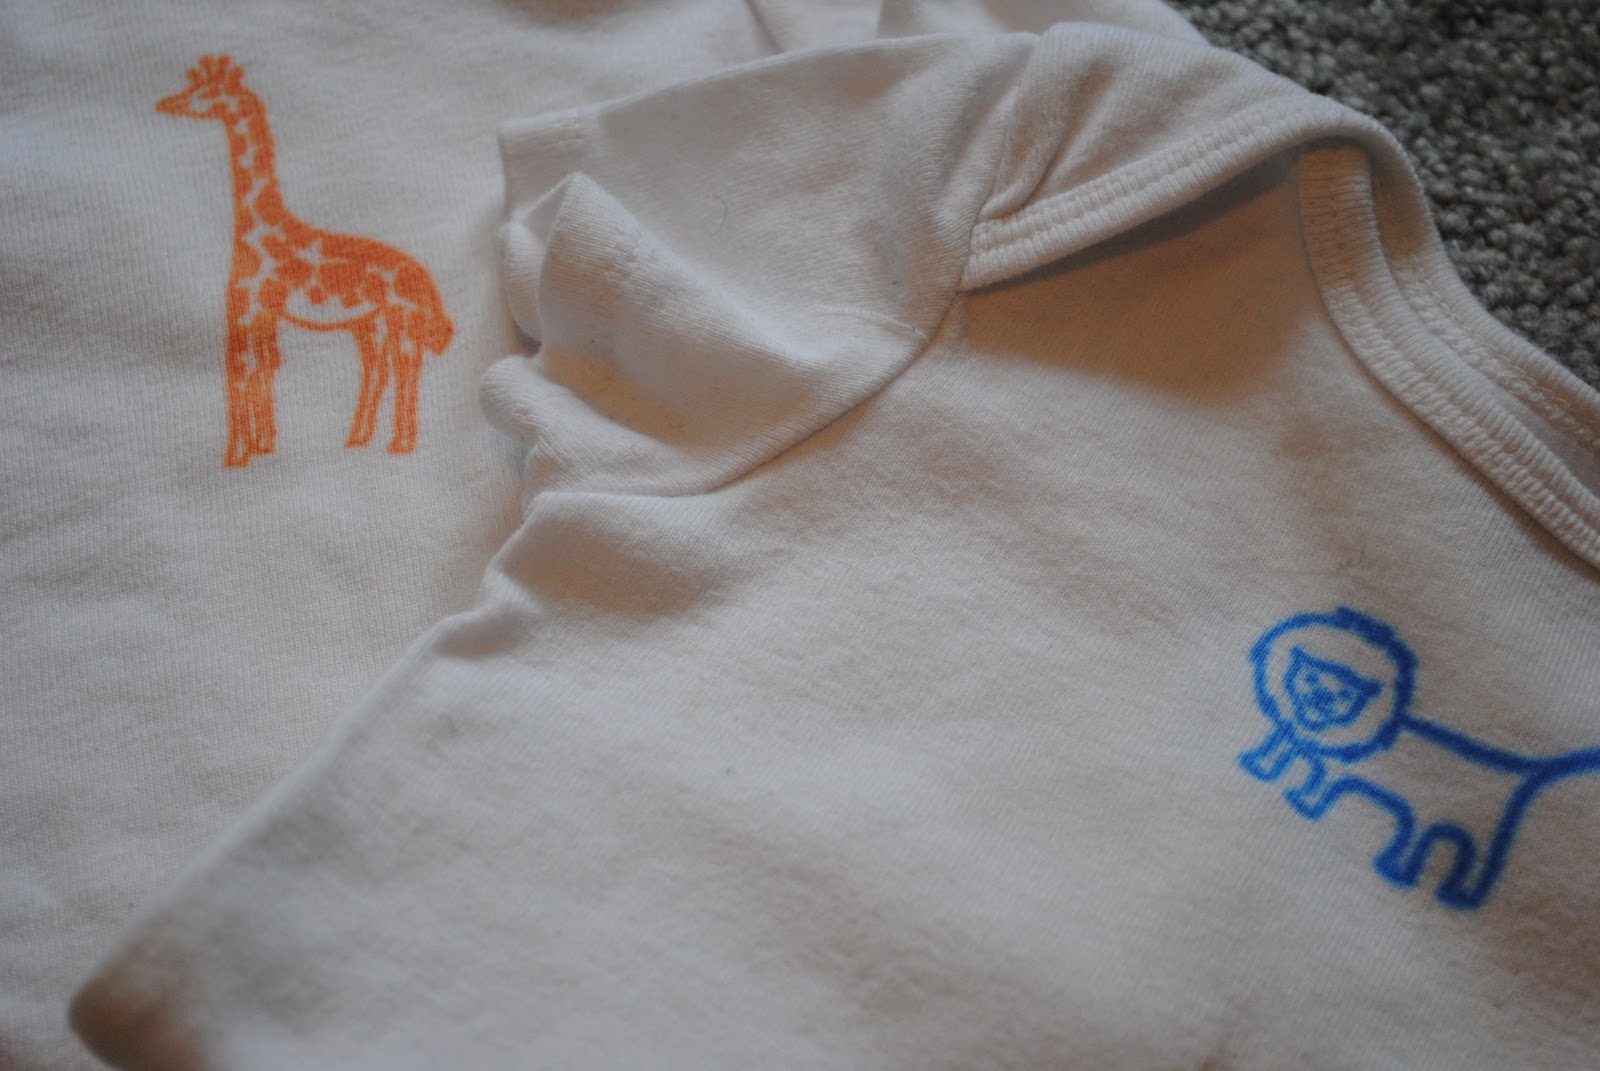
Anywho, I decided to give it a shot. I had bought a couple of blank onesies for my son a while back and figured that would be the perfect way to try them. Whatcha thinking? These would also be great for a baby shower activity or to make a unique birthday present?
I bet you want to know what the difference is between the printer version and the Iron-on version? The difference is that the printer version is like a decal (with wear it will peel at the edges), whereas this other version is not going to peel off and is more like a dye/ pigment transfer onto your clothing.

My experience with Sukie Iron-Ons
My observations
A couple of things that I would like to share with you about the Sukie Iron-Ons.
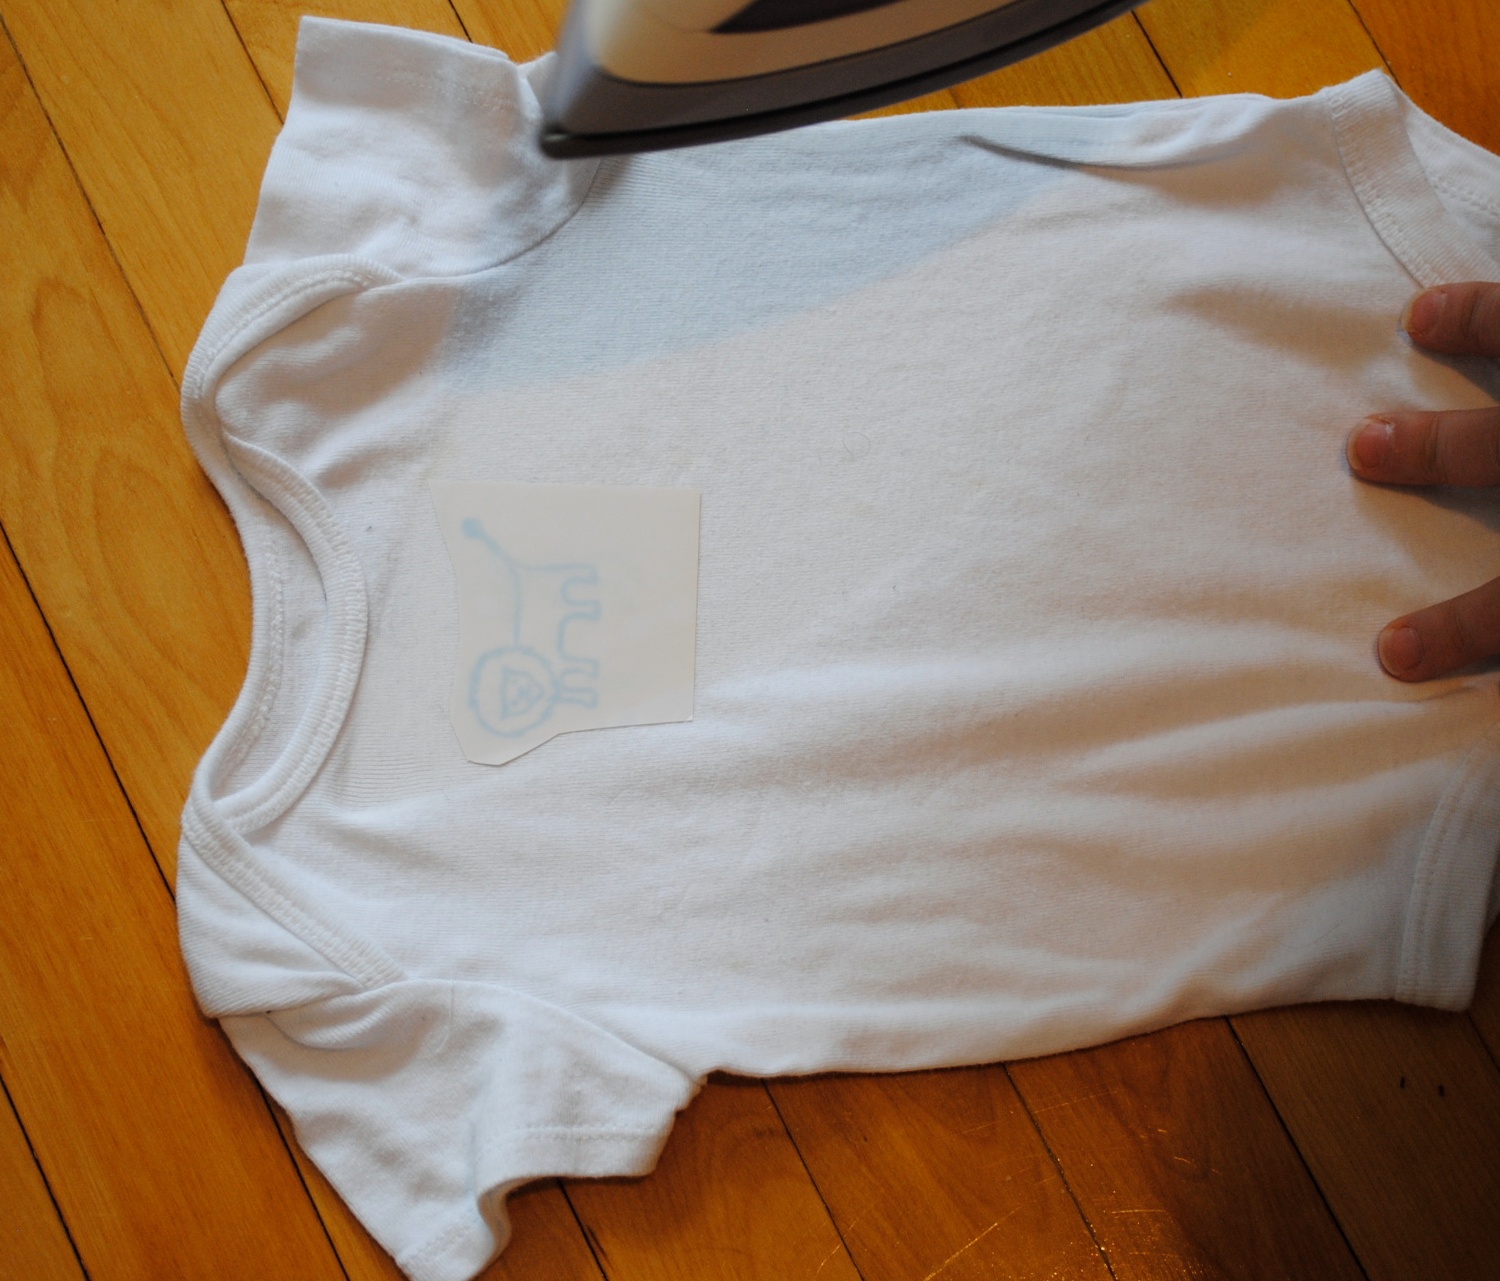
-I would like to mention that you should do this on a hard surface, a piece of wood or on the floor. I also don't recommend trying the iron-ons on your ironing board, because it will damage the fabric on your ironing board.
-You will NEED to put a piece of cardboard or paper between the front and back of the t-shirts as the image will bleed through if you leave it for a long time. I pressed for 2-3 minutes and the image did not seep through, but when I left it for 5-6 minutes it did.
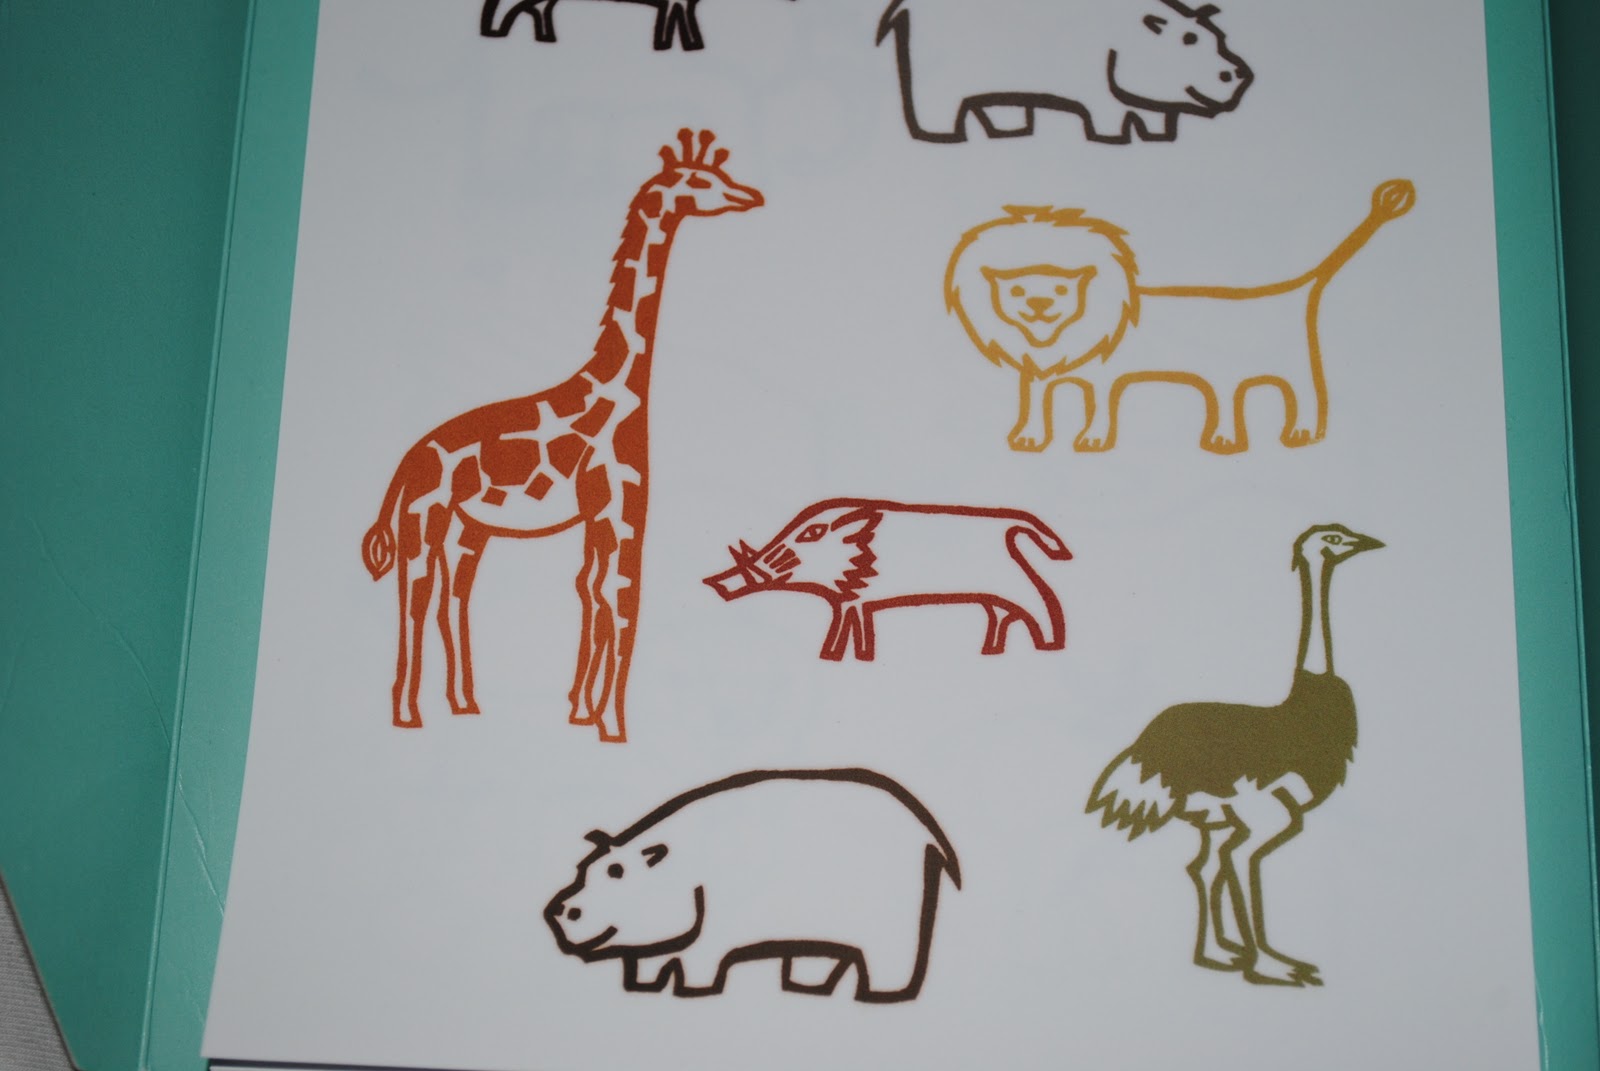
-The longer you leave the iron on the image, the darker and sharper it is. But sometimes it will not be necessary for the whole 5-6 minutes. The giraffe was pressed for about 4 minutes. The lion was for about 6 minutes.


Come back this afternoon for an exciting announcement!
Nice post. What other designs are there? Could it work a tatoo?
ReplyDeleteRachel
Nice onesies.
ReplyDeleteThank you. There are lots of different letters, houses, animals. I am sorry, but I am not sure what you mean with tatoo? Could you explain, please.
ReplyDeleteOooo - love these. Adorable project.
ReplyDelete