
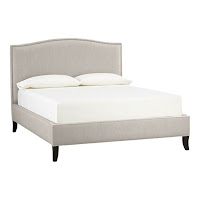
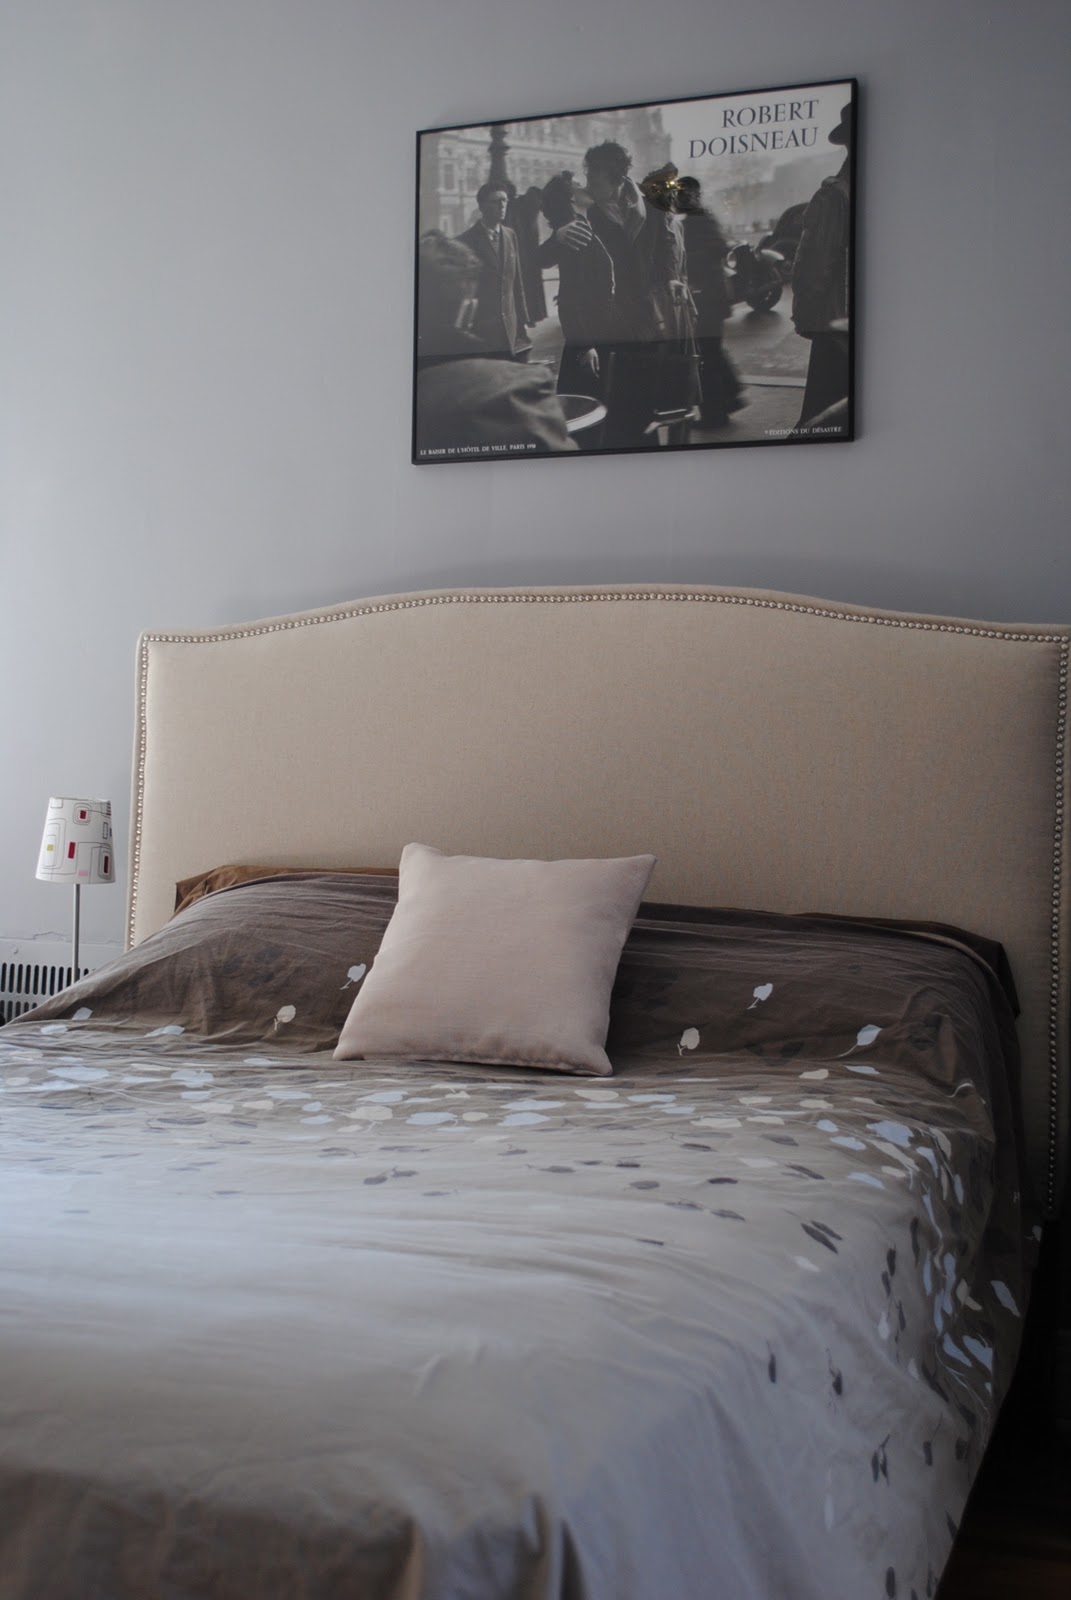
Isn't it fabulous? The $1900 price tag was out of the question though. After much debate, contemplating and researching, I decided I would give it a shot. Before I continue with the how-to, I would just like to add that you can diy a headboard in an apartment and that you can make this eventhough you don't have a jigsaw. It is possible and I am proof of it (even though a jigsaw and a larger space would have made things much easier).
What you will need:
- plywood (cut to your desired dimensions), ours was 64"x 42"- $20.00
- batting - $ 30.00
- 1" foam ( 2 pieces) - $40.00
- fabric ($10.00 /yard x 3)- $30.00
- staple gun and staples
- spray glue or tape
- saw or jigsaw- free
- tack strips - ($5.99/m x4) - $24.00
___________________________________
Total Cost: $ 150.00. Not bad, eh?
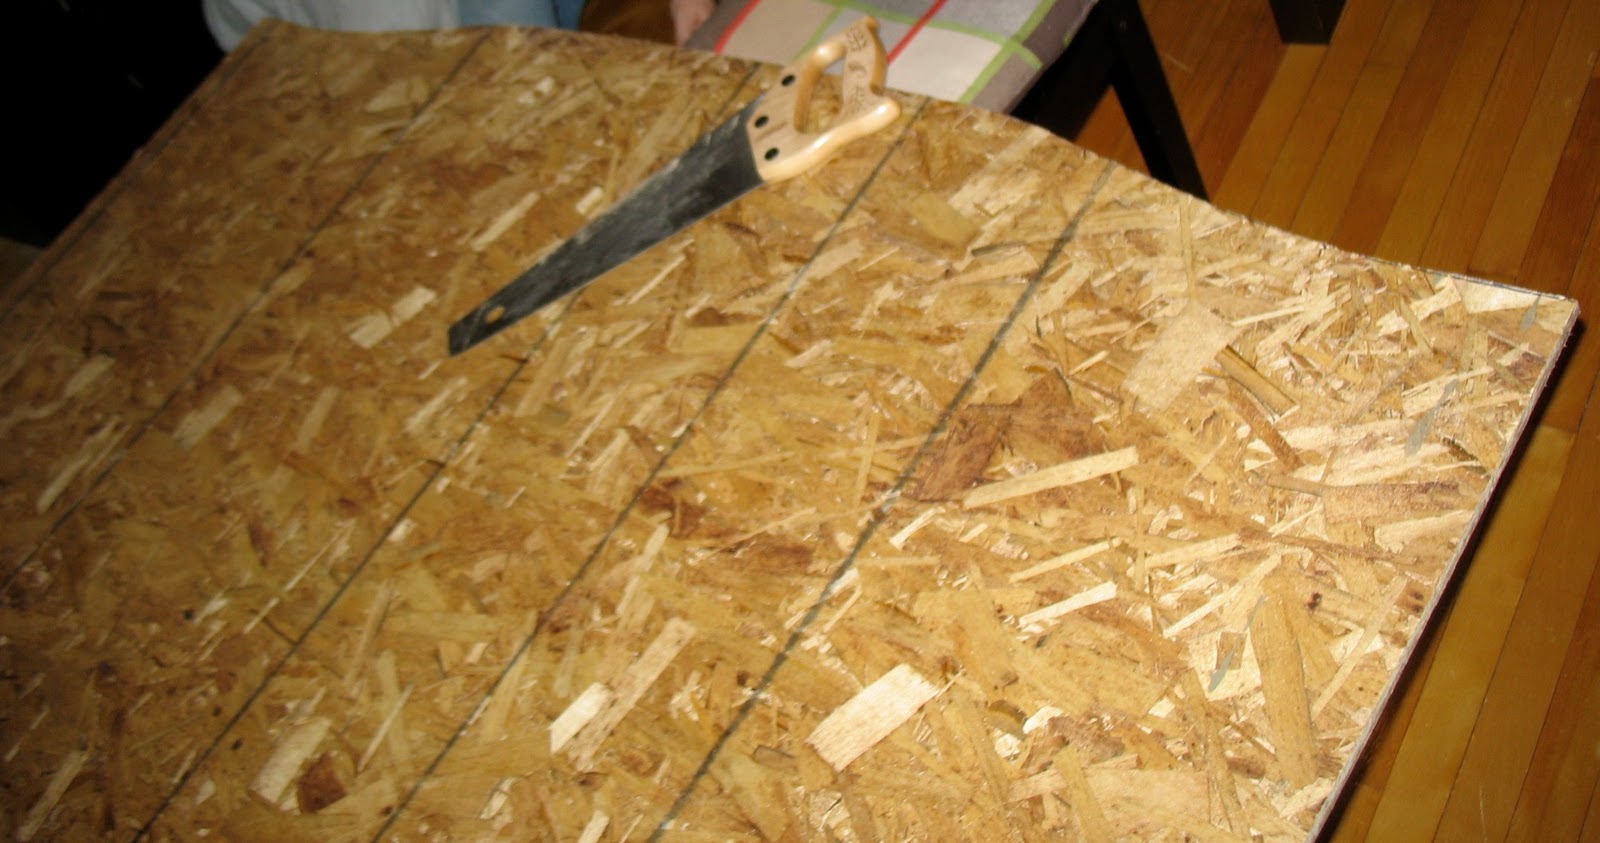
1. Cut the plywood to your desired dimensions to fit your bed. We had our plywood cut to 64"x42"(Home Depot and Lowe's will cut it for free), so that it would cover our existing headboard.

2. We designed the curve on paper and then used a black marker to draw it on the plywood. How did I do it? I took 8.5x11 sheets of paper and taped them together to form half the size of the headboard. Then drew the curve with a pencil. Cut it out and used a marker to draw it on the plywood. Then flipped it to do the other side. (I had to play around with it a couple of times, until I got the right shape. I recommend starting from the top centre going down at an angle and evening out to a straighter line.)
3. We cut the curve using a regular wood saw. A jigsaw would have helped, but it worked anyway. It is hard to bend the saw to cut along the curve, but it is still possible (I personally liked using the saw, because I could adjust the curve if I was not completely satisfied with the shape/ drawing).
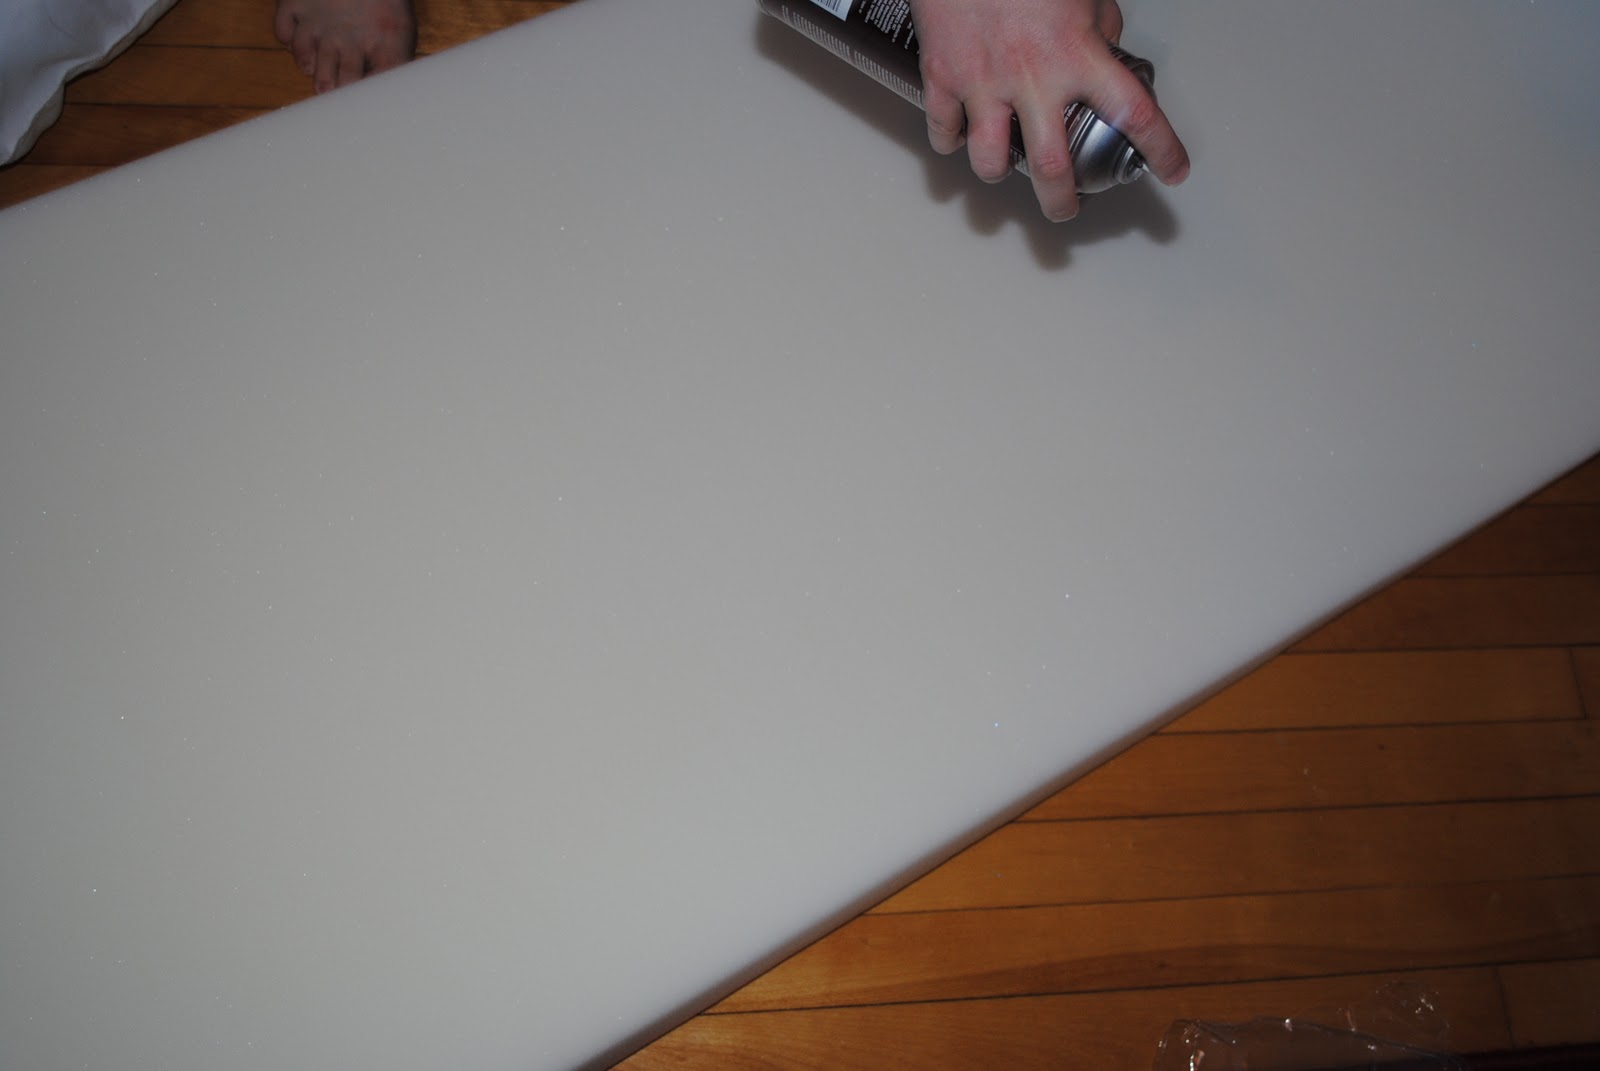
4. We cut the foam to size to completely cover the plywood.

5. Next, we used spray glue to attach the foam to the plywood. This step needs to be done quickly so that the glue sticks better to the plywood. You can also use tape if you want to, just to make sure it doesn't shift while you work. Ours stuck pretty well without it just with the spray glue.
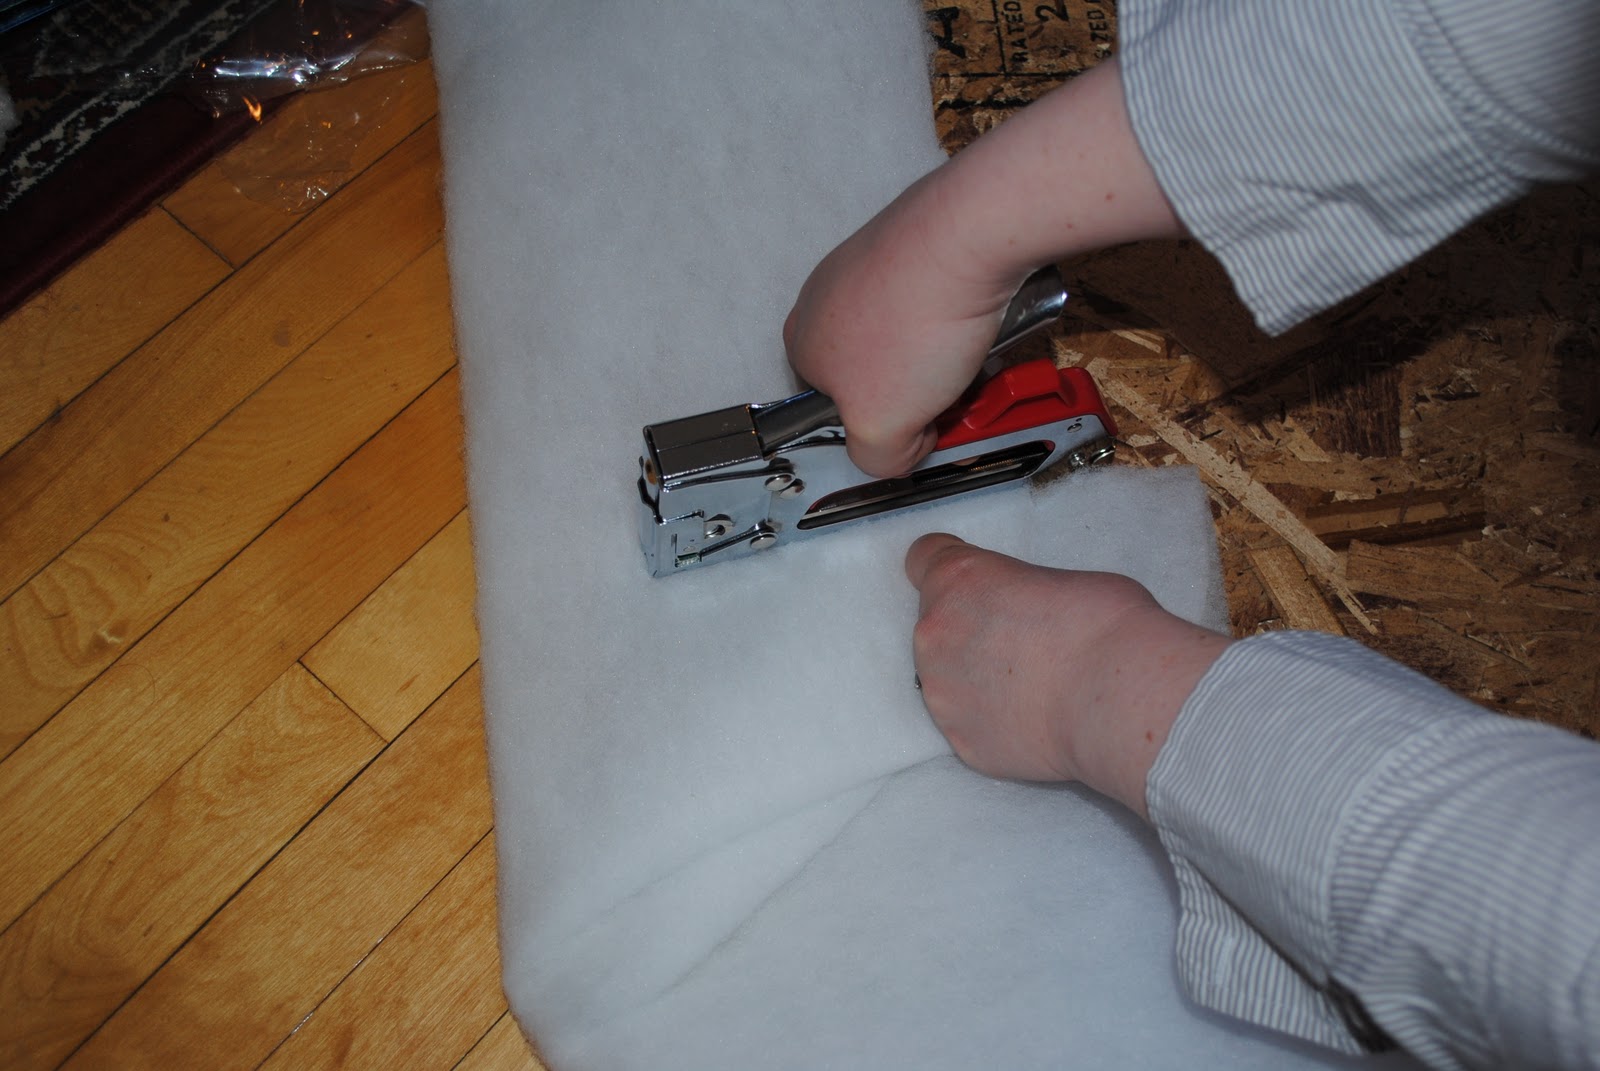
6. We laid the batting down on the ground and placed the foam covered plywood down on top.

7. Then we pulled it around the back and stapled it in place. You should start in the center of each side, (I would recommend in this order: top, bottom, side, side). Then put another staple in the center of that part. We did the top first, then the sides and finished the bottom and it worked for us, but depending on your fabric (pattern or floral), you will have to adjust it and pull tightly.
8. The linen fabric was wrapped around the plywood, securing it with another round of staples. Pull the fabric tight before putting in each staple.

9. Last on the list - tacks. I used tack strips. They were very easy to use, took little time and provided a straight line. Something my skills couldn't provide. I added a picture of what they look like.

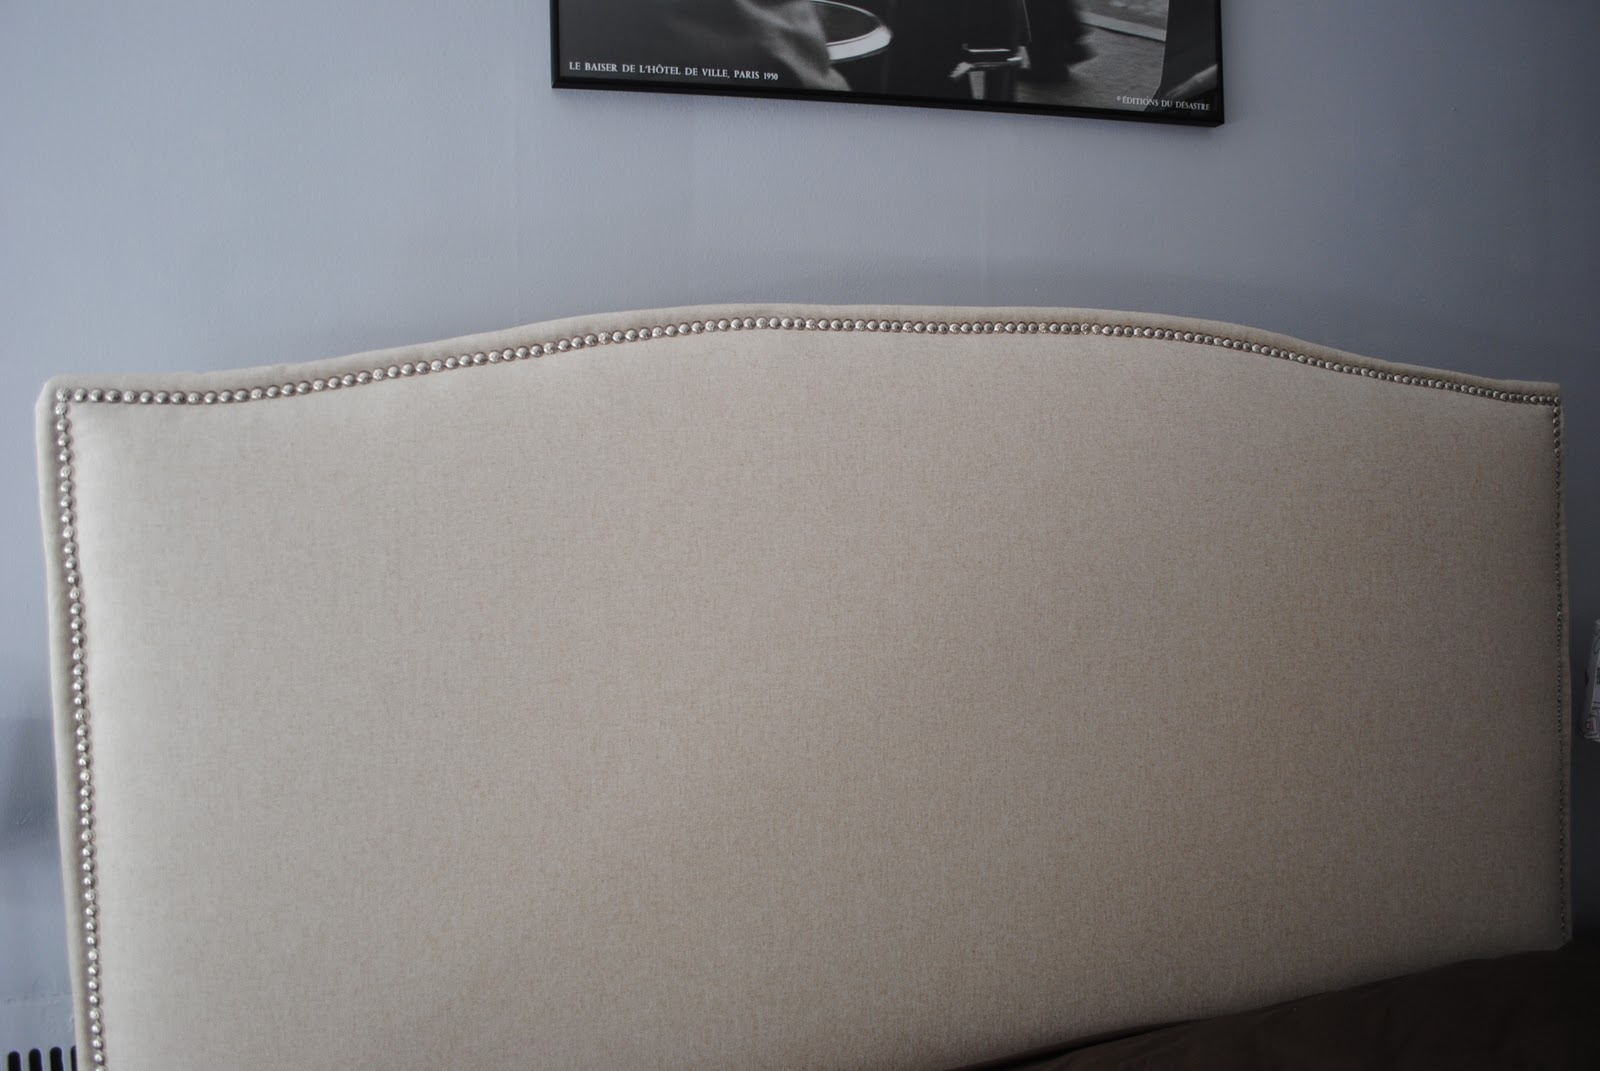
And there you have it. Our DIY Colette headboard tutorial. It might sound difficult when you look at it at first, but it really is easy to do and it was fun making it. You've gotta try it!
That's about it. Hope you enjoyed my how-to story.
Looks awesome! Will post about it today!
ReplyDeleteThanks so much. Sounds great!
ReplyDeleteWow, what a great job! I love when those expensive pieces are done on a budget. Very nice.
ReplyDeleteThanks so much. It definitely was a tight budget, but I am very happy with the outcome.
ReplyDeleteLooks very nice!
ReplyDeleteLove that you were able to get the curve with a regular old saw. Inspires me to give it a whirl!
ReplyDeleteHello Sabrina,
ReplyDeleteYou can definitely do it with a regular saw. Your arm might be a little sore, but I am very happy with it. I recommend when you make the curve to make it gradual, so that it will be easier to cut with a regular saw. Good luck. Please send pictures, if you do give it a try. Would love to see how it turns out.
I am so impressed!!! Another thing I had on my wishlist!! Amazing!! :)
ReplyDeleteIt's gorgeous!! I've been loving that Collette headboard forever but cannot afford it at all! I've been wanting to do DIY upholstered headboard. You've inspired me.
ReplyDeleteAmazing! I'm not so sure it would turn out so pretty if I did it myself. I might have to get my BF involved.
ReplyDeleteHi Beatrice!
ReplyDeleteI love this, it looks fantastic!
Lyndsay