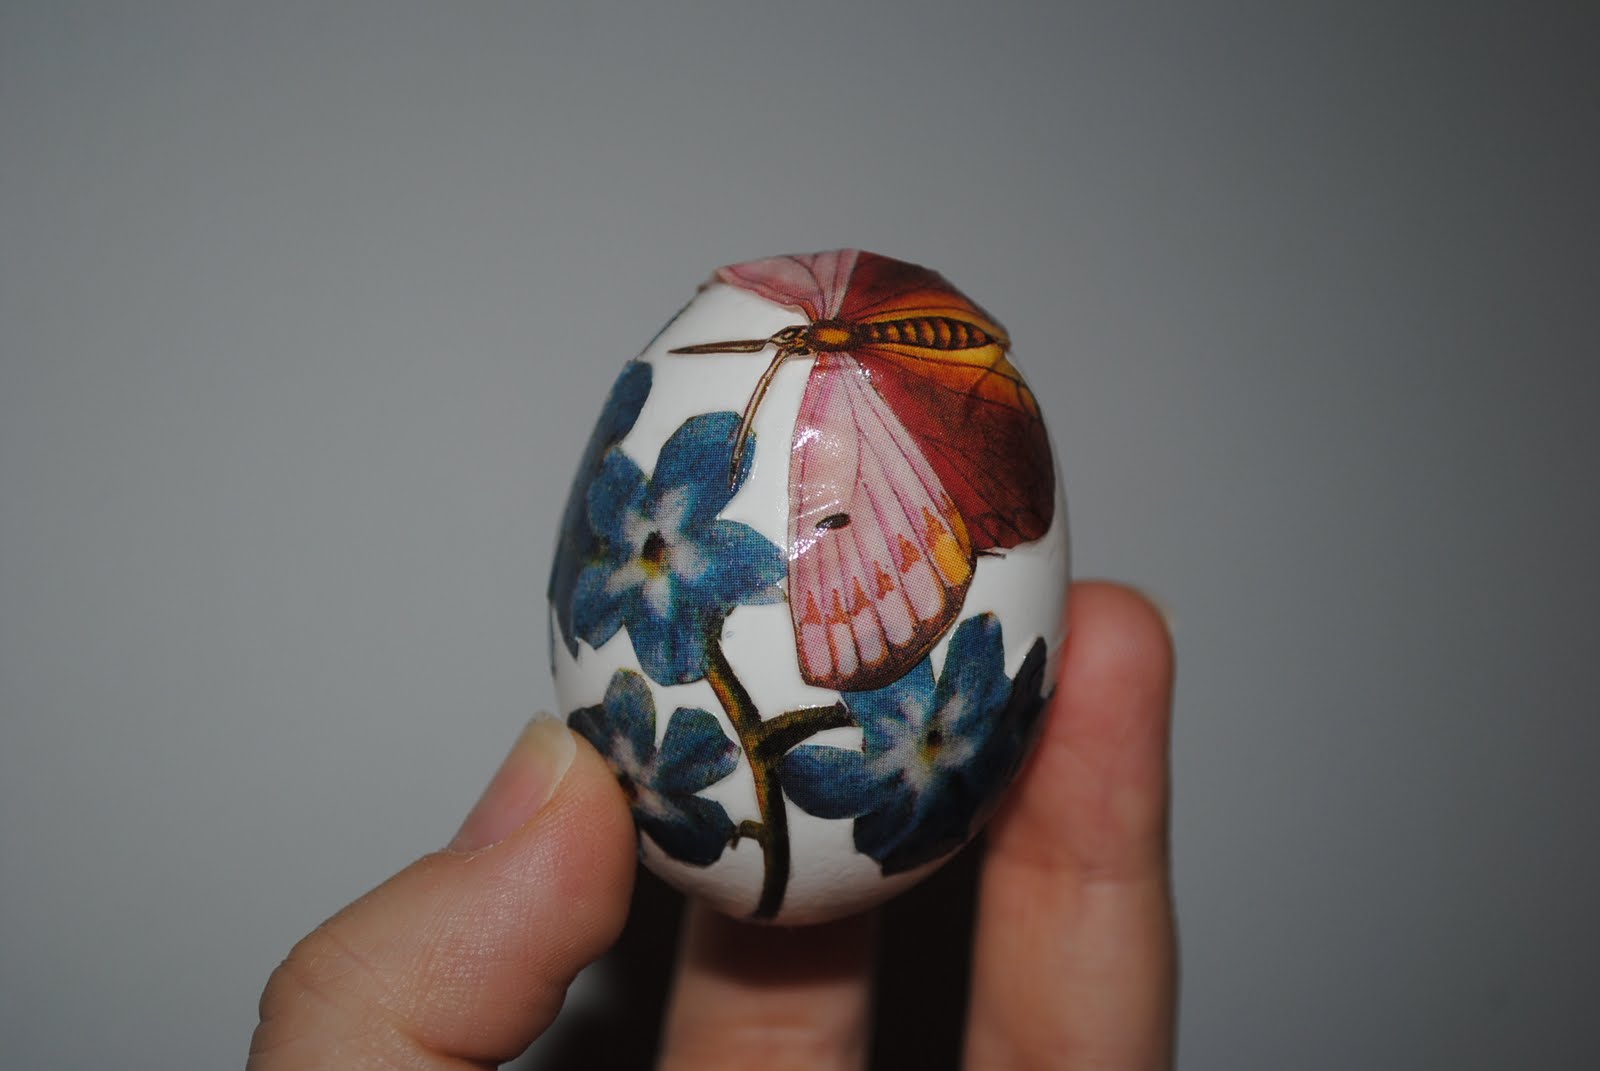
Easter is fast approaching and I want to share a different way to decorate Easter eggs with you. There are many ways of decorating eggs, for example dyeing or painting. But today I want to talk about decorating eggs with decoupage. I had never tried it before, but it is lots of fun and very easy. The other night I was making dinner,and I only had about 10 minutes to spend. 10 minutes is a long time, when you have a small baby running around the house. I figured I would try this really quickly and see what turns out. Well, this is what turned out. Liking it?
Isn't it pretty? Want to make your own decoupage eggs, this is what you need:
- eggs (blown out, washed, and dried or even wooden)
- decorative paper, magazine cut outs, newspaper etc.
- scissors
- mod podge
- water based varnish
 |
| Me applying the final coat of water based varnish |
- Pierce both ends of the egg, using some small scissors, like cuticle scissors. (I used a wood skewer and it worked ok.) Make one of the piercings a little larger. Use the skewer to mix the contents of the egg (You can also use a straightened paper clip). Blow out the egg contents (out the larger hole).
- Wash and wait for it to dry.
- Take your cut out pictures and position them where you want on the egg.
- Put mod podge on the back of the picture and put it on your egg.
- After you have added all the images, apply a coat of a water based varnish to give a finished, glossy look.
It was easy to do and I am quite happy with the outcome. It will be part of our Easter brunch table setting. A quick little Easter project and a new way to decorate your Easter eggs.
Give it a try this Easter!


No comments:
Post a Comment
Thank you so much for your comments! You've made my day!