

What you will need:

- wood panel canvas - (whatever size you want), spray glue, varnish, brush, paint, big cardboard, drop sheet
- Choose which picture you want to use and enlarge it to whatever size you want.
- Paint your wooden canvas and the edges white or whatever color if you want.

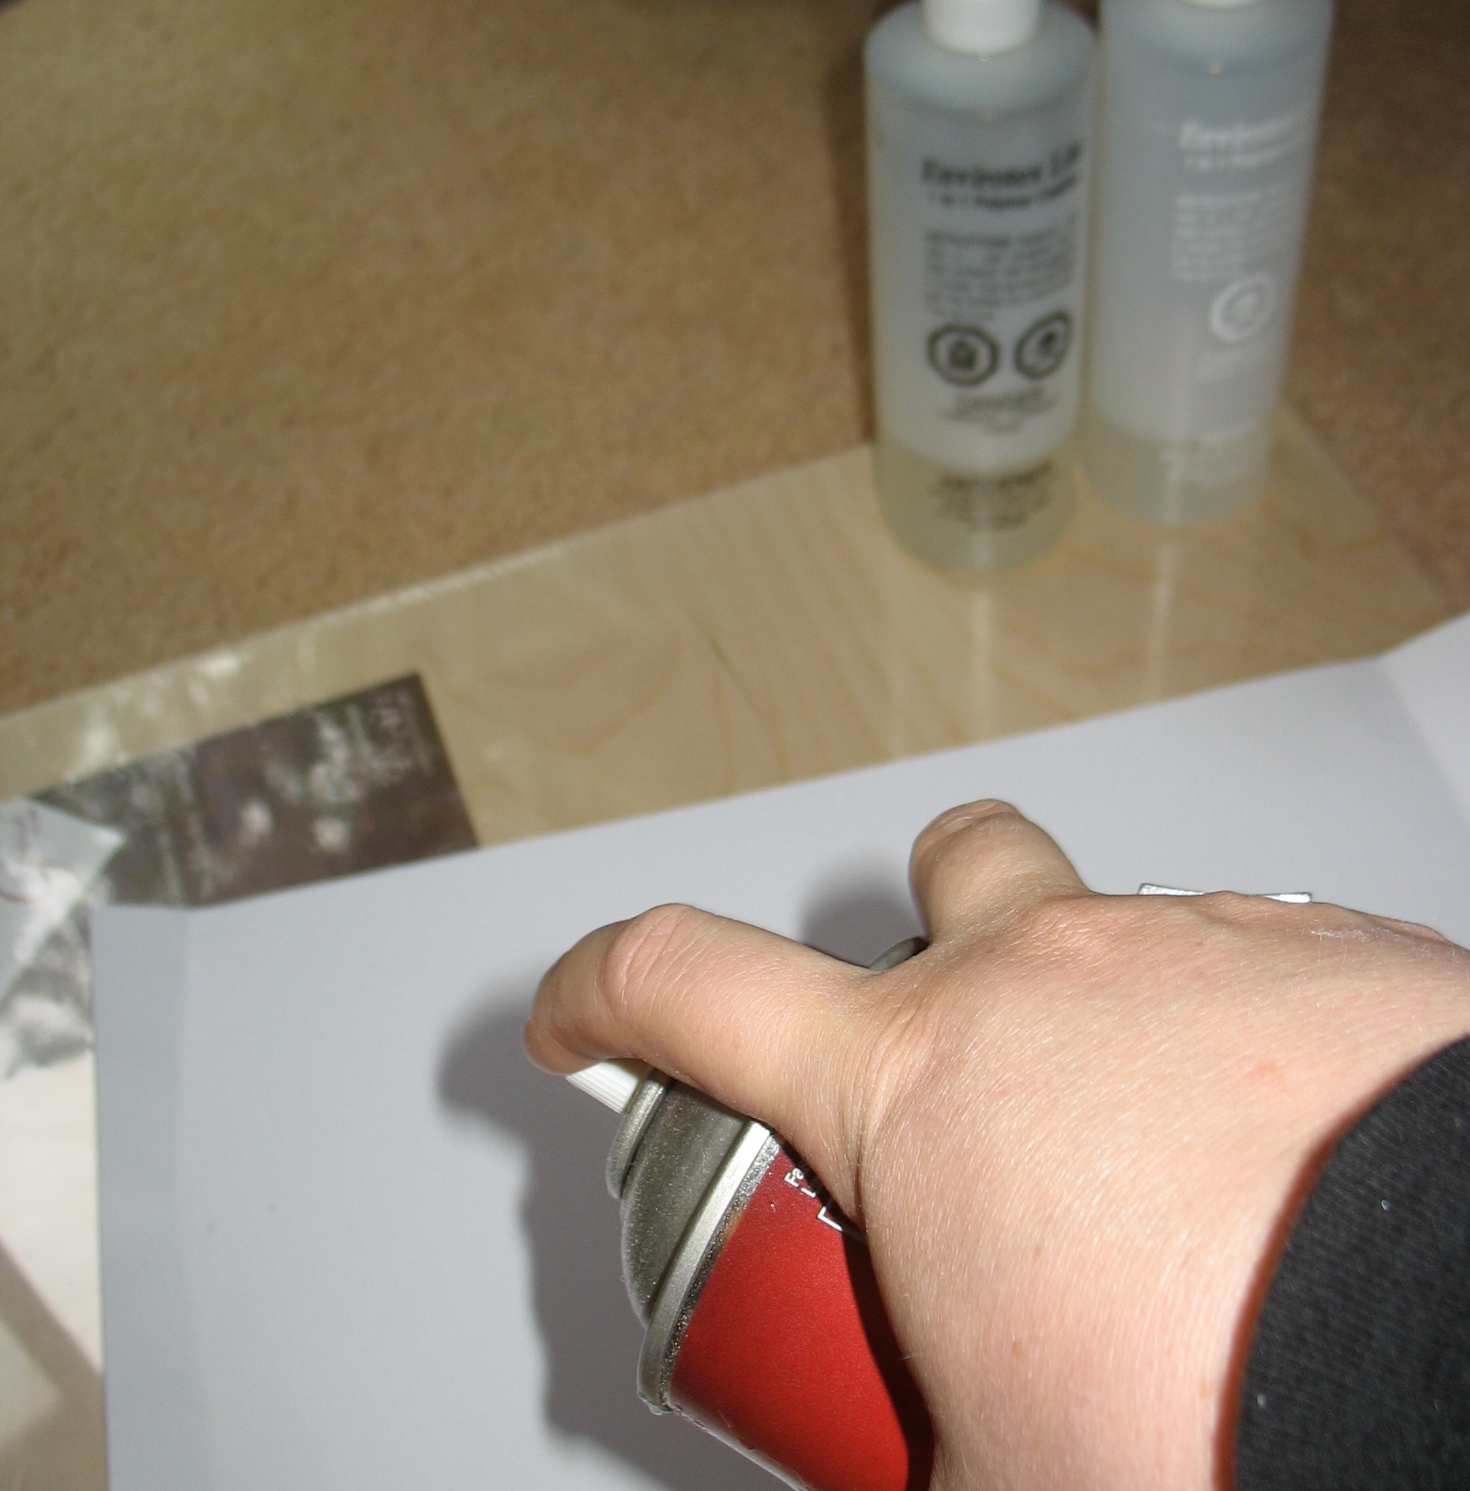
3. Use your spray glue and spray on the back of your picture. Make sure you keep the can away from the picture (at least 2 ft, otherwise the picture gets wet).

5. Prepare your varnish according to the instructions. Pour an equal amount of each into a cup. Use a stick to stir for a couple of minutes until the mixture becomes milky looking.

6. Pour the varnish over the picture. Let it dry for 24 hours. Mine needed a little more time to dry completely so make sure you don't touch them too early as they are very sticky.
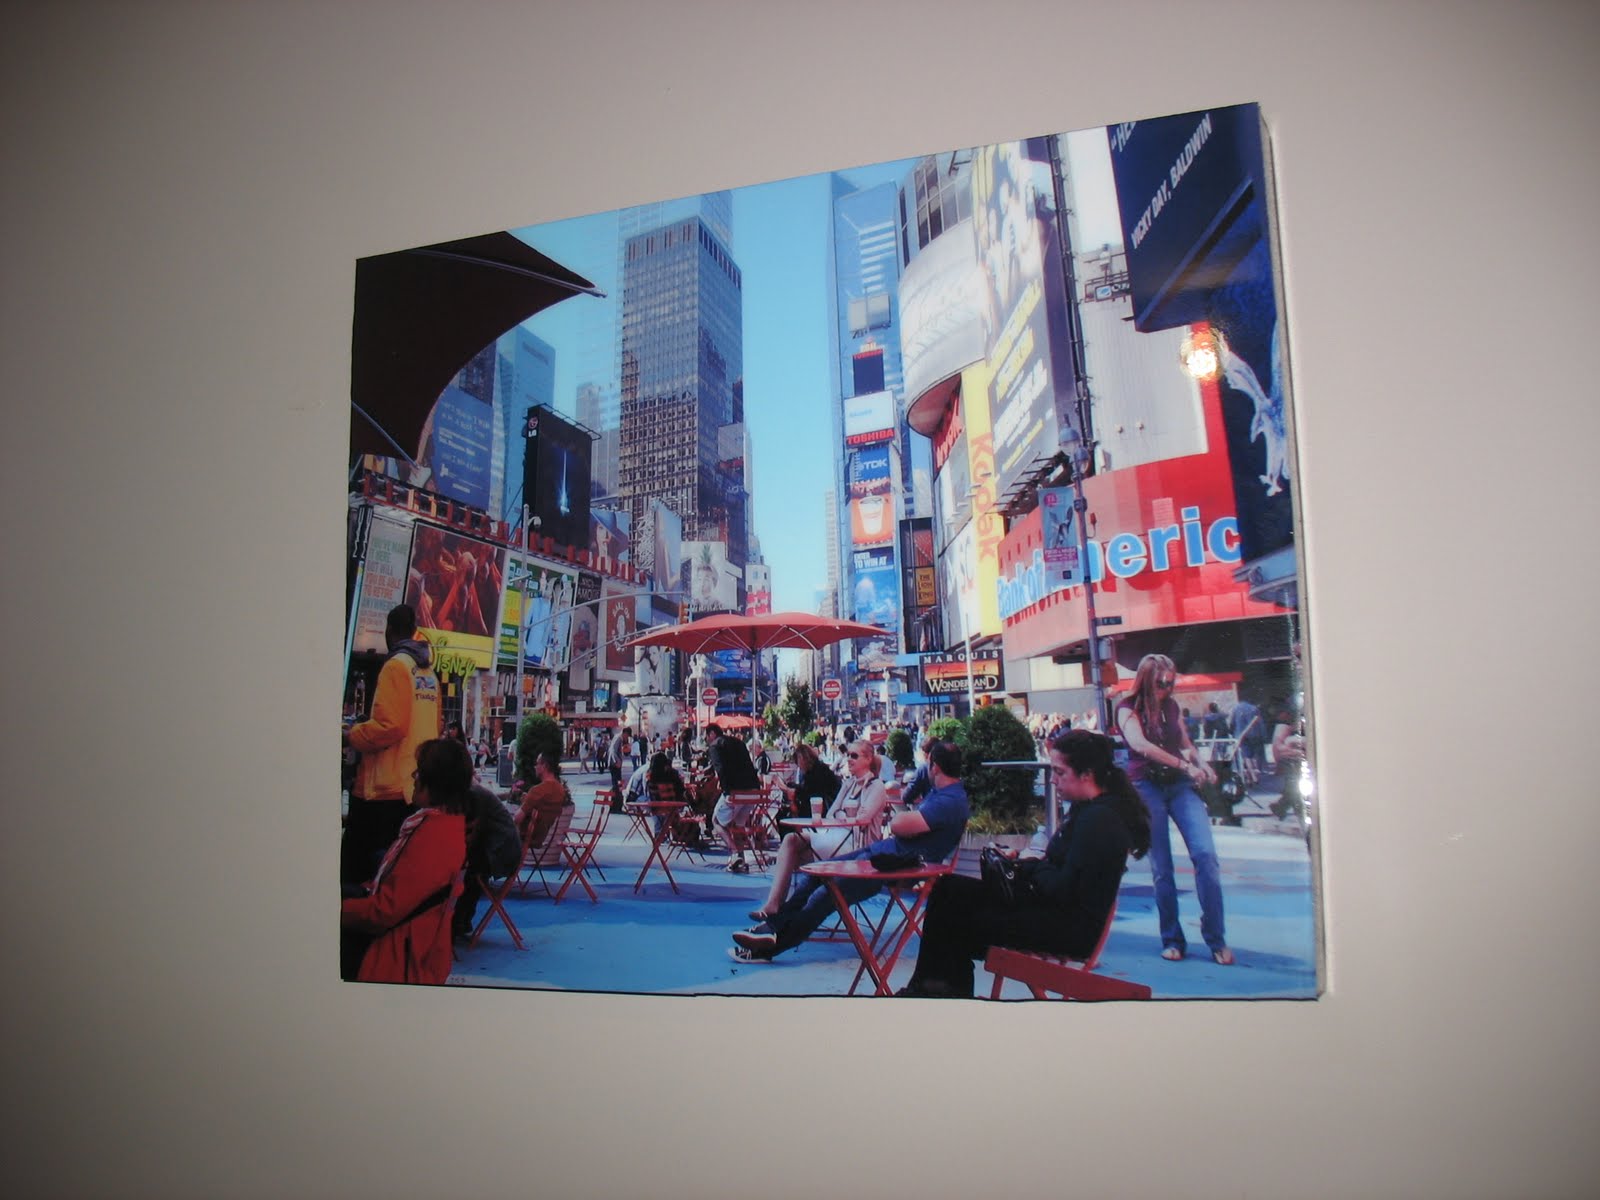
You might ask what is different about this picture artwork project. Well, it gives the picture a glossy thick varnish finish. That makes the picture look gorgeous and gives it a professional finish. Here are a couple more pictures using the same technique.


Notes: Make sure you prepare enough varnish to go over the entire picture, but just add enough varnish to cover the picture (it is ok if you make extra). You can also use a brush to spread the varnish around the picture. That way the layer isn't too thick and it won't take too long to dry either.
Also, have your brush handy as the varnish will drip over the edges and you want a smooth finish, so you have to go over it a couple of times.
Go underneath the canvas as well, as varnish sometimes collects there.
For a 16x20 wood canvas I used about a quarter of the glass I used. Hope this helps.
You've gotta try it!
That's about it. The verdict is: he loved it. Always good news.
Great tips and what a clever solution for when you can't find a big enough frame. That was my dilemma so I gave up and just made a painting. Must try this in the future! Glad I started following - I thought I had but then realized I hadn't added your blog to my blog reader. Whoops.
ReplyDelete