
Last week I shared a DIY light pendant that I made for our place and here I am today sharing yet another one. I do have to tell you a short story though. We live in a pretty old apartment building and there is one more floor above us. Have I mentioned that the building is old? Creaky floors feel like trampolines. The upside to that is that the rooms are quite large and the apartment all together is quite spacious. That's the price you have to pay for a good location, I guess. The down side is that we don't have storage, which makes it a real pain when you have a baby and accumulate a ton of stuff along the years. I would turn to the old Carrie from SATC trick, (putting sweaters in the oven), except I unfortunately use it. Getting side tracked here. Light!
After reading Carol's post, from Design Pages and seeing her light pendant, I knew I wanted to try one. I also remembered one that Jen from Made by Girl made. Carol used mod podge and Jen used fabric stiffener. I chose to use fabric stiffener, since I didn't have enough mod podge and the store near our house had fabric stiffener.
Here is what you need:
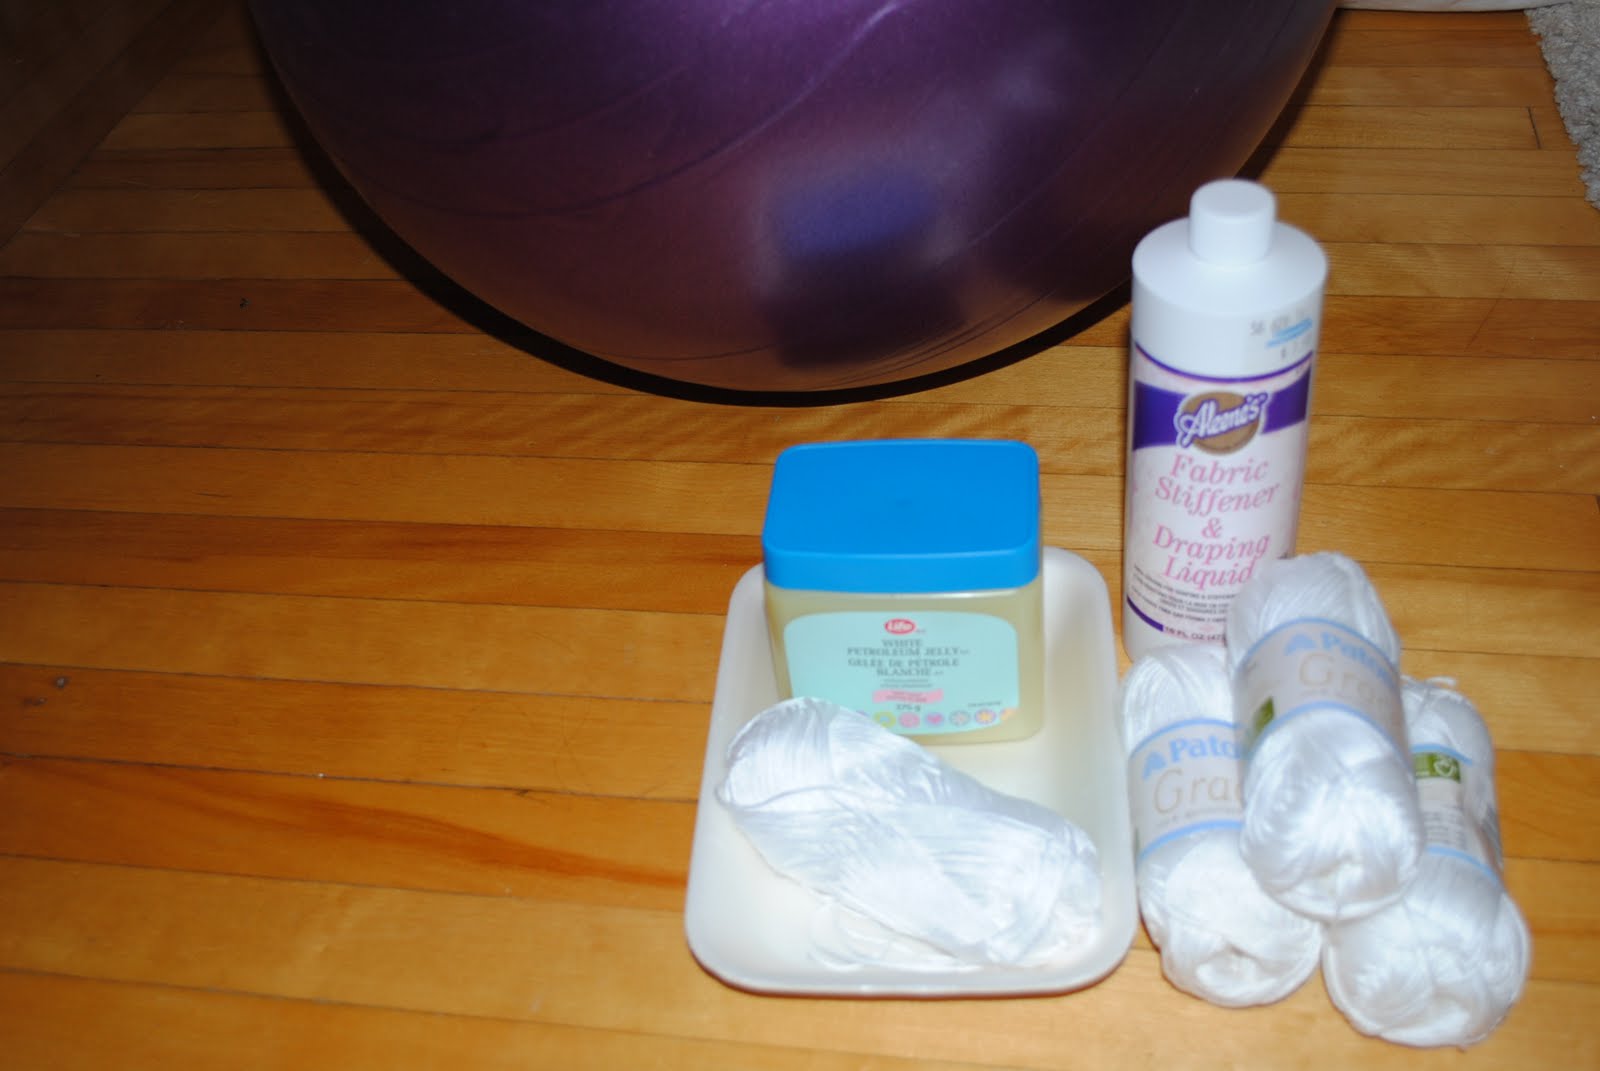
- exercise ball (or a regular ball), yarn, fabric stiffener, vaseline and an extra pair of hands, (pair of gloves?)
First off, you make sure that the ball is covered with vaseline (don't use too much). This step is not essential, I did it, but the first time I did, I added too much and then had to clean it after with a little brush. The second time it was much better.
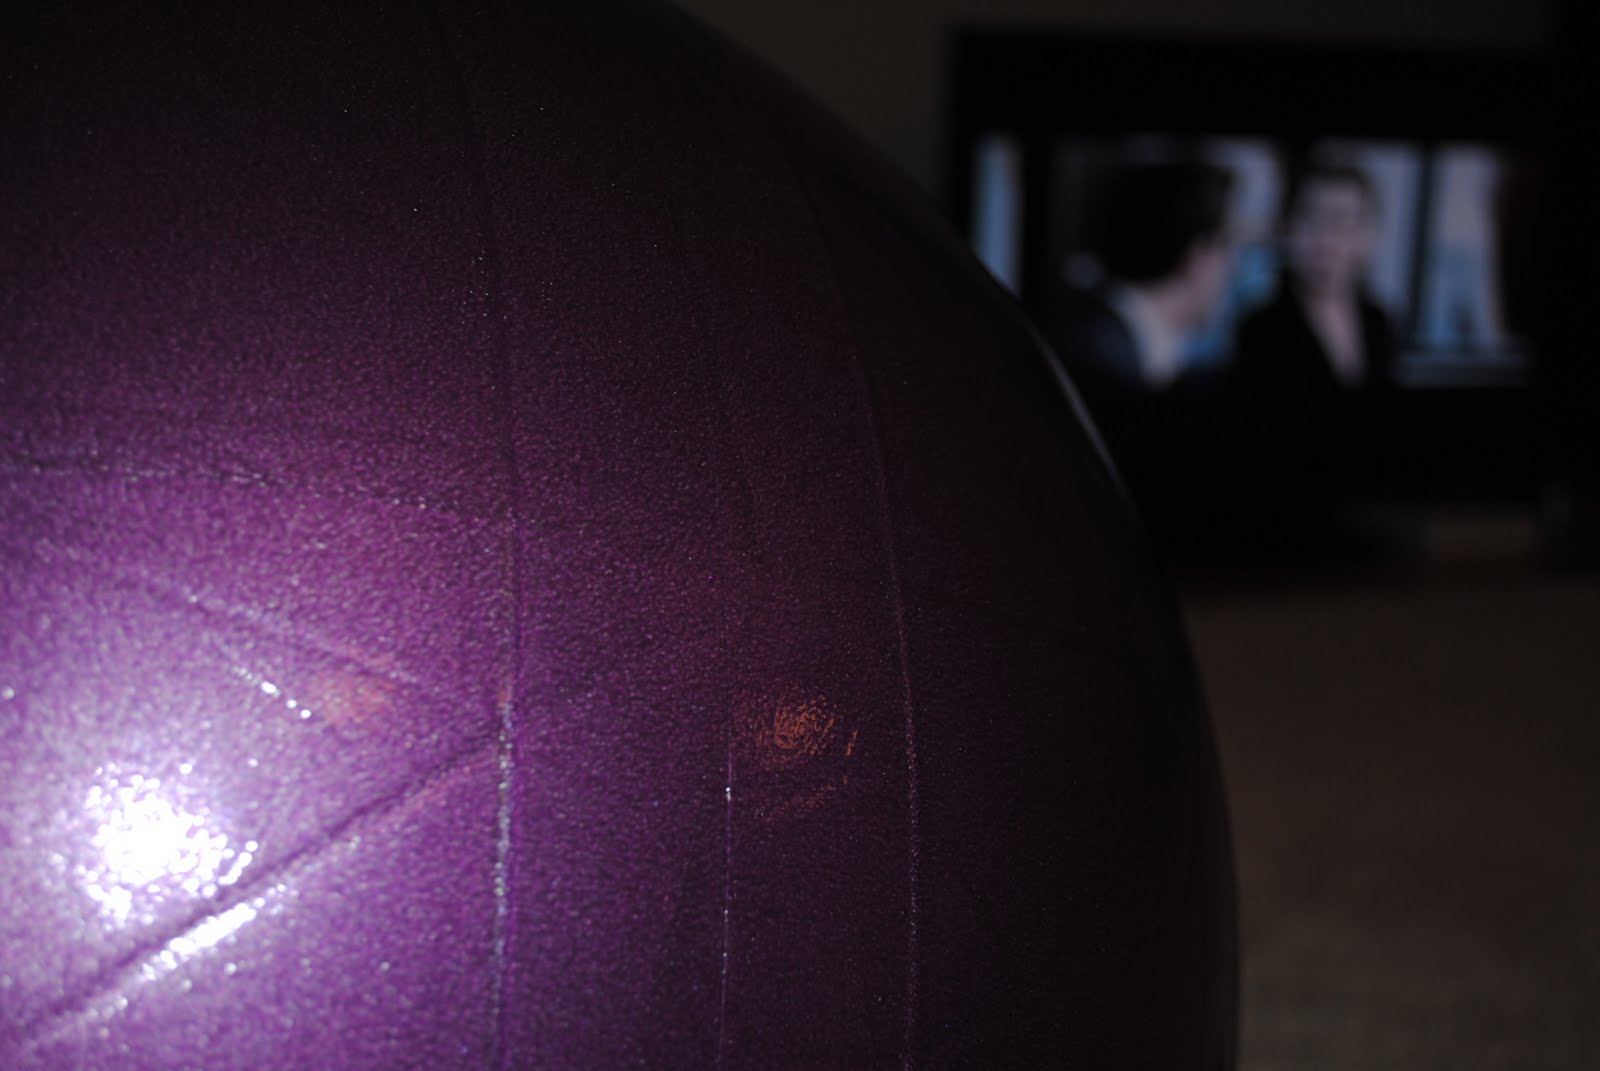
My ball is ready to be prettied up. Yes, I was watching The Proposal (with Sandra Bullock and Ryan Reynolds) while doing this, which lasted about two hours, give or take. And my hubby watched it too, while he was helping me. Love that guy!
Get your extra pair of hands ready. Maybe you want to use some gloves as it can get really messy. And I mean really really messy. Essentially, you soak the yarn in fabric stiffiner, massage the yarn so that it is completely wet, and then wrap it around the ball. One person wraps, the other person holds the ball.
Here it is:

We tied the yarn around the ball and then tried to go a couple of times in each direction (alternating). Keep wrapping until most areas have some coverage. We had so much fun making it and watching the movie. Better than going out I tell you.
I left the ball to dry and the next morning it was ready to put up. It should be really stiff. I just cut a small hole with scissors where I could put my hand in and deflate the ball. Try to pick a spot that is either a little soft or does not have enough yarn (this way it gets hidden). Then I hung it. Because we are renting, we just found a very primitive way of hanging it (too embarrassed to show you), but you could use a Hemma cord set from Ikea to hang it with a lamp inside.
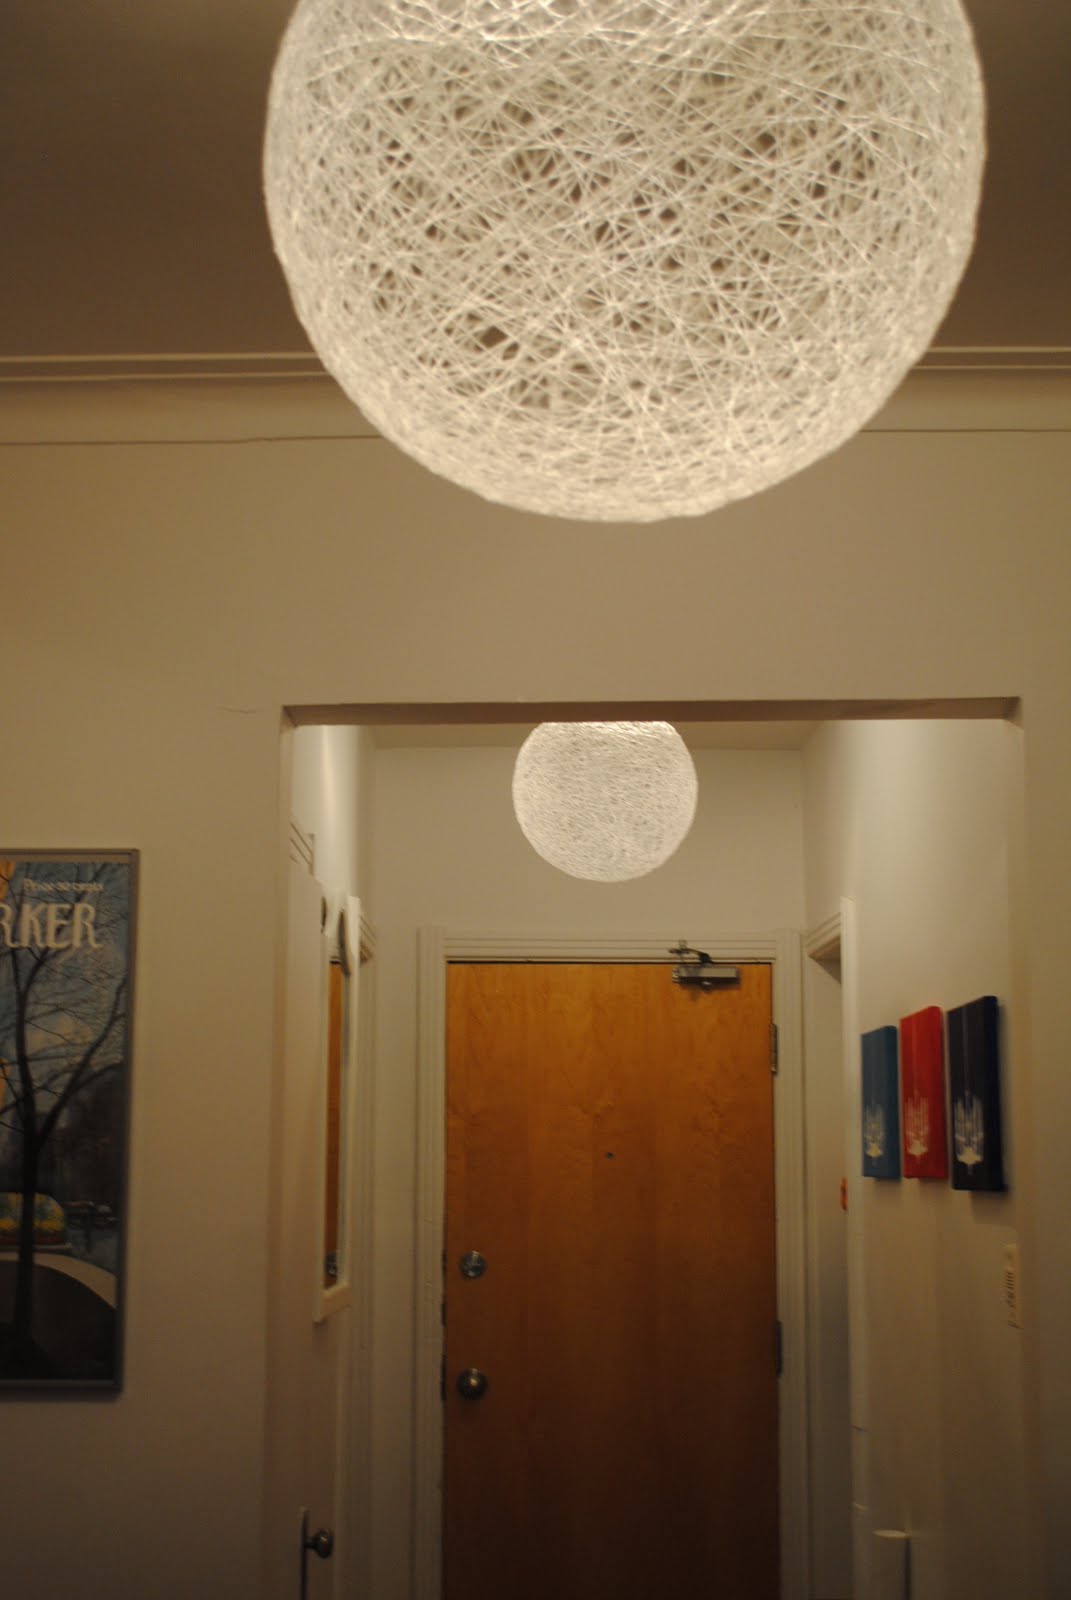
Here they are in the entryway (there are two, since I had an extra ball and figured it might look good this way). I have to do some painting in our hallway, but it won't happen for another couple of weeks, so I apologize for the pictures. Also, have I mentioned that our apartment has the worst lighting ever.

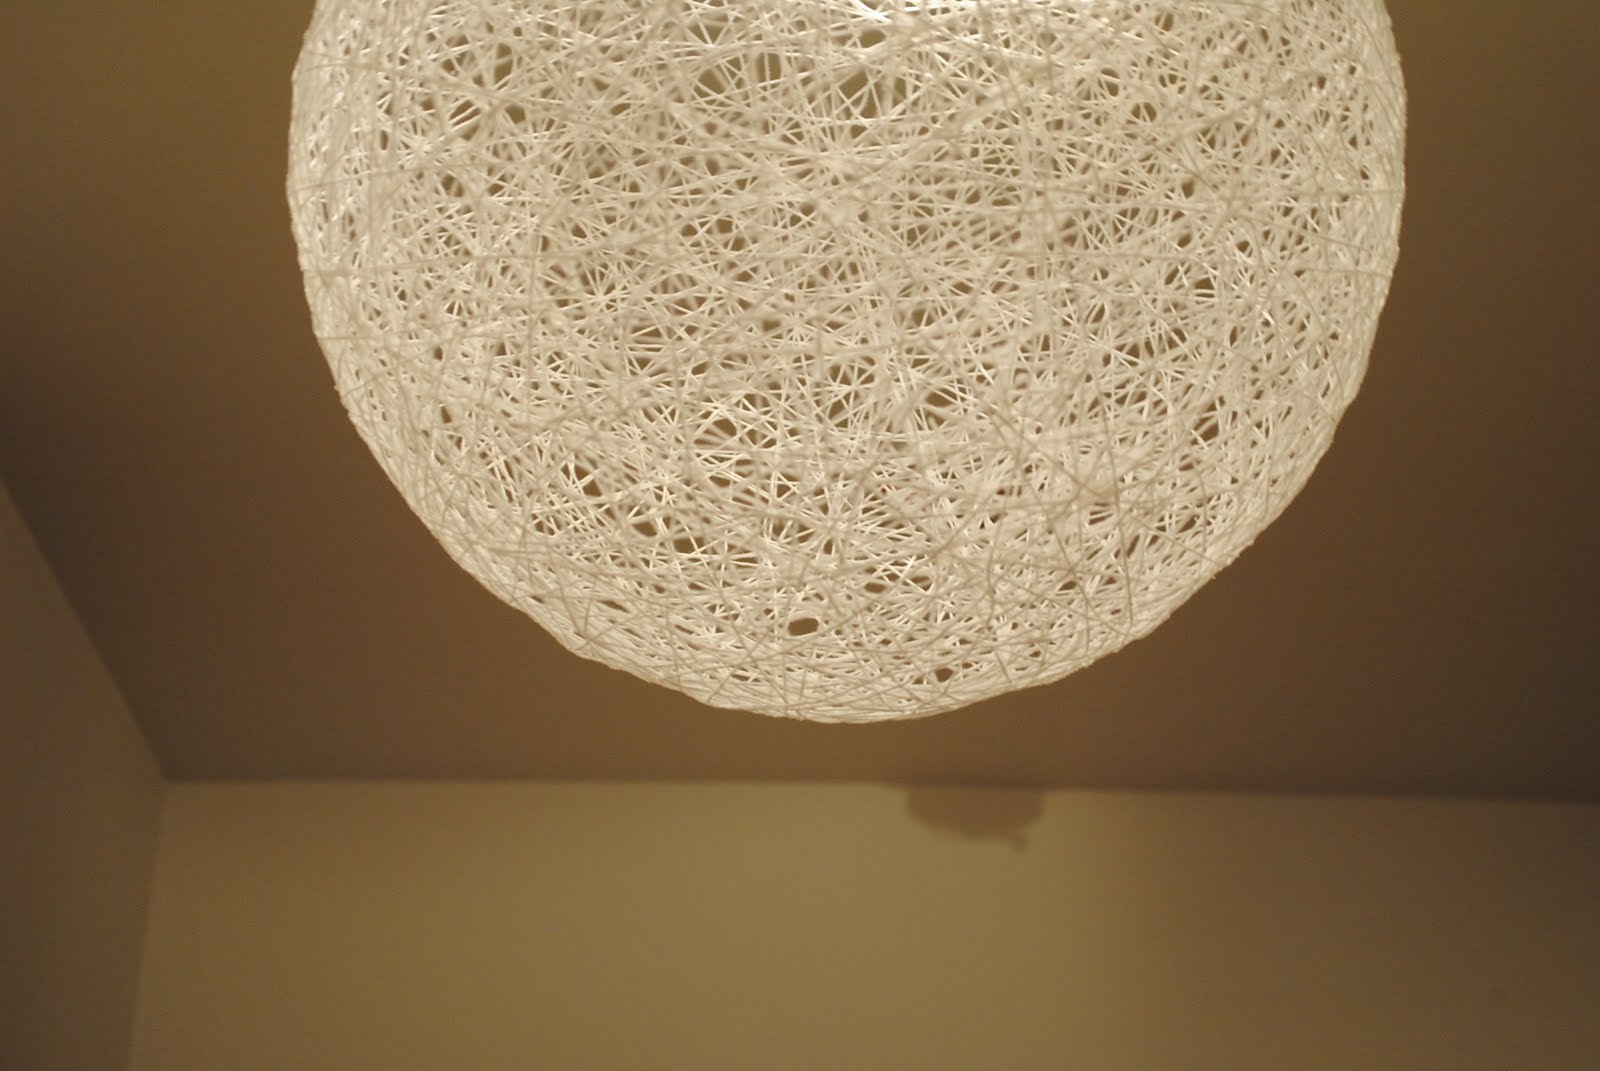
Close up picture.
I have seen this type of light pendant in several stores, but this was very inexpensive to make, so the DIY way worked for me. Would you try making one of these or would you go the store bought route?
Hope you like it and have a great Tuesday everyone!
Glad you are feeling better! I had a sick child last week too.
ReplyDeleteLove this Beatrice! Yours turned out beautifully! I have seen this but since we don't have tall ceilings AND my family is all tall {daughters are 6 ' and 5'11" and hubby 6'4"} we would hit our heads on a light light that!
Oh, hope you and your little one feel better soon.
ReplyDeleteThat looks great! Much better to have falling yarn on your head than falling shards of glass!
Barbara, thank you so much for the wishes. Are your daughters taller than you? Our ceilings aren't that tall but I just loved the look and for the price, I feel like it was worth the very messy hands.
ReplyDeleteJen- Thanks so much for the wishes. We are drinking lots and lots of warm tea and taking it easy. Definitely better yarn falling down.
Gorgeous! I made a twine version of this and I love it. Hope you and your little guy are feeling better.
ReplyDeleteHi - I just found your post as I was googling how to DIY a light fixture like this. Yours looks amazing!!! (Much better than many I've seen online :)). Just a question - the yarn you used appears to be a very smooth, maybe a fine yarn, did it have a sheen to it too? I can't tell from the pic, but I'm wondering if that's why yours looks so good!! The combination of a smooth and thinner/finer yarn.
ReplyDeleteThanks for your help!!