Blogging is very exciting, but so are diy projects. I have recently discovered that I am absolutely addicted to them and cannot stop. I will try almost anything, even though I might fail miserably and regret trying it. Yes, believe it or not, I do fail. And I do plan on writing about the good, as well as the bad and the ugly and disaster projects on here. This project on the other hand was a success. With spring and Easter fast approaching, I thought this would be a great and quick spring project.
I had seen these vases in lots of different magazines, different websites, blogs, so when I came across a video on how to make them, I just had to try it. You can find the video on the House and Home website for a demonstration. They have some amazing projects by the way. I hope to try some of them in the future and post my experience on here.
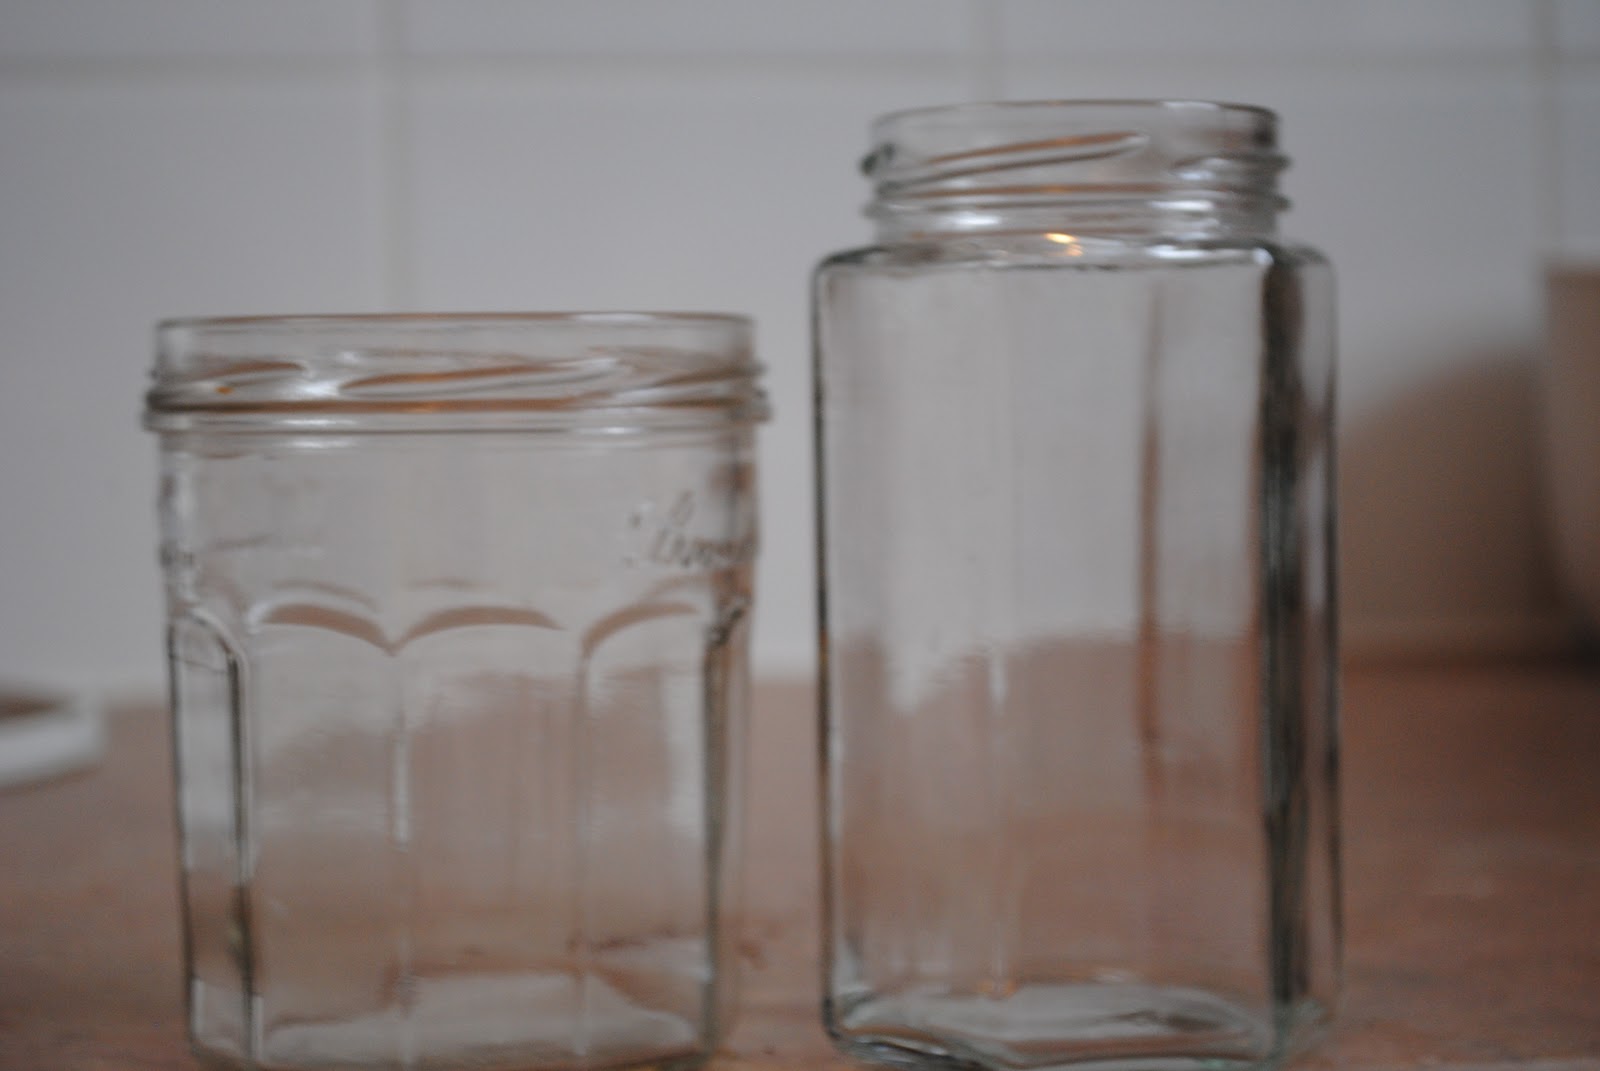
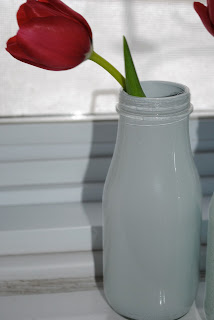
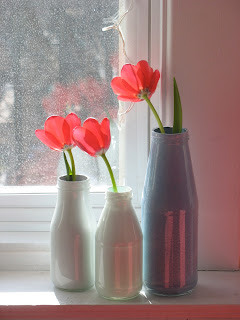
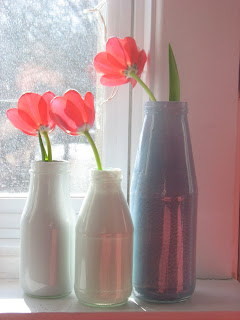
This is a picture of the vases on the window sill in our kitchen. They are quite pretty and make looking out the window, much more appealing. The vases have been made from left over jars and bottles. So save your funky jars and glass bottles. This project is also quite inexpensive, since everyone loves adding some inexpensive beauty to their home.
What will you need for this project, might you ask?
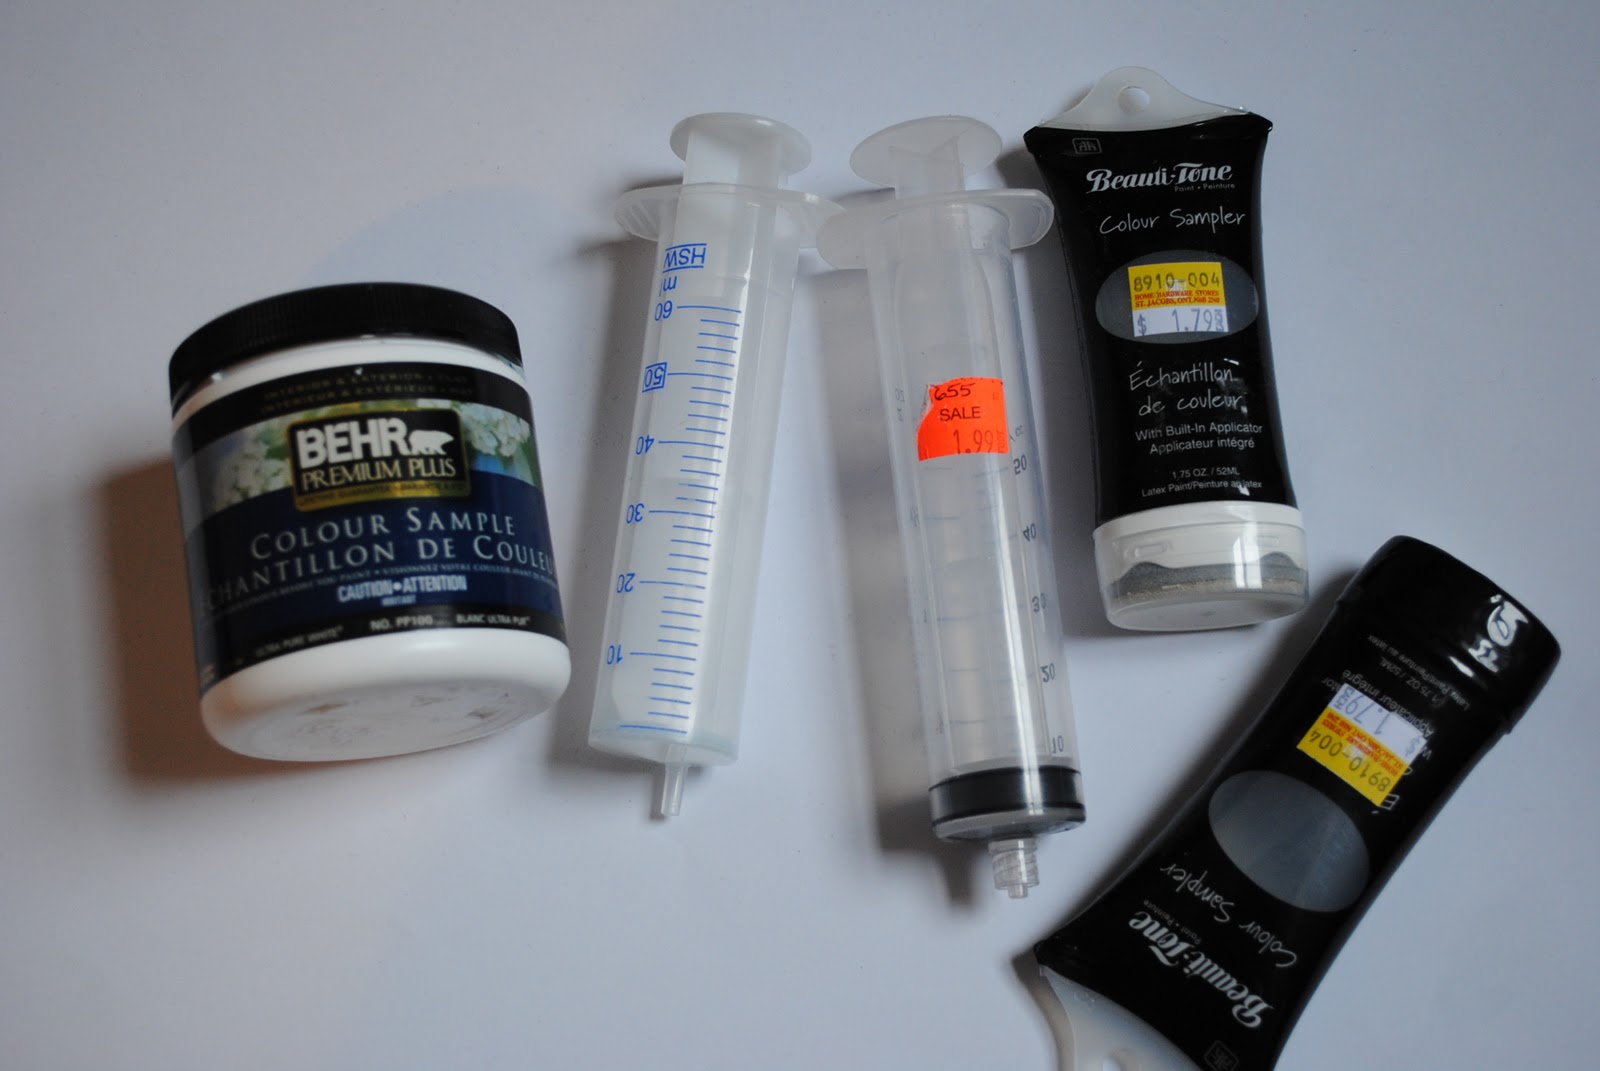
1.) clear glass jars, bottles, even glass plates. (you can recycle some, or if you have to go out and buy them- here are some ideas- you can buy small glass starbucks frapucino bottles, tall clear glass bottle, jam jars)
2.) you will need some paint; you can always use some of your leftover paint, which you probably have in your garage or you can buy a small amount at Home Depot for a whopping $4.99 a pop). Not too bad, eh?- also, make sure that you stir your paint well. You will see what I mean later.
3.) a syringe- you can find one at Home Hardware. They are quite inexpensive at $1.99 each (on sale).
So, here it goes. They are super easy to make and look amazing, don't you agree?
Make sure that you washed and dried your jars and bottles and that they are completely dry before you use them. Fill your syringe with paint and hold the bottle at a 45 degree angle. Squirt the paint into the jar or bottle. At the same time, you will turn the bottle so that you cover the walls of the bottle. After you made sure that it is all covered, you put it facing down for all the extra paint to flow out. I would recommend that you put it at an angle, since you want it to dry as well. It will take less time this way. Another thing, that I would recommend is to use somewhat newer paint. I had used a older paint and it showed. Maybe I didn't stir the paint properly...hmmm, I thought I did. Anywho, I was extremely pleased with how they turned out and it was a very easy and cheap project in the end. You will need to use flower viles if you want to display flowers in them, since the inside has latex paint. Even my husband thought they looked good, so that must mean they look good.
You can also try it with a glass plate, but mine was a half success, not too sure why. For the glass plate you will need a foam refill brush. If you are not sure how they look like, they are the black things in the materials picture. I tried to do it the same way as in the video, but it didn't look clean. I had done several layers and I felt that the paint was being smudged around and not sticking to the glass plate. Here is a picture of mine.
I would love to know if you have tried this or if you are thinking about trying it. And of course, I would love some pictures if you ever do decide to make it. I think they look very crisp, sweet and sophisticated. You should definitely give them a shot.