If you have been following my blog, you know that I am working on a guest room, where blue is the main color. As I was browsing through one of my old magazines, I came across a very cool diy batik article.
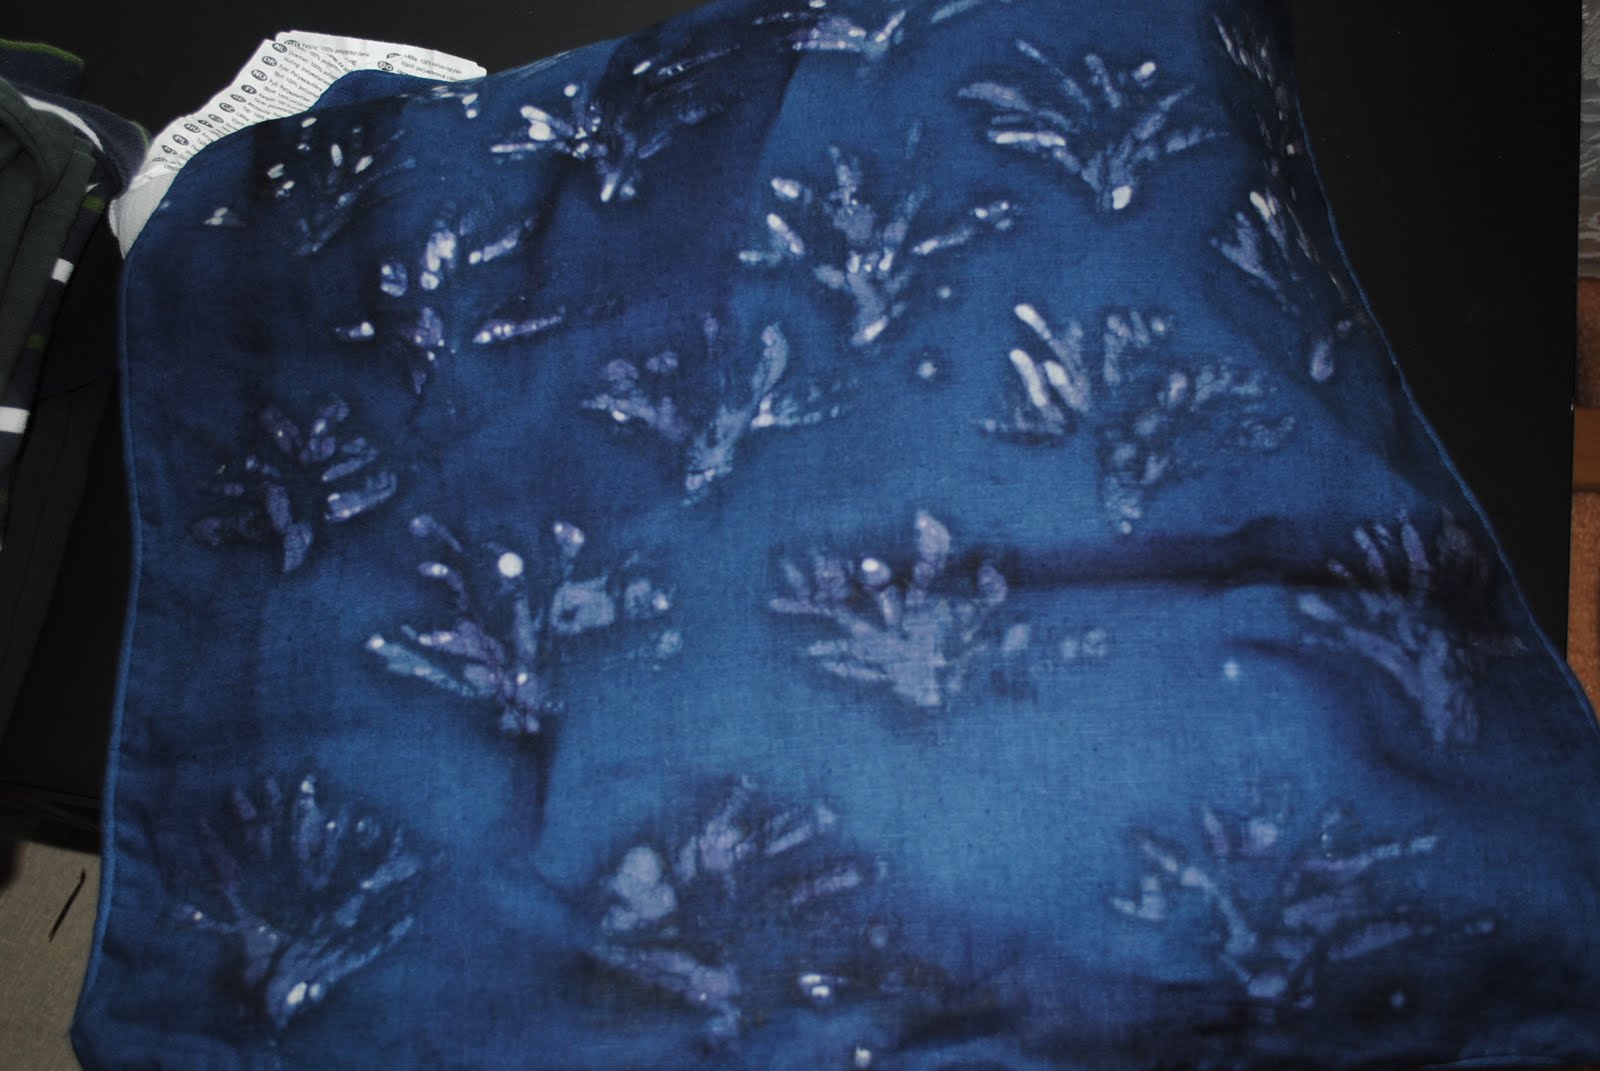
I thought it looked really cool and figured I would give it a try. Well, here is how mine turned out.
Although this project was only a half success, I did learn a couple of things from it. I will be trying it again sometime soon. Will keep you posted.
What you will need:
-linen or cotton pillowcase, beeswax, double boiler, fabric dye, dye fixative (some fabric dyes already have the fixative in it), large bucket, gloves, small glass, brush
First off, I want to add that I had a really hard time finding dye fixative. It is the extra fixative that helps the fabric dye to stay in, but I couldn't find any. I came across some fabric dye that already had the fixative in it at a fabric store.
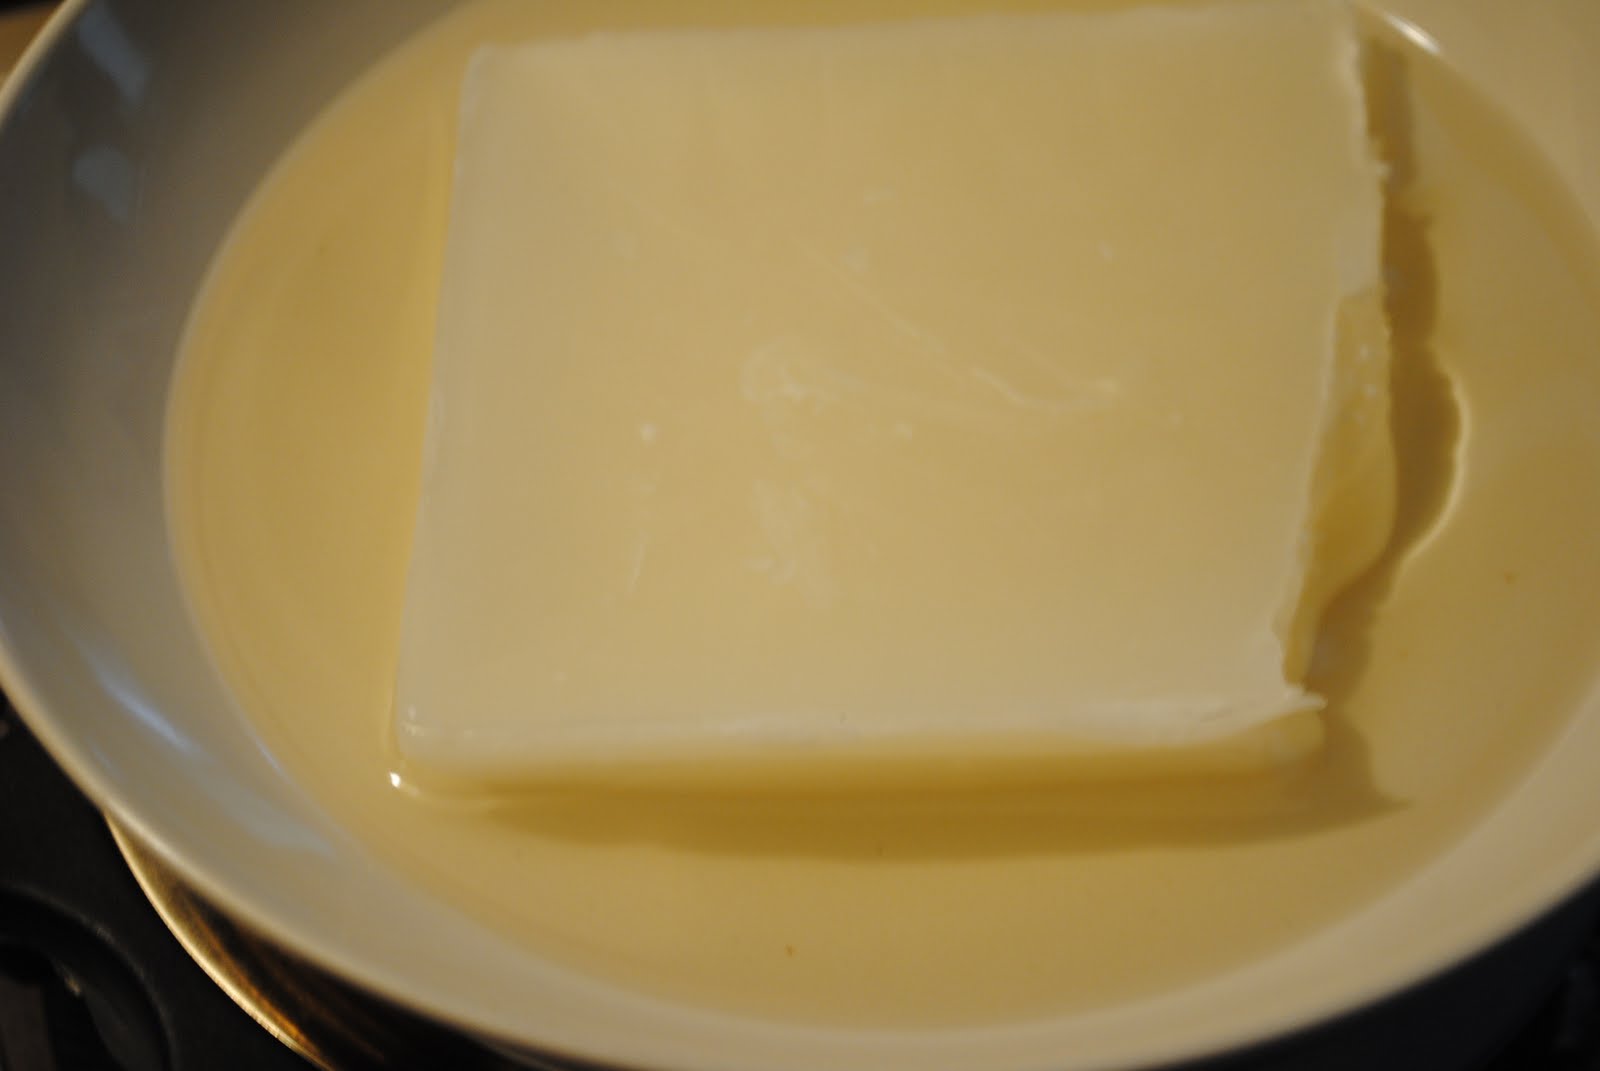
1. I melted the beeswax in the double boiler.
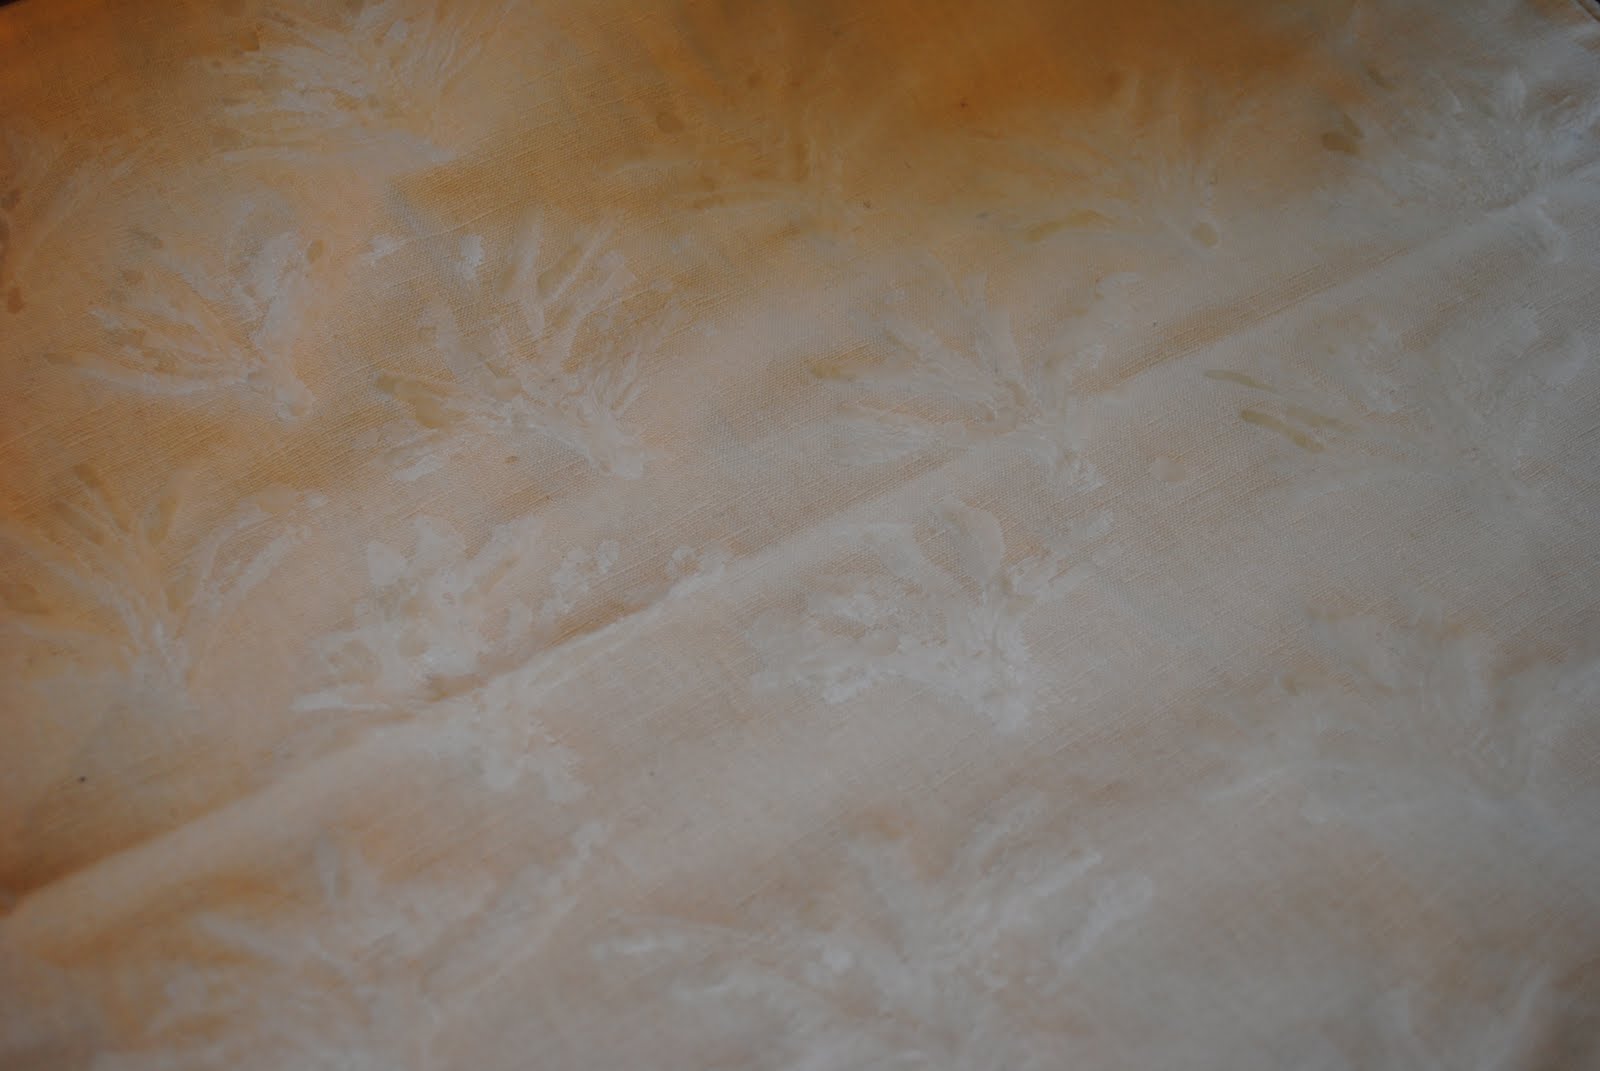
2. Using a brush, I painted my design (coral) with the beeswax onto the pillowcase. I let it dry for a couple of hours. Depending on your design, you might want to use a thicker or thinner brush. Also make sure that the beeswax is put on thick enough to soak through both layers.
3. I filled up a cup with the dye and hot water. I stirred it to ensure that the dye had dissolved well.
4. I poured the cup of dye in a larger bucket of water (should be enough water in the bucket to fully cover your item) into which I would dip my pillowcase.
5. I submerged my pillowcase into the dye and stirred according to the instructions (every 15 min; I don't think you should stir so often, because my stir stick left an impression on the pillow case).
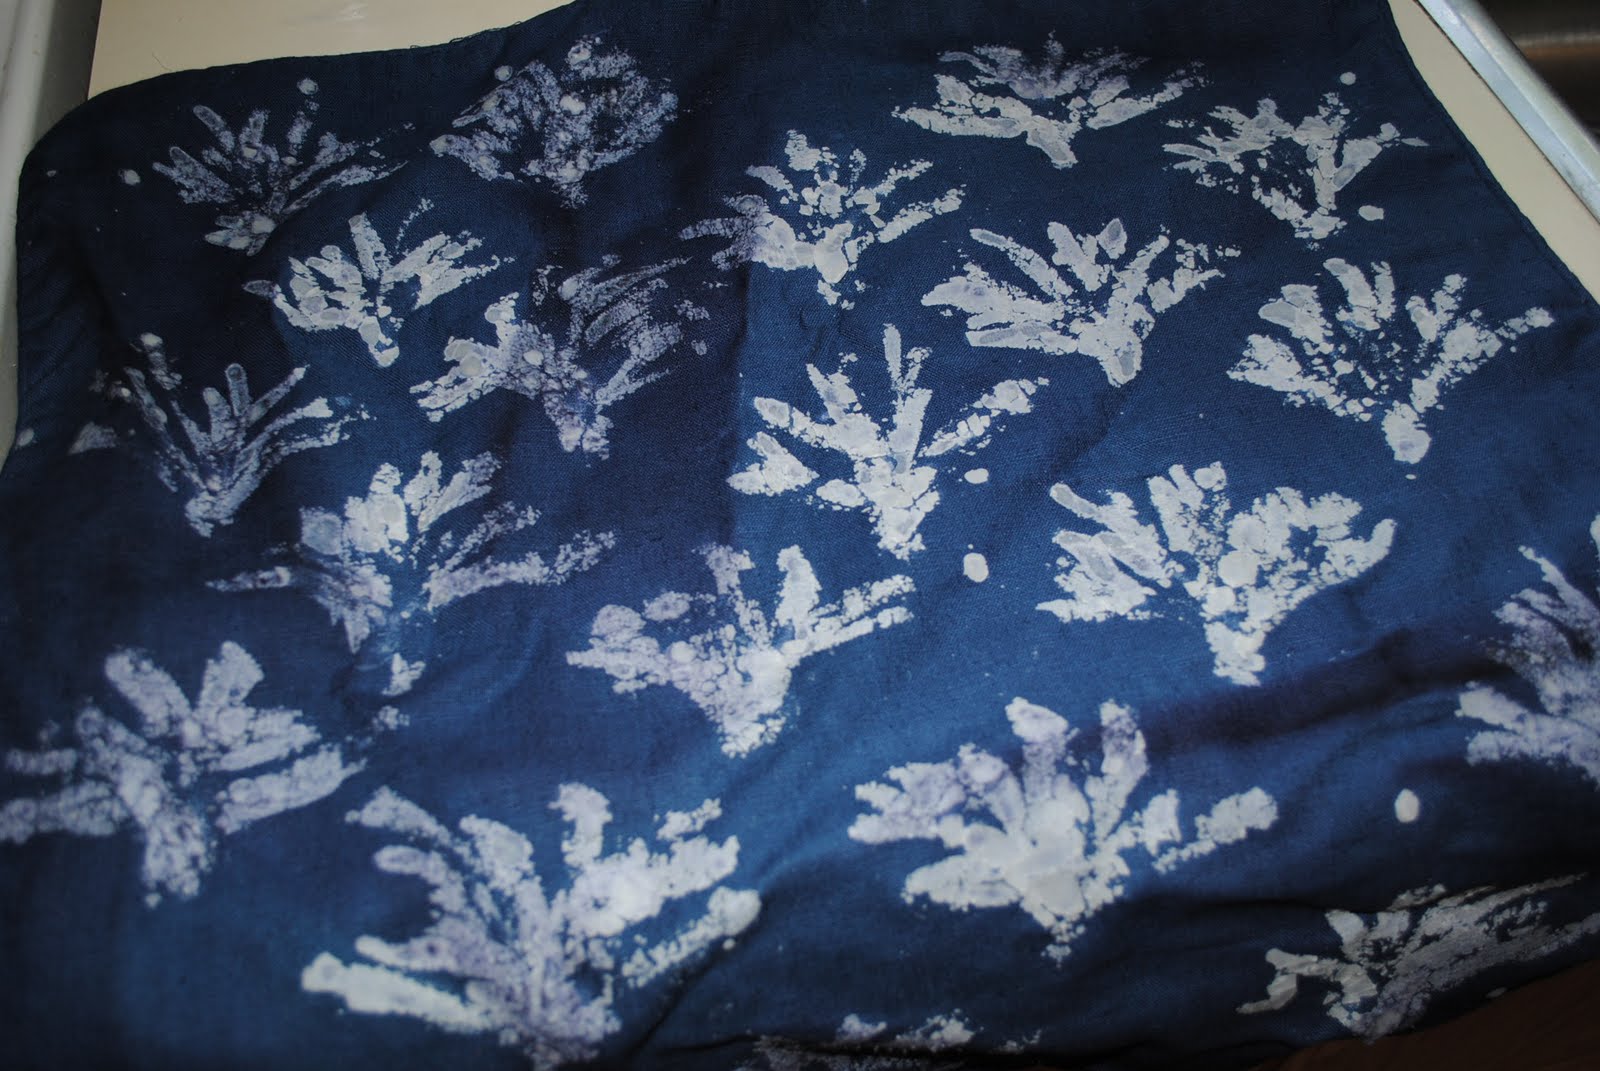
6. Depending how dark the dye is, how dark you want to dye it, how much you diluted the dye, etc., you wing it and just take the pillow case out when you feel it has been enough time (I did 4 hours with a dark navy blue). Then rinse the pillowcase in cold water until no more dye comes out (20 min or so). You should already see your pattern.
7. Let the pillow case dry overnight.
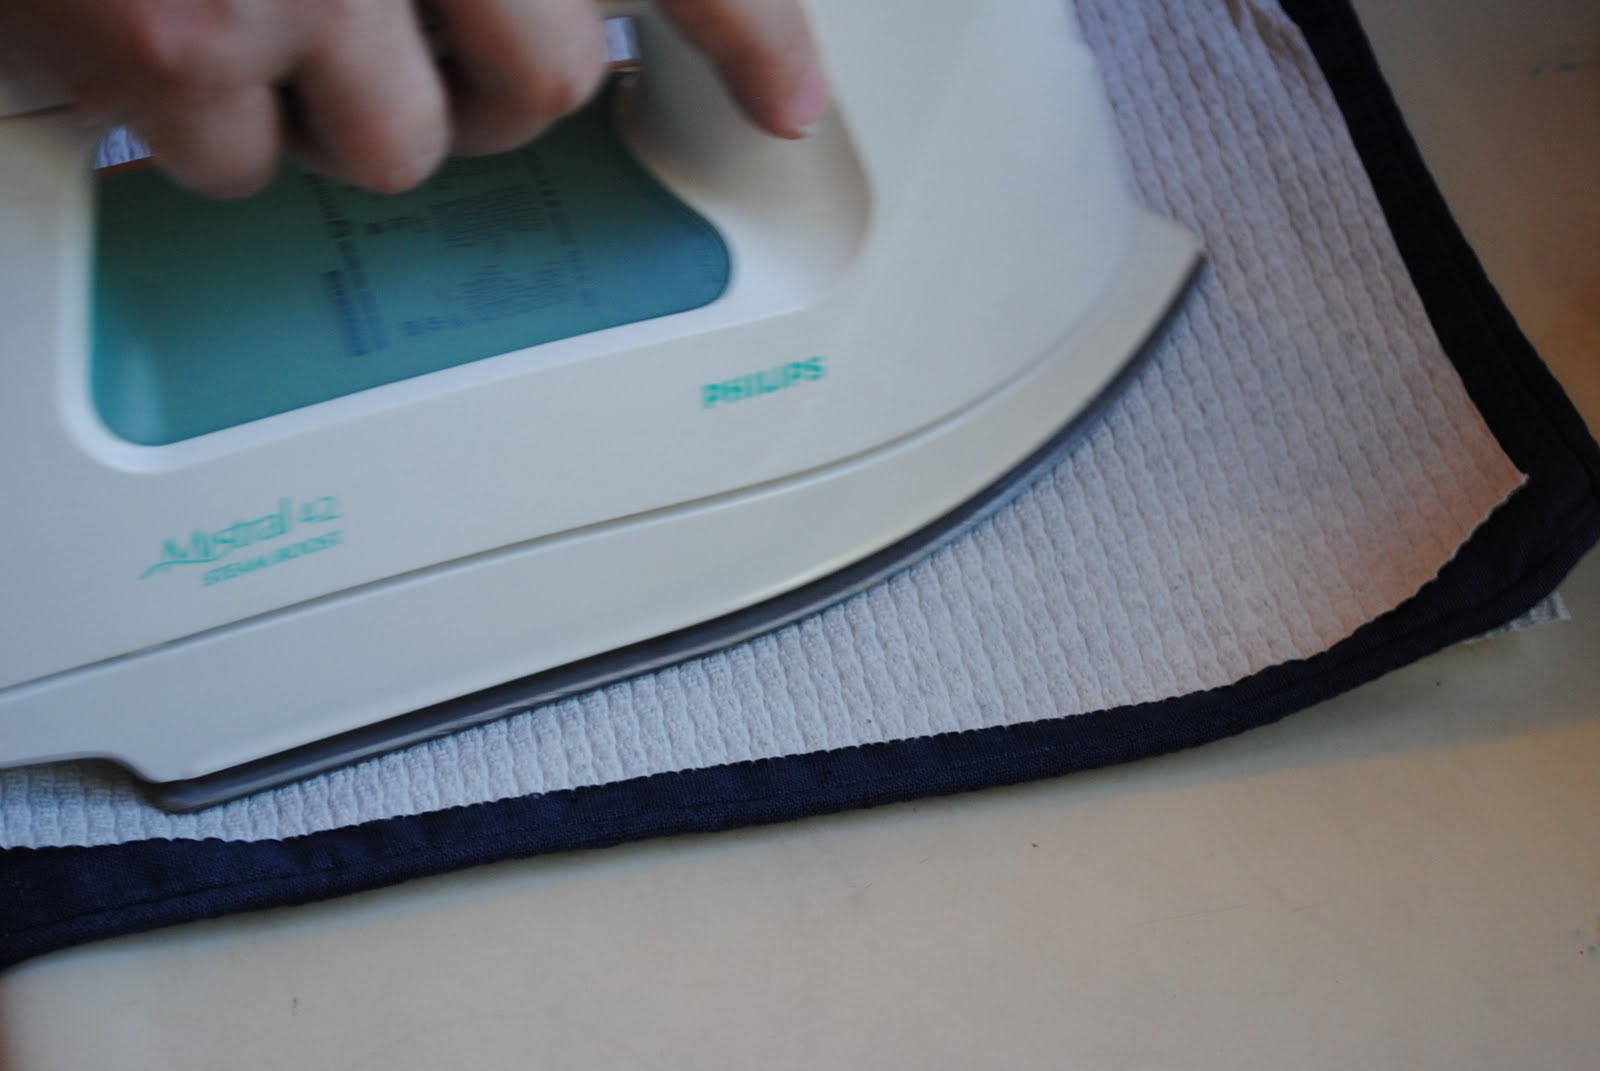
8. To remove the beeswax, you place your pillowcase between two sheets of paper towels on either side and then iron off the beeswax onto the paper towels. To be sure you got all of the beeswax off, keep lifting the paper towels to check. Replace the paper towels often to make a clean removal.
9. You can now wash your pillow case in the washing machine (by itself), but check the instructions on your dye pack. If the fixative worked, you should have a beautiful batik design.
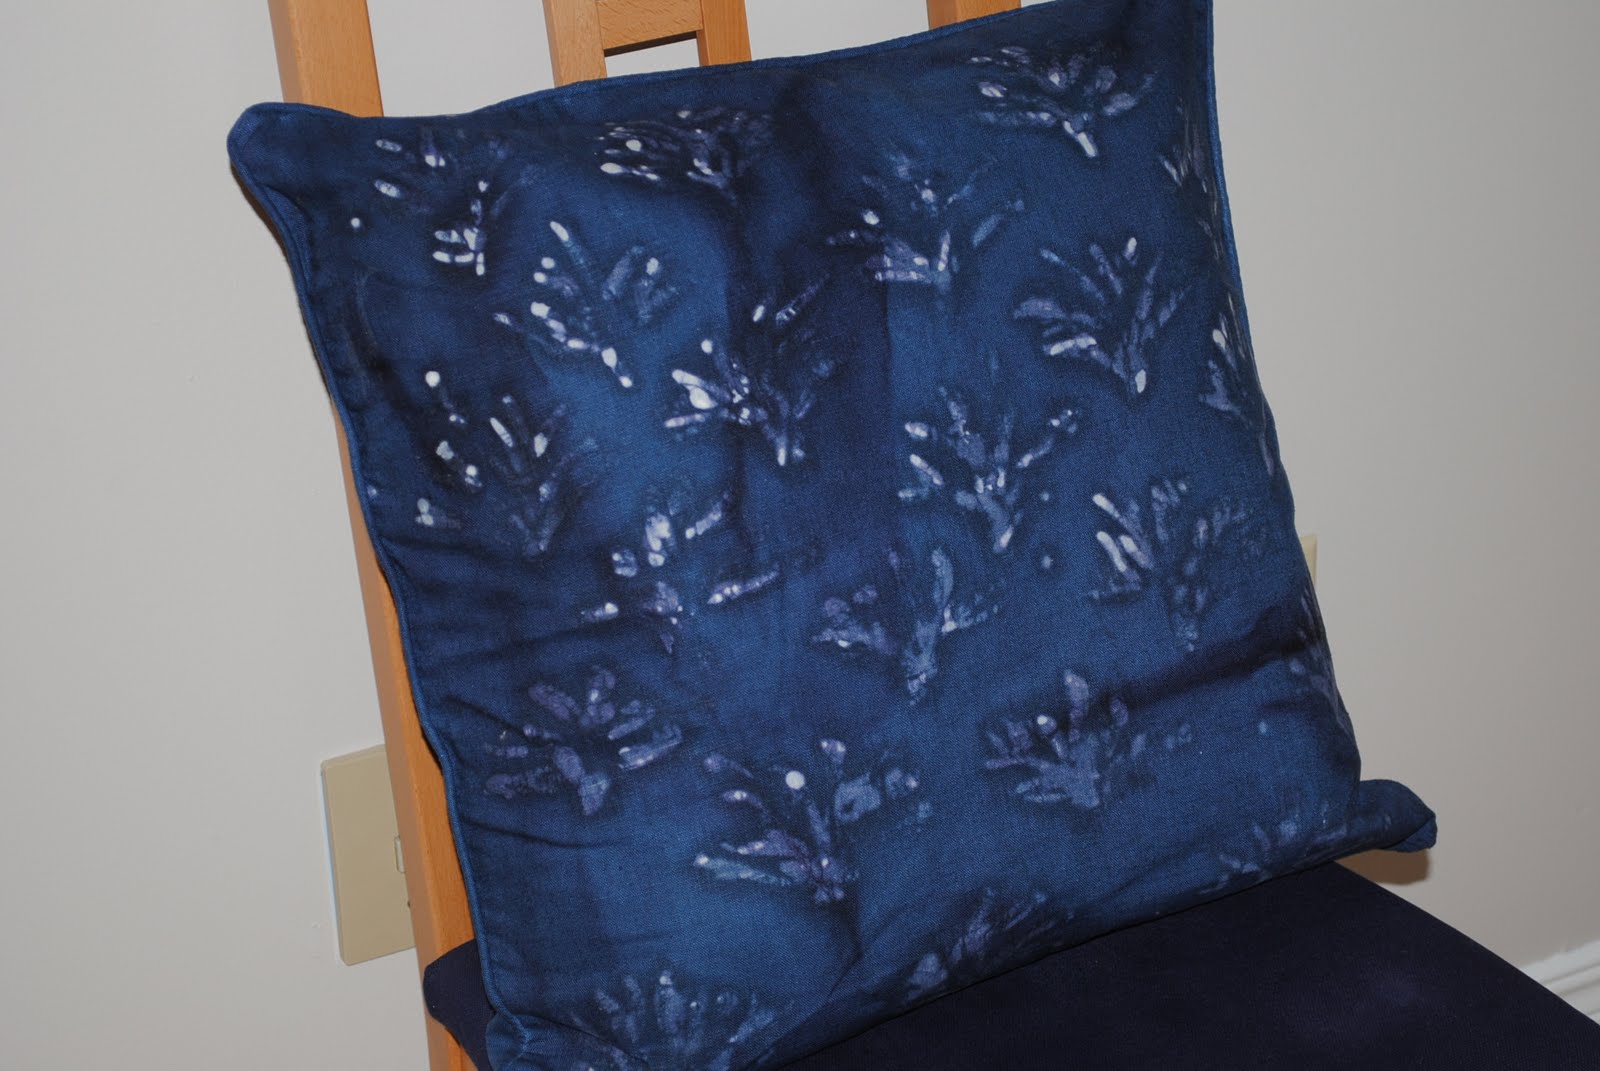
Here is my diy batik pillow.
I like it, but I will definitely be using a thicker brush next time and no more stir stick, just gloves. I will write another post on my second attempt soon.


That looks nifty! You're so ambitious!!!
ReplyDeleteThanks Tanya. I hope it will turn out better the second time around. Stay tuned.
ReplyDeleteBeautiful blog on Sheets of beeswax
ReplyDeleteIt helped me a lot...
Just the best thing.
Thanks for sharing such information....
Thanks Zenifer,
ReplyDeleteI will check it out and give this project another try. I really liked how they looked in the magazine.