Showing posts with label Easter. Show all posts

Saturday, 7 April 2012

Easter Wishes

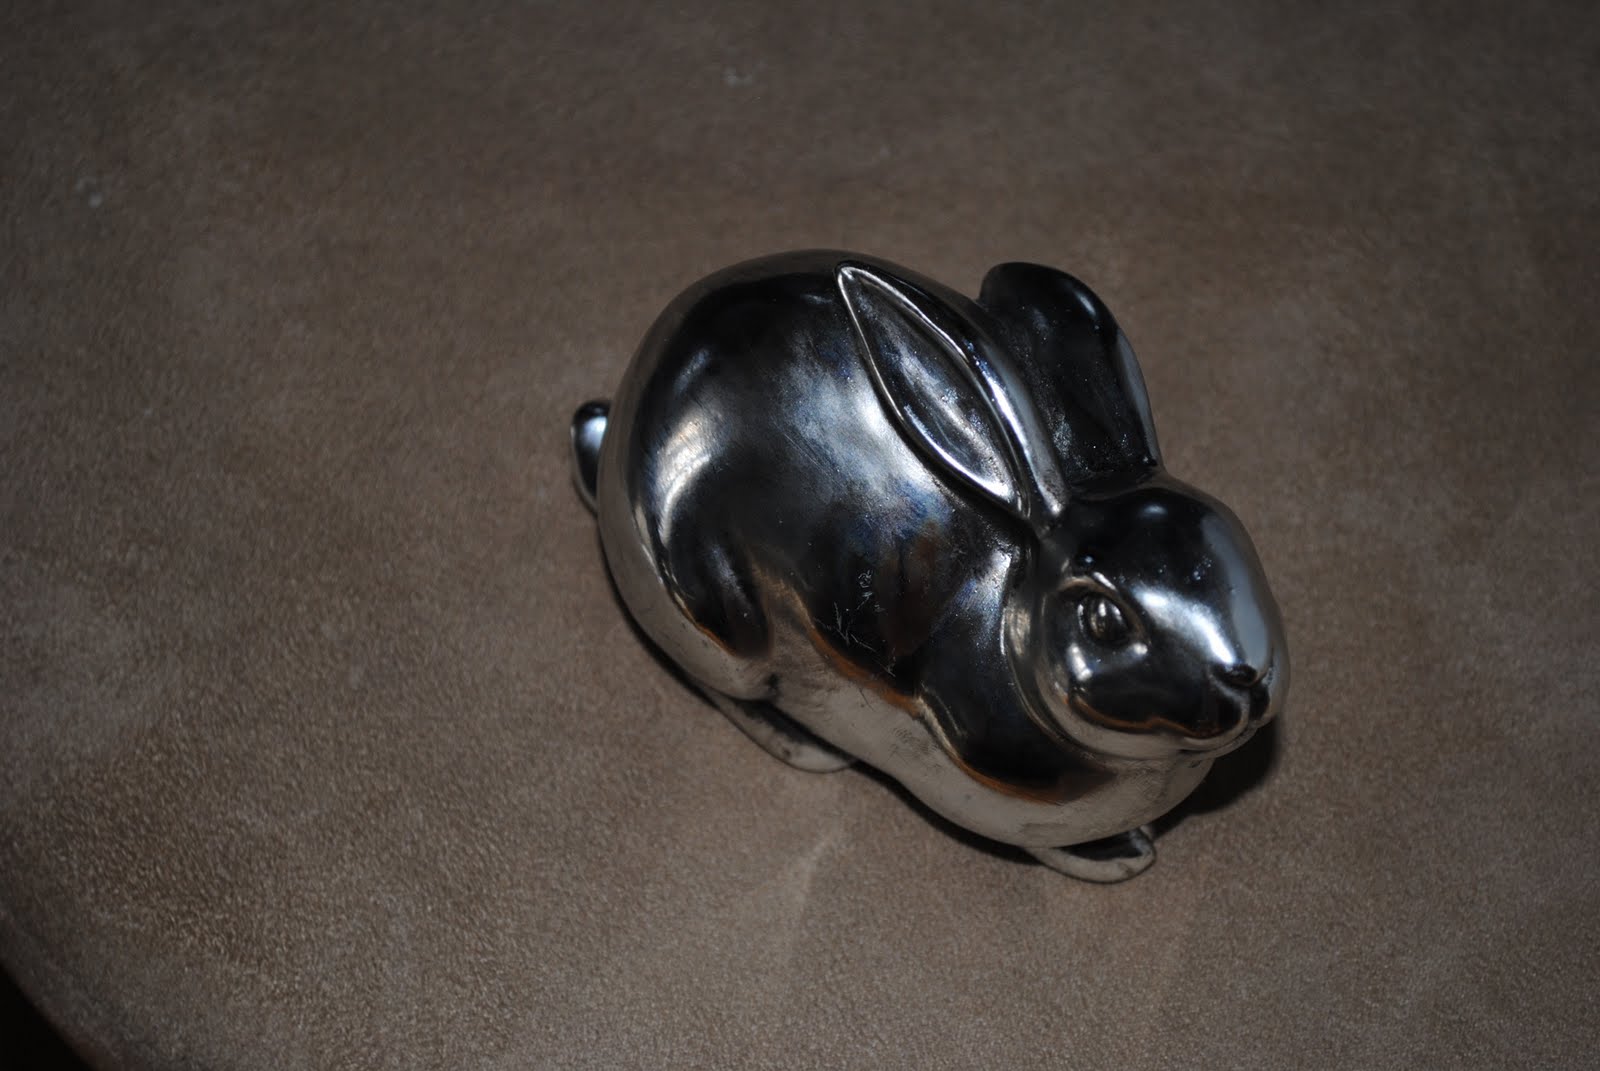
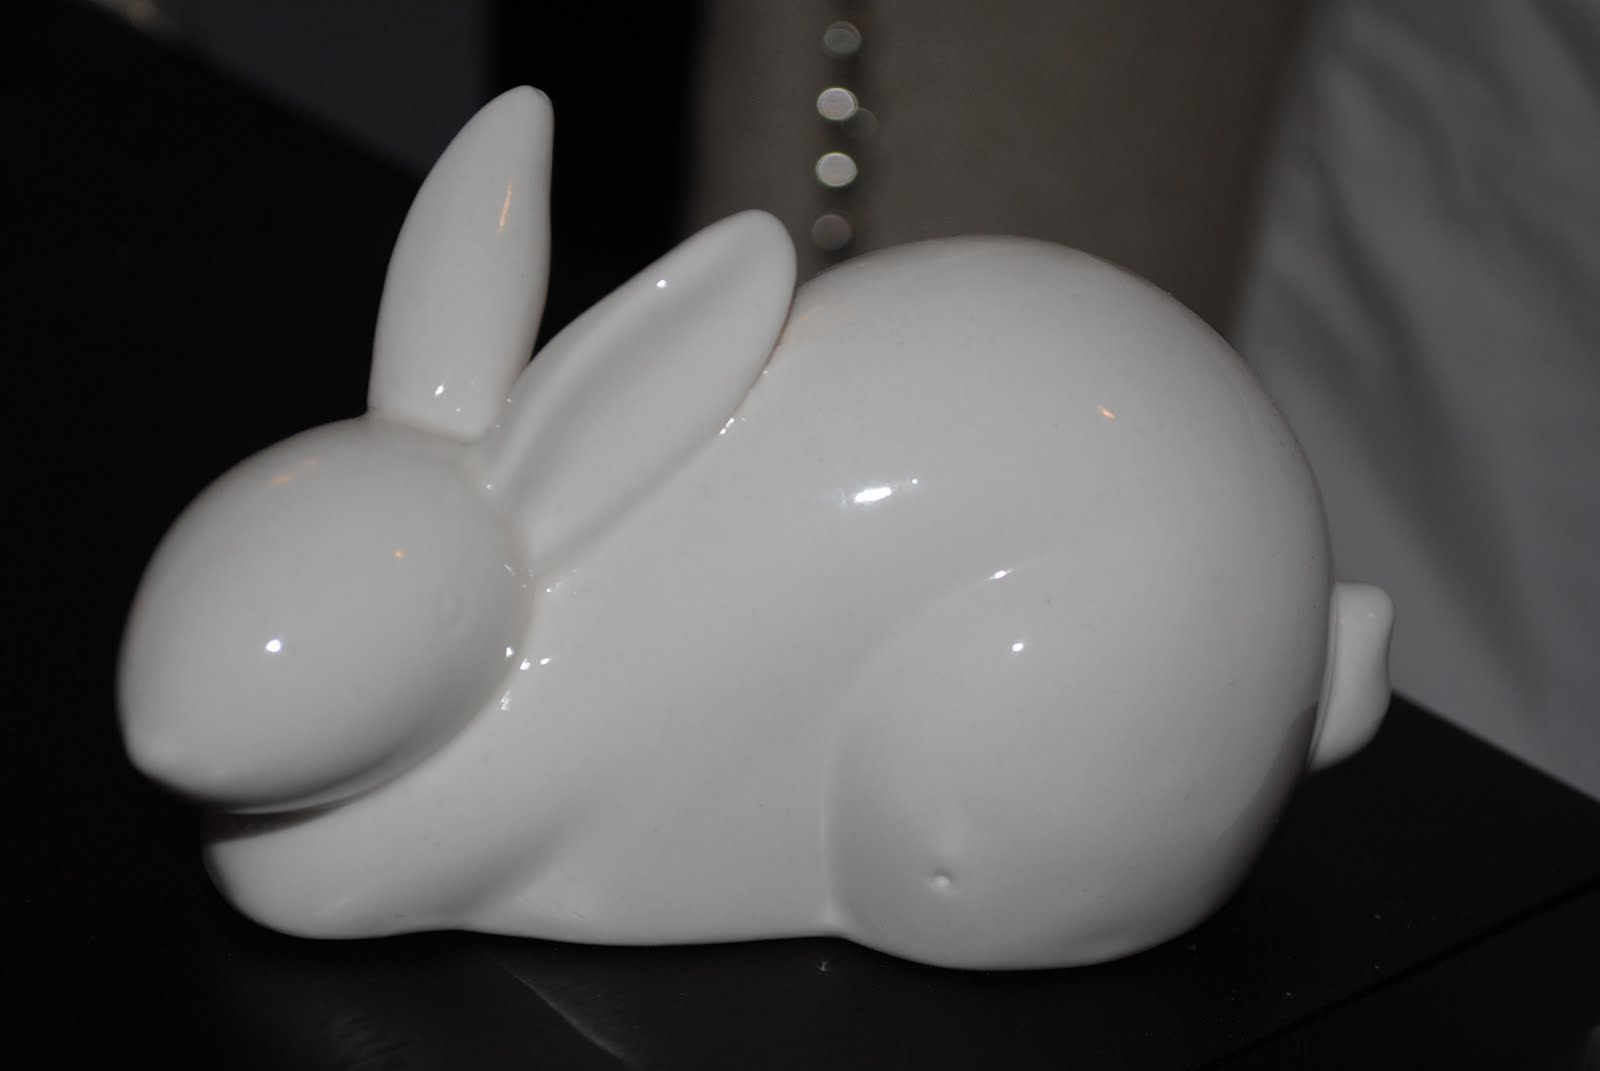
It is Easter already and the year is flying by. My hubs is back from his trip and I have been trying to catch up on house work and getting ready for Easter. I am so sorry to have been mia around here, but things should be back on track now. I just wanted to pop in here and wish you all a very Happy Easter. We will be enjoying some quality family time and going to church. But first, here are a couple of snapshots of our Easter decorations.


Hope you have a wonderful Easter! 

Happy Easter!
B
Pin It

Friday, 30 March 2012

Crafty Friday Time

Hello everyone! It is Friday again and that means it is time for some crafts. Woohoo! The post is a little late, but here it goes. I am a huge fan of Martha Stewart and while browsing her site, I came across some super cute pom pom chicks, that I knew wanted to come over to our place. And they did.

He was super easy to make and so much fun. I made the pom poms by using the tutorial from Ez at Creature Comforts. She has a great tutorial for pom poms and with the video she included, they are super easy to make. Check out her tutorial here. Here is my little pom pom. 

Quick note to mention about the pom pom. For this project, you do not need to cut off the yarn and make it neat like in her video. You can cut off some of the extra yarn, but do not make it into a perfect pom pom. 

The second part was sewing the two pom pom together, which you can do with any thread. 

Next, you choose some black thread and make the eyes. I used a French knot to make the eyes. A French knot is when the yarn goes twice around the needle and then you insert it back to finish your sewing. Here is a picture of what it looks like. Sorry about the picture. My needles were in the other room, baby sleeping etc. You can find more info here

And last, you cut some orange felt for the beak and feet if you want. 

This is my quick and simplified version to making pom pom chicks. Martha Stewart has a few more tricks up her sleeve, so you check out her full instructions right here. I am quite happy with mine and my little munchkin likes to play with him anyways. 

This proved to be a very easy Easter craft to make. You could even make this craft with your kids and I love the fact that you could easily make this as a last minute Easter decoration for your home. 


It is just me and my little munchkin around here, so I hope we get around to making some more crafts, otherwise it is train, car, digger play time. And I bet you know which one will win. Oh yes, the train, car play time. Any big plans on your end? 

Hope you have a fabulous weekend everyone! 
B
Pin It

Friday, 16 March 2012

Crafty Fridays

Happy Friday to all of you lovely readers! I am quite excited about this weekend, since I will be painting our kitchen table. The weather is supposed to be quite warm, (hopefully it will actually be and not just a prediction, as yesterday it was supposed to be a high of 10 and was very cold) and I can get outside and give our old kitchen table a makeover.

But first, I would like to introduce to you Crafty Fridays. Easter is a couple of weeks away and I figured I would share some crafts with you. So, here goes the first craft.

Metallic Easter Eggs


What you will need
-gold leaf (silver, copper), paper towels, cotton gloves, cheesecloth, brush, gilding paste and eggs

How To: 


1. Apply the gliding paste and wait 15 minutes, 2. put on the cotton glove, 3. pick a sheet of gold leaf, 4. apply the gold leaf inside

or 5. you apply the gold leaf on the outside of the egg, 6. straighten it gently by using your glove or cheesecloth, 7+8. your final product. 

For this project, I decided to apply the gold leaf inside the egg instead of 

I hope you liked this little how to and will try to make your own golden eggs. 

I hope you have a marvelous weekend!
B

Pin It

Friday, 15 April 2011

Etsy Etsy Easter Eye, Look at what I want to buy

Speaking of Easter and Easter decor, I figured what better way to find some unique decorations other that Etsy. There is so much out there, that I don't even know where to begin. Here are some of my faves.

Eggs anyone? You definitely need some colour this Easter and these adorable felt eggs are just too cute to pass up. I think they would look beautiful in a white bowl as a centerpiece. Lovely.
  
Now off to something more attainable. I love these bunting garlands. They look so fresh, colourful and fun. Makes the perfect decoration for your mantle, spring, Easter, birthday party, nursery and the list could go on and on.
There are many ways to decorate Easter eggs, but a very traditional, stunning, breathtaking and unbelievable one is Pysanka. The famous Ukrainian Easter Eggs, which not everyone can make. I think only a few are so unbelievably talented to pull this off. I would love to learn how to make them. Maybe one day.
I don't know if I should tell you how much this is selling for. Okay, you forced me. It sells for $450 US dollars. Unbelievable.

Hope you liked the items. Do you pick a colour theme for your Easter decorations or do you like pastels and go all colourful for Easter? Cheers.

Easter characters

Yesterday I visited one of my favorite home decor stores and you will never guess what happened. Someone hopped into my shopping basket. It wasn't just anyone. It was Peter Rabbit.


Isn't he super cute? Once my baby saw him, he didn't want to put him down. It isn't a toy (I know), but it was the only way to exit the store without a major breakdown occurring.

But before we left, mommy saw a very nice white furry friend as well. She had to have him and so they both left the store with mama and baby.


The end. Have a marvelous weekend everyone.

Tuesday, 12 April 2011

Silver & Gold for Easter

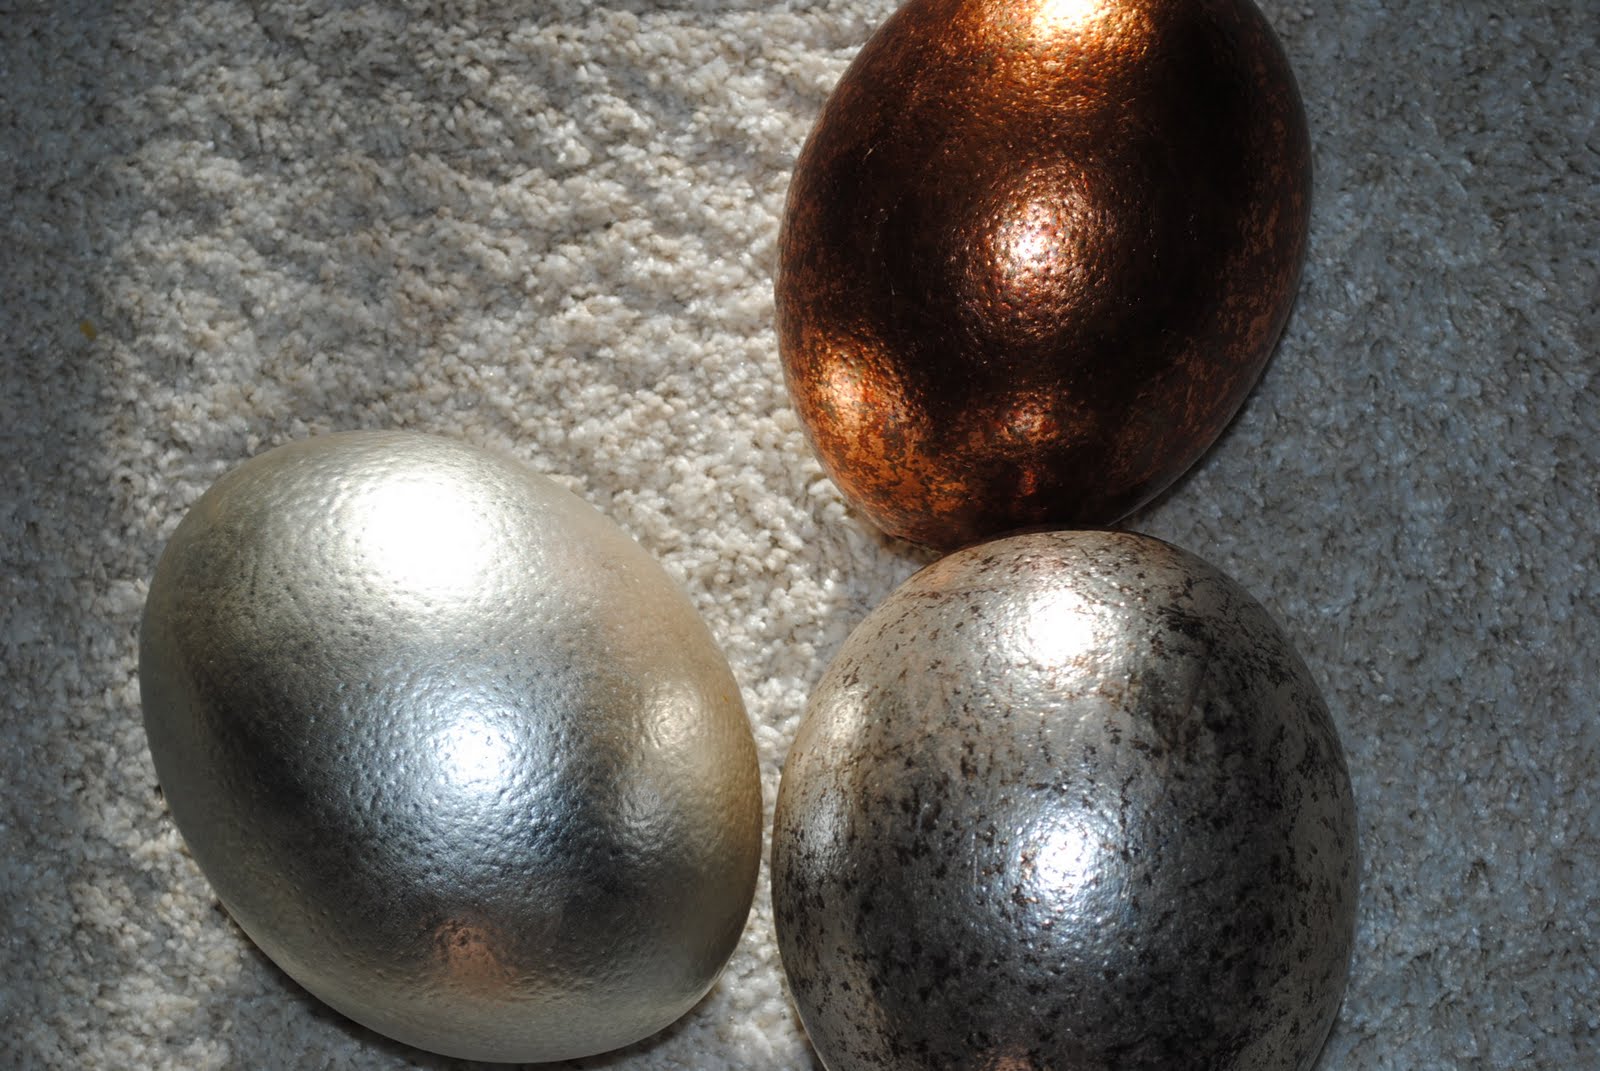
In this post, I will show you one more way you can decorate your Easter eggs this spring. Aren't these eggs  just gorgeous?


I think they are beautiful. And you can make your own gorgeous gold and silver eggs. The eggs in the picture are ostrich eggs, but you can use regular eggs as well.


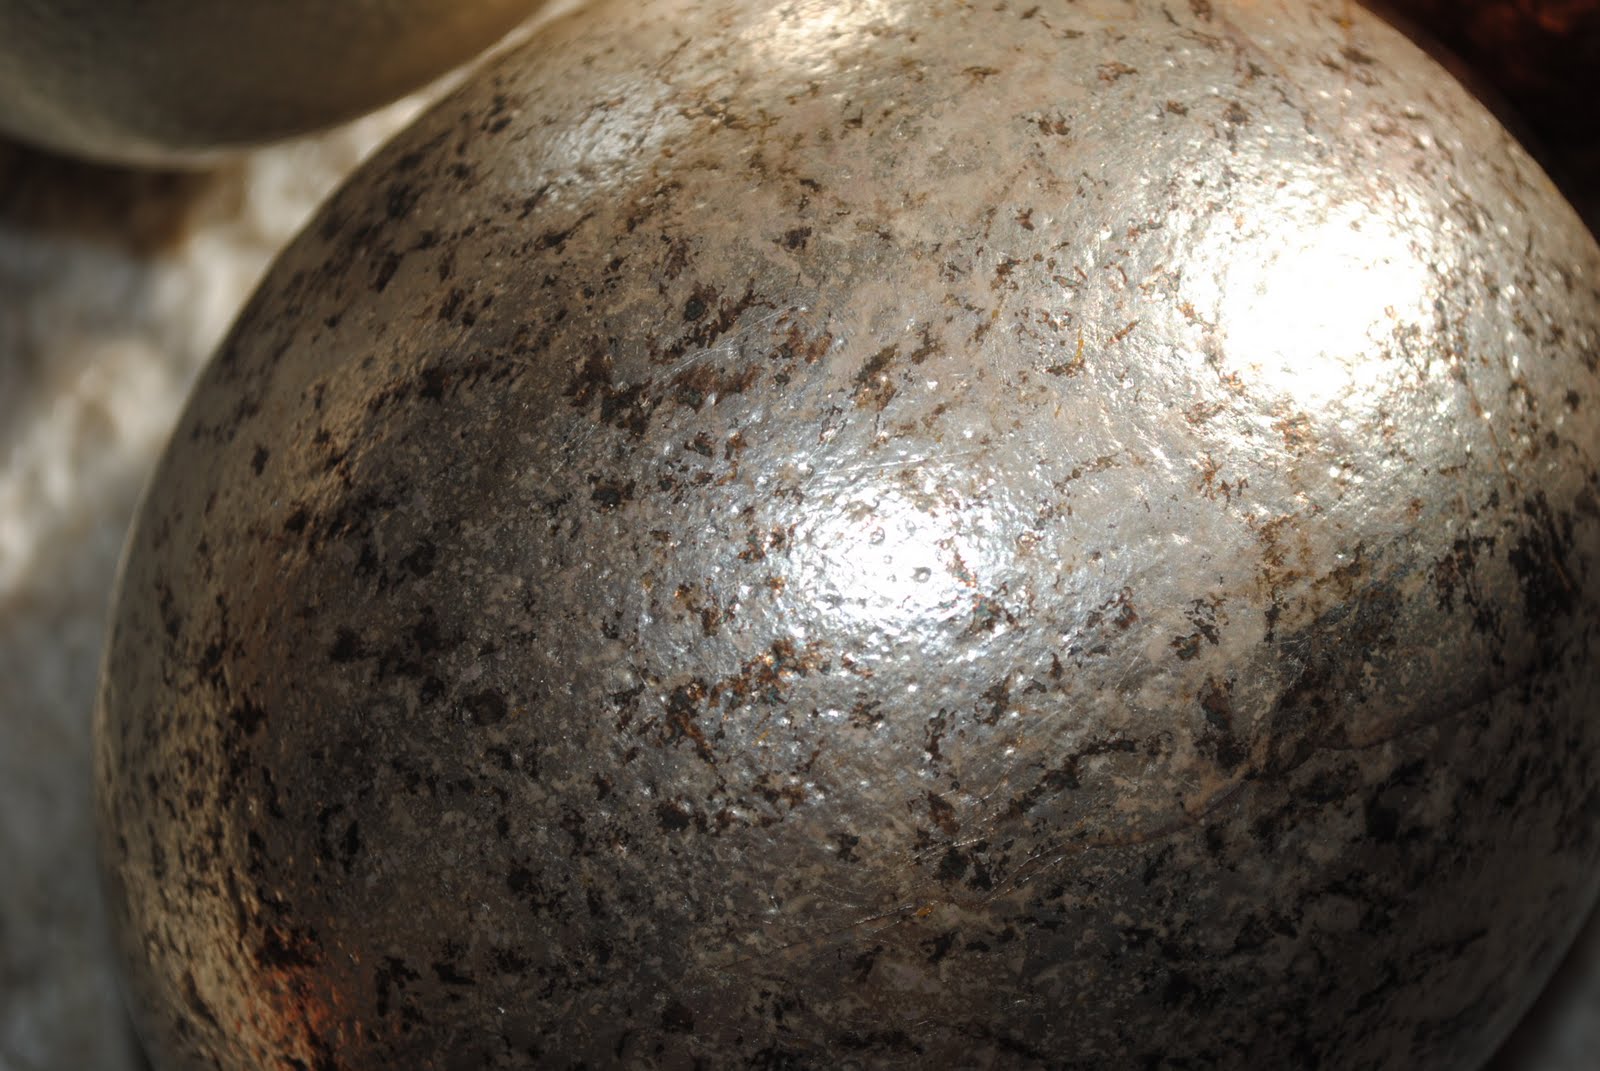
All you need are some silver and gold leaf sheets and a foam brush or toothbrush. First, blow out your egg, wash it and dry it. Take one leaf at a time and flatten them down on the surface of the egg with the toothbrush.  After the surface of the egg is covered, you can take a cotton ball and polish the metal to make it shine. You could apply a layer of varnish if you wanted. It will make the egg smoother and shinier. The egg below does not have a layer of varnish, but the other ones do.


Hope you like them. Do give this craft a try. It will make for quite a beautiful Easter decoration.


Make sure to check out this project and other Easter related posts on Centsational Girl's Easter Link party. There are a ton of really amazing projects. 


LinkWithin

Related Posts Plugin for WordPress, Blogger...