Showing posts with label diy. Show all posts

Wednesday, 15 February 2012

Not Climbing The Ladder

Pillows are always a very easy and inexpensive way to decorate and style your living room, or any room for that matter, but my husband is not a fan of them. More accurately, he doesn't like decorative pillows so much and would prefer not to have any on our sofa (they get in the way of sitting, he says). 
So, this is the compromise that I came up with. I suggested we make a ladder and I put the pillows there when he wants to relax on the sofa. He was not so sure how it was all going to look and wasn't really sure about having a ladder in the living room. Hmmm, maybe you aren't so crazy about the idea either.
Well, I went for it. You see, my reasoning was that the height of the ladder would complement the large wall and fill it up without adding any more artwork on the walls.
Another great thing about the ladder is that we can put our phone and gadgets out of reach of the little one who seems to not be so little anymore and handles our phone like his own personal line. "No, I talk mama" until he is done talking to whomever. Sorry, rambling on here. Back to my ladder!
What you need to make this:

-three 0.75 inch x 2.5 inch x 7 foot pine wood pieces, nails and white paint

As you would expect, two 7 ft pieces make the outside pieces, and the last piece we cut down into five 16 inch rungs. We nailed the rungs at equal spacing (I must have measured it twenty times!), and at a slight angle so that they would be level when the ladder leans against the wall. Last on the list was some white paint (two coats). 
Thinking back now, I would have liked to make the rows wider (more than 2.5 inches) so that I could have stored books and other things on there.  I could have even created a graduated rung size (big on bottom where it is farther from the wall, small on top). You get the idea though, how pillows, blankets, candles and telephones have a special niche.  The ladder is far more subtle than a big shelf, takes up less room, but provides some height and style to the corner. What do you think?
So far my son has not found it too interesting, but I'll let you know when he starts climbing on it.
Have a great day everyone!

B

Monday, 16 January 2012

Extending the Shelf life

Good day all! Hope you are all doing well. Last week, I received a very unexpected, but interesting email, which changed my plans a bit and kept me away from here. Therefore it was quite an exciting and busy week, but now things are calming down around here. Will share more details soon.

In my last post, I shared the gallery wall in my son's room with you and now I will share the picture ledge how-to. First off, I have to say that I absolutely love ledges and think they are the perfect addition to any room. And in this case, it was great to prevent my two year old from reaching and grabbing the pictures on the wall.
IKEA sells a ledge and we even have a few, but the depth of the ledge is about 3 inches, more than I wanted for this project.  So, off to diy one. And the great thing about making your own picture ledge, is that you can customize it to whatever length and depth you want your ledge to be.

What you need:

- 1" x 1.5" x 8 ft piece of wood (pine); piece of wood molding - 1.5" high x 8 ft long;
- wood glue, clamps, white paint + primer

How-to:

Glue the piece of molding to the short edge of the 1" x 1.5" piece along the entire length. The beveled edge of the molding rests above the edge of the other piece of wood to create the edge that your pictures will rest against.
You will need clamps to hold these pieces together along the length to ensure that a good tight fit is achieved.
Once the glue had set, I even banged a few small nails into the molding, to hold them together. I then primed and painted the whole thing white. I used some 90 degree angle screw plates to attach the ledge to the wall (leveled with drywall anchors). 
So, I created a ledge of just the right size for the layout of the gallery wall without too much effort. I hope you like the ledge and maybe you would even consider trying it.

Have a great weekend everyone! 
B

Wednesday, 30 November 2011

1, 2 Buckle my shoe

I am always making little things to go in my little munchkin's room and this art project is the latest addition.  He has a rather long, undecorated wall, that I am attempting to transform into a "gallery wall".  I didn't choose a theme, but I would like it to be playful and colorful.  One of my goals for this week is to finish his gallery wall and post it on the blog. There, I wrote it down and now I have to finish it. Wish me luck. Back to topic now.

So, every time I visit Ikea, I would stop by the art section and this print kept catching my eye. 
I was thinking of buying it, but usually the next thought would be, 'I might be able to do that'.  I had a leftover canvas from another project (which wasn't very successful) and used it for this. That is why the white canvas might look like it is painted.  I wanted my numbers to have a textured feel, so I was thinking of making the numbers out of potato and then stamping it on the canvas.  But I figured I could never carve out a nice looking number, so out goes that option.

So, then the idea hit me that I could "borrow" my son's foam numbers that he plays with at bath time. Ta da daa!


It worked well and that is what I ended up using. I am pretty happy with how it turned out.  Check it out!


Can you say easy peasy children's artwork? It was quick, easy and it didn't cost me a penny. We are trying to learn numbers, but the only one my little munchkin says, is two two two. He won't say one, but he will definitely say two. Off I go to practice three, four etc. Have a great day!
B

Friday, 25 November 2011

Snow White How-To

I just have to say that I truly admire all the amazing bloggers out there. There are many people that are so talented and are truly special people and I am very grateful that these people choose to share their talents, secrets and humor with all of us. There are many projects that I would either not have thought of trying or lacked the confidence to do, (like a diy headboard, which seemed a scary project to me). Thanks to all of you.

This week, I mentioned to you that I had been looking for lamps for a while and narrowed it down to my top two ( in this post). The two gorgeous lamps were more than what I was looking to spend, and after many unsuccessful thrift shop visits, I decided to make my own. Hence, the creation of Snow White.


I was trying to figure out a way to make a similar looking lamp and then one day, I got some inspiration. What if I used wooden candlestick? My husband wasn't too sure, but I talked him into it. It is my new table lamp and I am pretty thrilled with it. I think it is quite similar to the ones on my wish list, so I would consider this a successful project.

What did I use?

- wooden candlesticks (Ikea and Michaels), drill bit, lamp kit, lampshade, spray paint, super glue

How- To

- I bought a drill bit (3/18"), that was long enough to go through the candlestick holder and drilled a hole. The wooden candlestick holder from Michaels, has a metal piece that needs to be removed first. Then started drilling. I spray painted the unfinished wood candlestick holders.

-I drilled a hole through the second candlestick holder from Ikea (wood finished). Spray painted it lightly, so it would match colors.

- I attached the lamp kit and used super glue to attach the two candlestick holders together.

Put on a lampshade and there you have it. My new table lamp. Hope you like it. Have a great afternoon!
B

Tuesday, 15 November 2011

White-Brown Beauty

Good morning everyone. Yesterday, I shared my 'stain collection' with you and gave you a sneak peak to my new beauty. Well, here is the new and in my opinion, improved coffee table.


I wasn't sure how a two tone look was going to work with this coffee table, but I have to say that I am very happy with it. It changes the feel of our living room and it gives it a more modern look. What do you think? 


What did I do and use to change it?

I started out by sanding the bejeebers out of it. I didn't time myself, but it was quite a bit of time. 

I started out with staining the legs, using this stain. I have to say that it was very easy to apply and it worked quite well. I used an old t-shirt to apply the stain, and tried to go in even strokes.


I do have to mention, that I originally started out with oil stain and it did not 'stain' and stick to the wood. It is probably because of the old wood, but not really sure. Not that oil stain isn't good, but it just didn't work for my table. A little fyi, in case you didn't know, you cannot apply oil stain over water based stain, but water based over oil, yep. What I learned over the weekend. 

Then I painted the top white and gave it some Varathane protective love. And voila. 


What do you think? Should I have painted the whole thing white or stained the whole thing? Or does this work? Have a great day ahead!

Saturday, 12 November 2011

I did it, I finally did it

I did it, I finally did it. I am so excited to share this project with you. This will be a Christmas present for my little munchkin. I hope he likes it. At times, I am undecided about a project or to be honest, don't have enough faith in myself to do. This particular sewing project, was especially one of those 'maybe' projects, since I have less than 6 months since I own my sewing machine. But, I figured I should give it a try, since Christmas is fast approaching and if I failed miserably, I could always buy one.  What am I talking? This is it.


Last week, I shared a tp roundup post here, so I guess you aren't too surprised when I show you what I have been up to.  I don't know about you, but it took me a while to figure out how I wanted to go about making it and the length of the sides etc. I am extremely happy with how it turned out and now that I have finished it, I will be spending some time this weekend writing up the how to. I am off to finish some more projects and make some french toast with my munchkin.

Hope you have a wonderful weekend and see you soon! B


Monday, 26 September 2011

Cork-y Fun

Good morning to you all! I am full of energy and excited to share lots of goodies with you. I had a wonderful birthday and my guys spoiled me. Thank you so much for your birthday wishes. But the best gift was the gorgeous, beautiful, sunny and warm weather that we had. We enjoyed a very nice lunch and just took some time to reconnect as a family.

Not only did I get some very special presents, which I will share with you soon, but I also got some time to finish some projects this weekend. Here it is.

A couple of months ago, while I was browsing the House of Fifty, summer issue,  I saw this corkboard that caught my eye. Doesn't it look great?
Image courtesy of House of Fifty
Since, the regular, plain old corkboard is a staple in most homes, I knew I had to give mine a new upgrade. It was sitting in our kitchen and I was not so happy looking at it. So, over the weekend it underwent surgery. Here is the before:


Here is the in between (painted the wooden frame white):


Here is the after:


I couldn't find any cotton lining, so I used an old t-shirt ( don't tell anyone).
Next was the fabric, which I had laying around and last were the tacks. 


The cost of this surgery was $0. I had everything from the fabric (Ikea), to the paint and the tacks. I had some tacks from a couple of previous projects that you can check out here, here and here.  Hope you like the outcome. It is definitely a big difference from before. :) If you also like tacks, (like me), you can check out some of my other projects with tacks, like my Colette headboard, my navy headboardmy Rast hack and my monogram artwork made with tacks. Gotta love those tacks.

Have a great Monday everyone and a great week ahead!
B

Tuesday, 13 September 2011

Some DIY Yarn Love

Here we are on Tuesday and my little baby and I are still sick. My munchkin has been especially cuddly lately and I just couldn't tear myself away from him yesterday to write another post. It hurts so much to see your kids sick and feel hopeless at times, but I just hope that this cold won't stick around for too long.

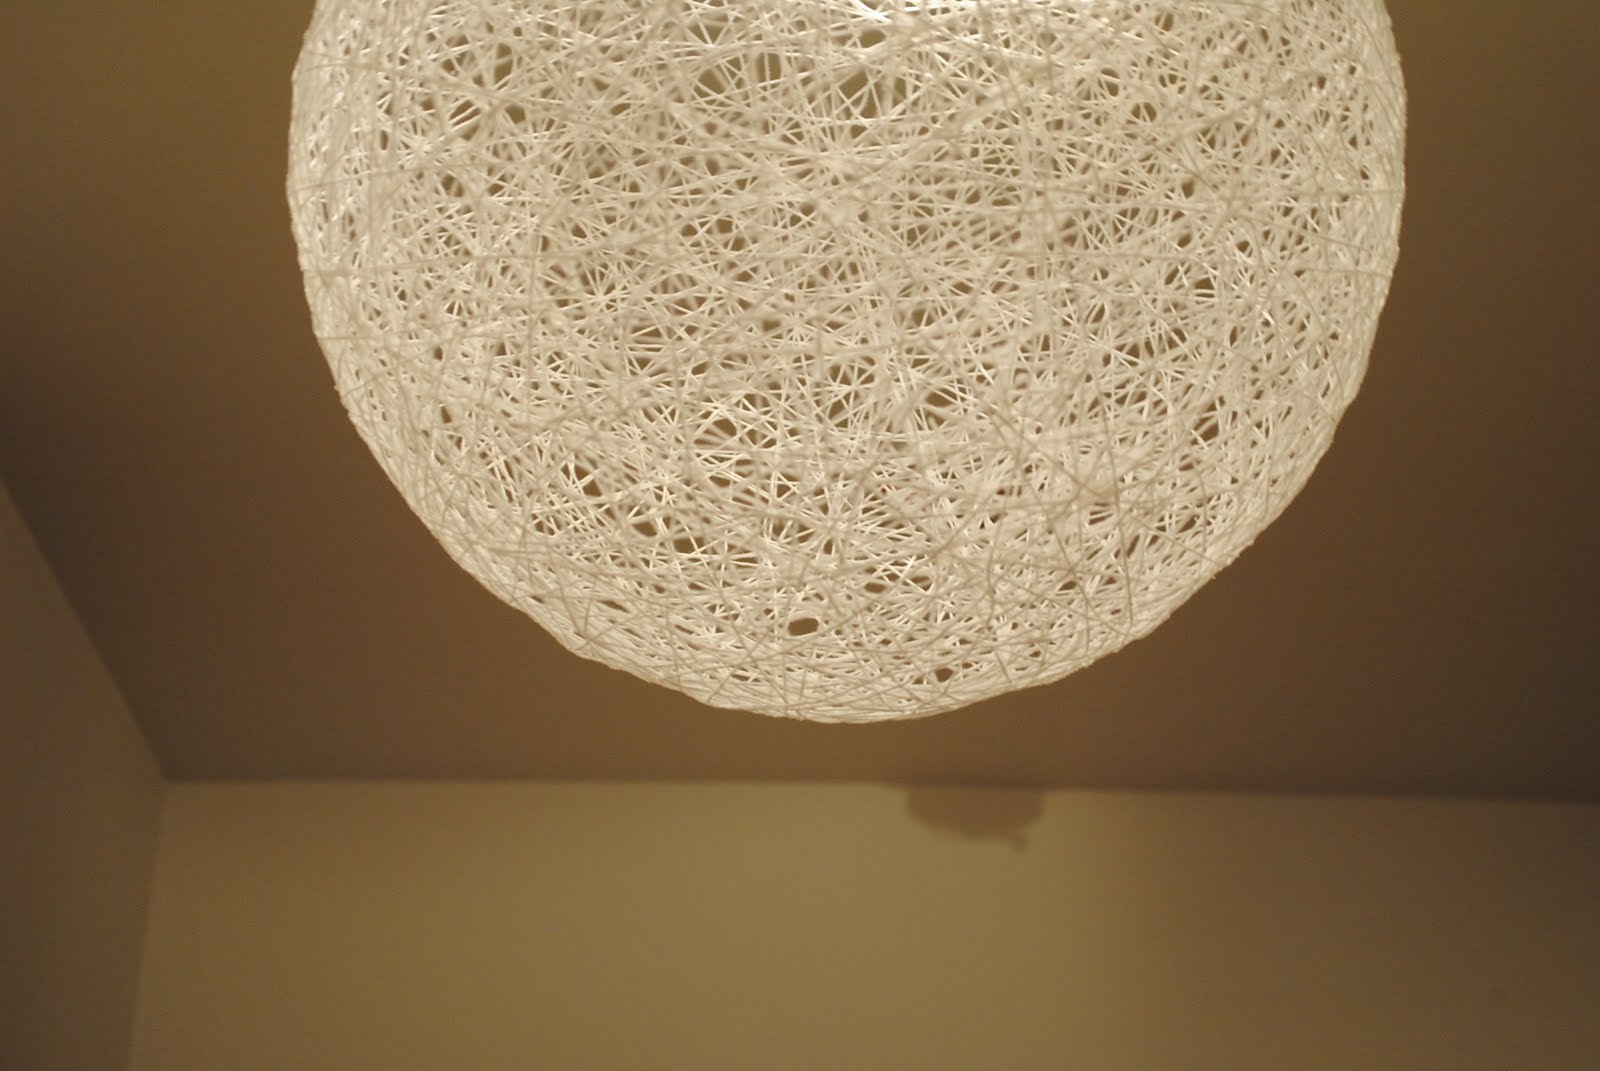
Last week I shared a DIY light pendant that I made for our place and here I am today sharing yet another one. I do have to tell you a short story though. We live in a pretty old apartment building and there is one more floor above us. Have I mentioned that the building is old? Creaky floors feel like trampolines.  The upside to that is that the rooms are quite large and the apartment all together is quite spacious. That's the price you have to pay for a good location, I guess. The down side is that we don't have storage, which makes it a real pain when you have a baby and accumulate a ton of stuff along the years. I would turn to the old Carrie from SATC trick, (putting sweaters in the oven), except I unfortunately use it. Getting side tracked here. Light!
As I was sitting in the living room one afternoon, I heard this loud noise. What happened you ask? Well, the old glass light fixture fell on the floor and shattered into pieces. Have I mentioned that a similar light fixture fell in the kitchen on one of the chairs. And one with the previous tenant. We decided we would remove all the glass light fixtures, since we don't want to have one of those things fall on us or our baby. And I knew exactly what to put up there instead.

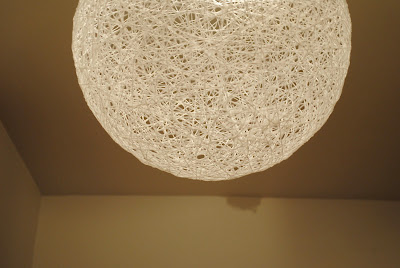
After reading Carol's post, from Design Pages and seeing her light pendant, I knew I wanted to try one. I also remembered one that Jen from Made by Girl made. Carol used mod podge and Jen used fabric stiffener. I chose to use fabric stiffener, since I didn't have enough mod podge and the store near our house had fabric stiffener.

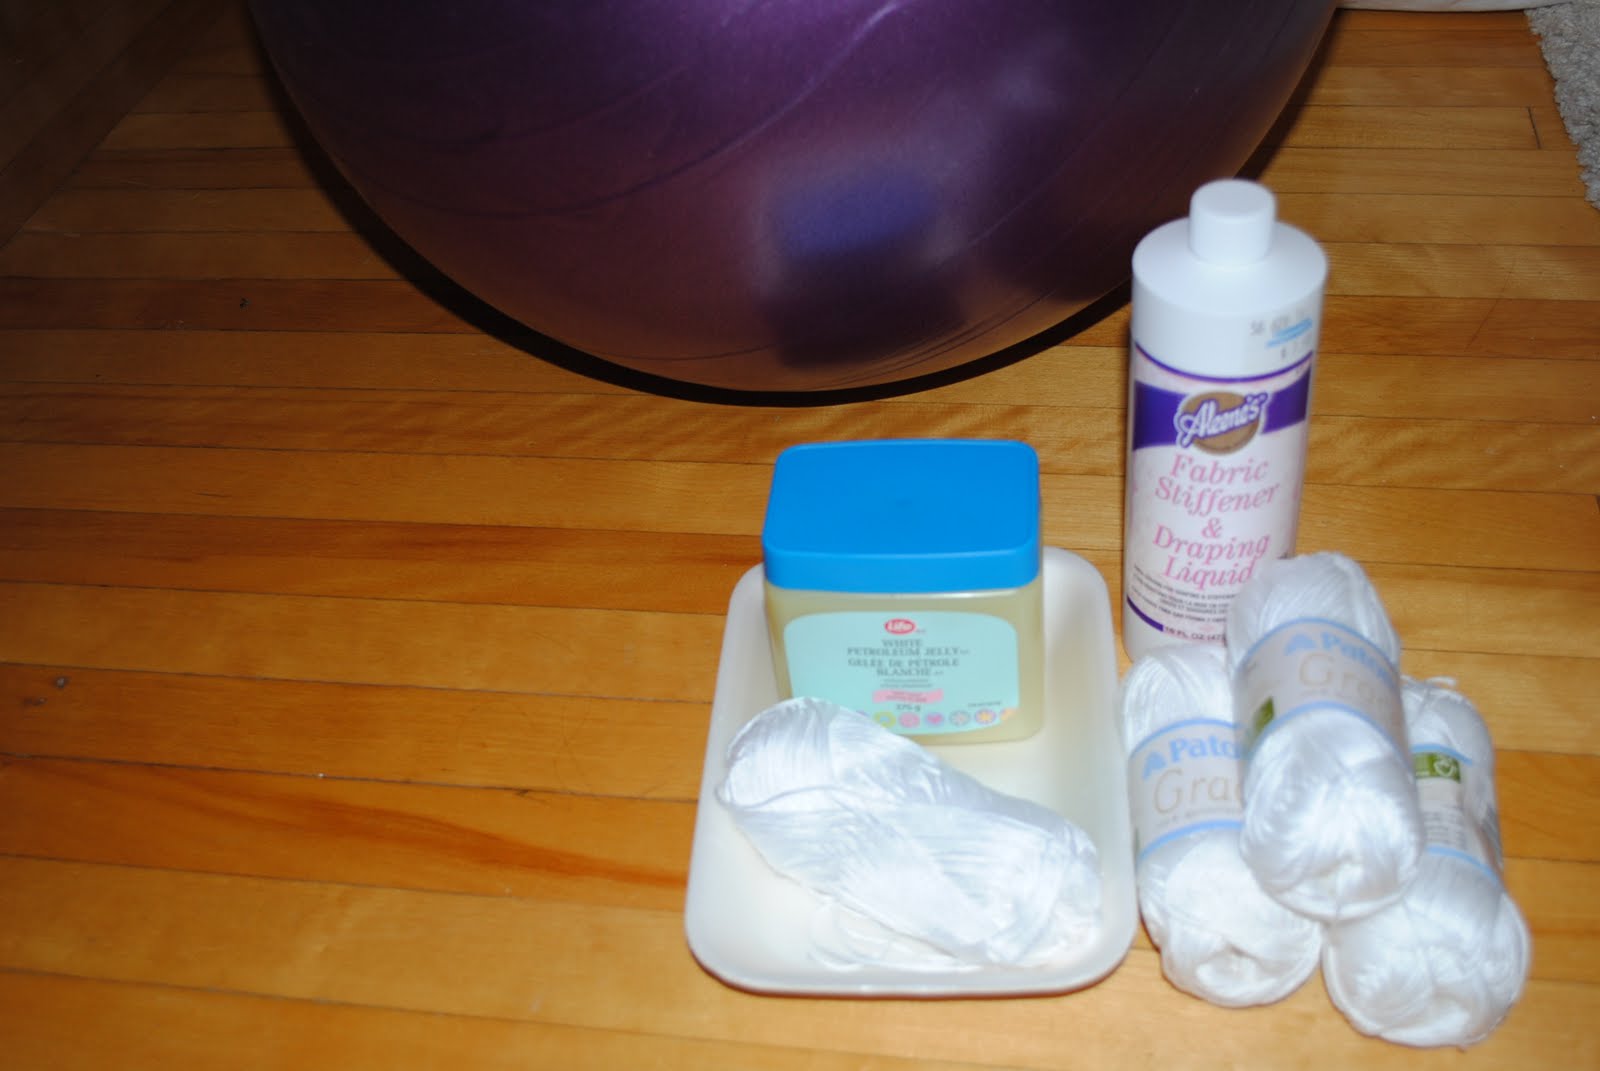
Here is what you need:
- exercise ball (or a regular ball), yarn, fabric stiffener, vaseline and an extra pair of hands, (pair of gloves?)

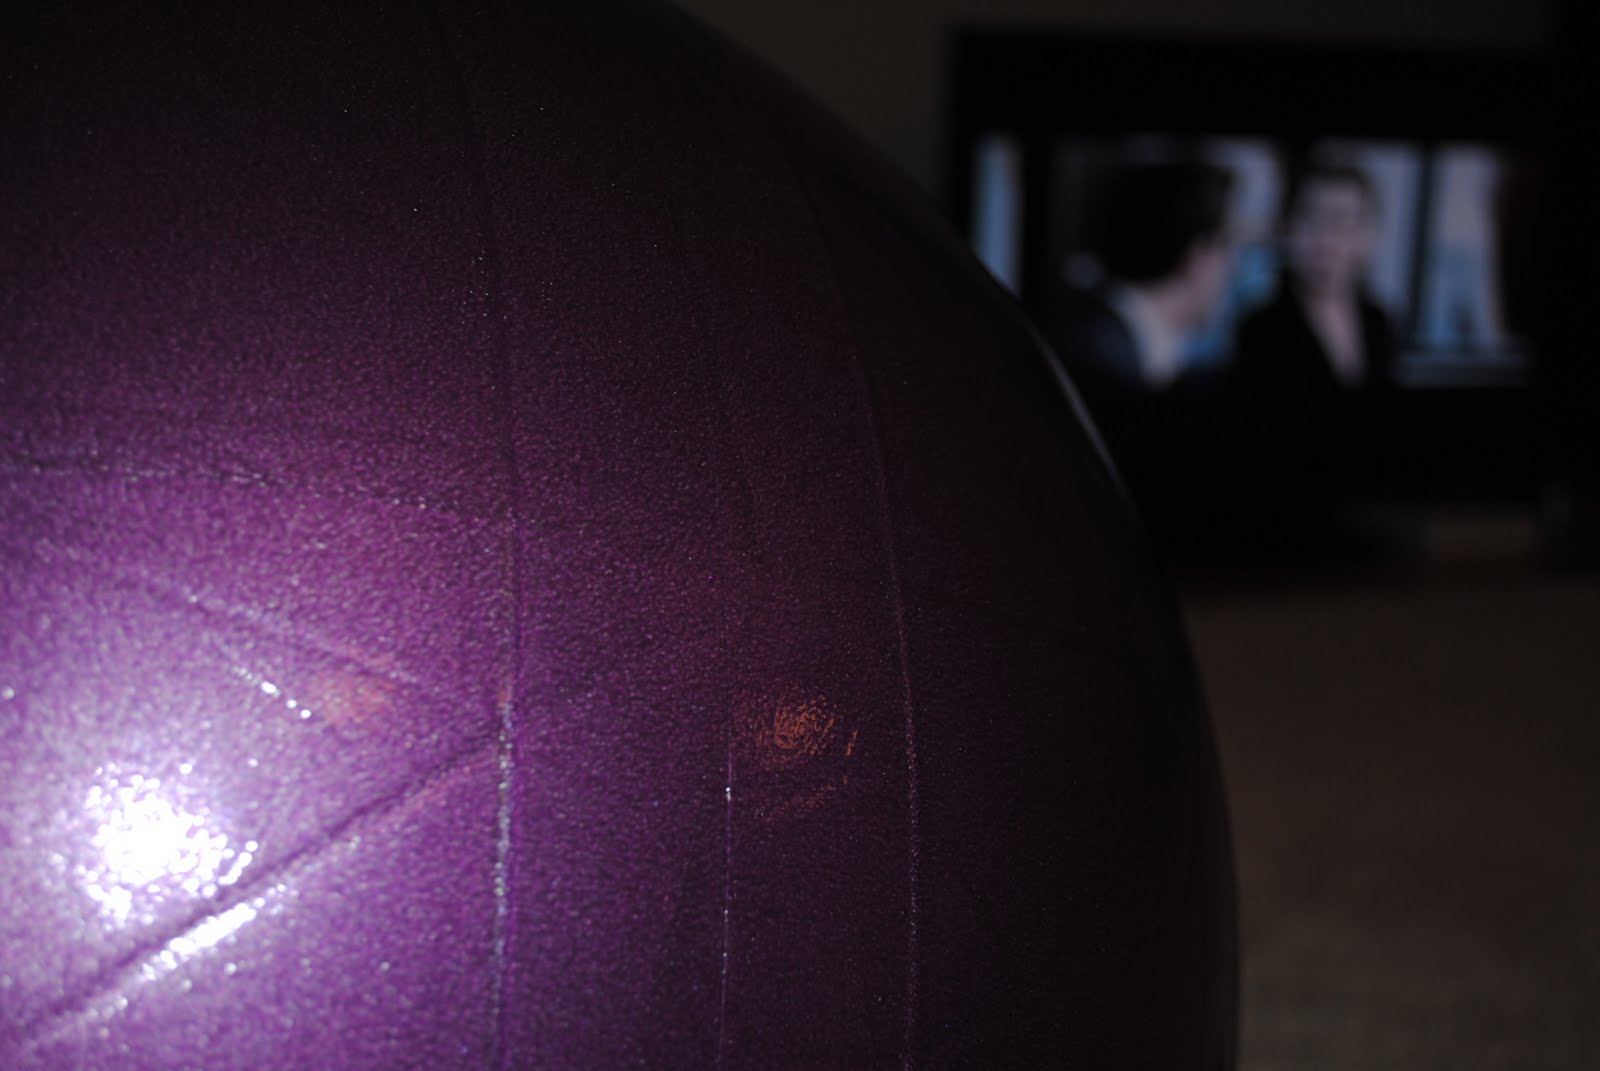
First off, you make sure that the ball is covered with vaseline (don't use too much). This step is not essential, I did it, but the first time I did, I added too much and then had to clean it after with a little brush. The second time it was much better. 
My ball is ready to be prettied up. Yes, I was watching The Proposal (with Sandra Bullock and Ryan Reynolds) while doing this, which lasted about two hours, give or take. And my hubby watched it too, while he was helping me. Love that guy!

Get your extra pair of hands ready. Maybe you want to use some gloves as it can get really messy. And I mean really really messy.  Essentially, you soak the yarn in fabric stiffiner, massage the yarn so that it is completely wet, and then wrap it around the ball. One person wraps, the other person holds the ball.
Here it is:
We tied the yarn around the ball and then tried to go a couple of times in each direction (alternating). Keep wrapping until most areas have some coverage. We had so much fun making it and watching the movie. Better than going out I tell you. 

I left the ball to dry and the next morning it was ready to put up. It should be really stiff. I just cut a small hole with scissors where I could put my hand in and deflate the ball. Try to pick a spot that is either a little soft or does not have enough yarn (this way it gets hidden). Then I hung it. Because we are renting, we just found a very primitive way of hanging it (too embarrassed to show you), but you could use a Hemma cord set from Ikea to hang it with a lamp inside. 
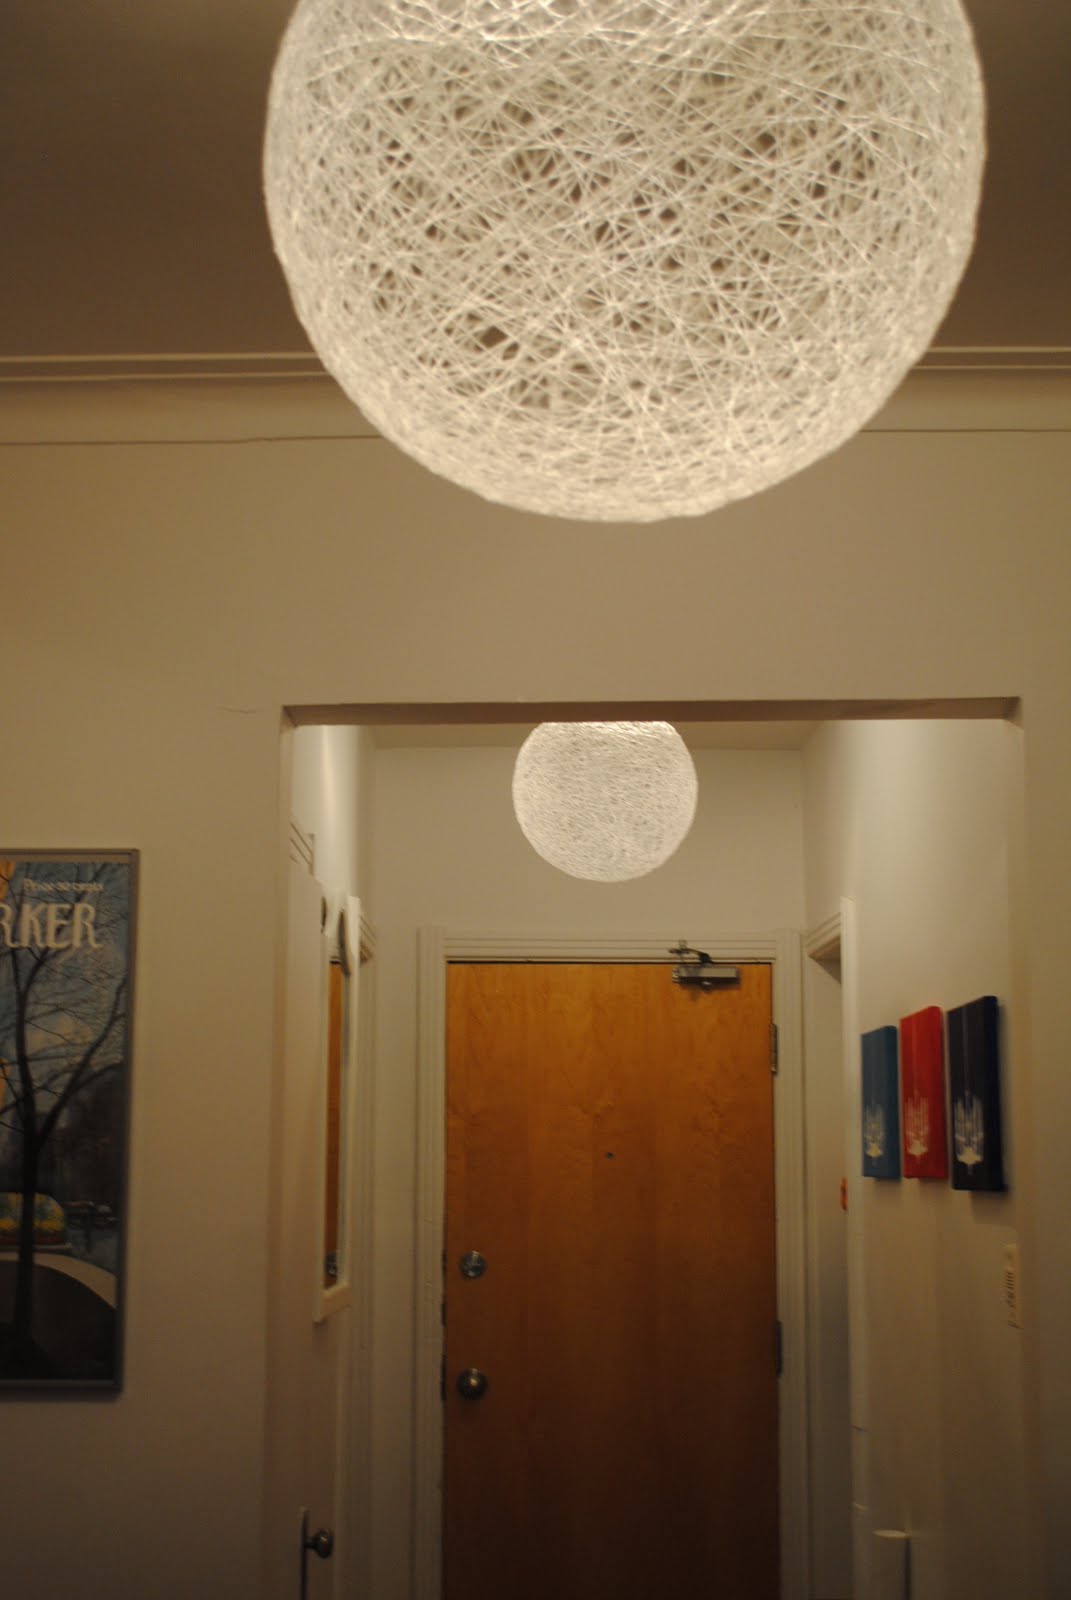
Here they are in the entryway (there are two, since I had an extra ball and figured it might look good this way). I have to do some painting in our hallway, but it won't happen for another couple of weeks, so I apologize for the pictures. Also, have I mentioned that our apartment has the worst lighting ever. 
Close up picture.

I have seen this type of light pendant in several stores, but this was very inexpensive to make, so the DIY way worked for me. Would you try making one of these or would you go the store bought route?

Hope you like it and have a great Tuesday everyone!

Wednesday, 31 August 2011

Canvas Time

Growing up, I used watercolor and colored pencils to draw. My grandmother did some oil paintings, but that was really long ago. So, I was never introduced to mr. canvas until recently. Thats right, he is mr. canvas to me. I took a couple of Art classes in high school, but having seen what talent was in my class (my classmates were super talented), I put away any thought of painting or drawing myself.

Well, I bought a canvas and figured for this project, I couldn't screw it up too much. Last week, I shared some beautiful Avalisa canvases with you. I wanted one for our baby's room a while back, but the price tag stopped me. Well, I found a way to DIY one. This is what I was hoping to achieve.

What I used:
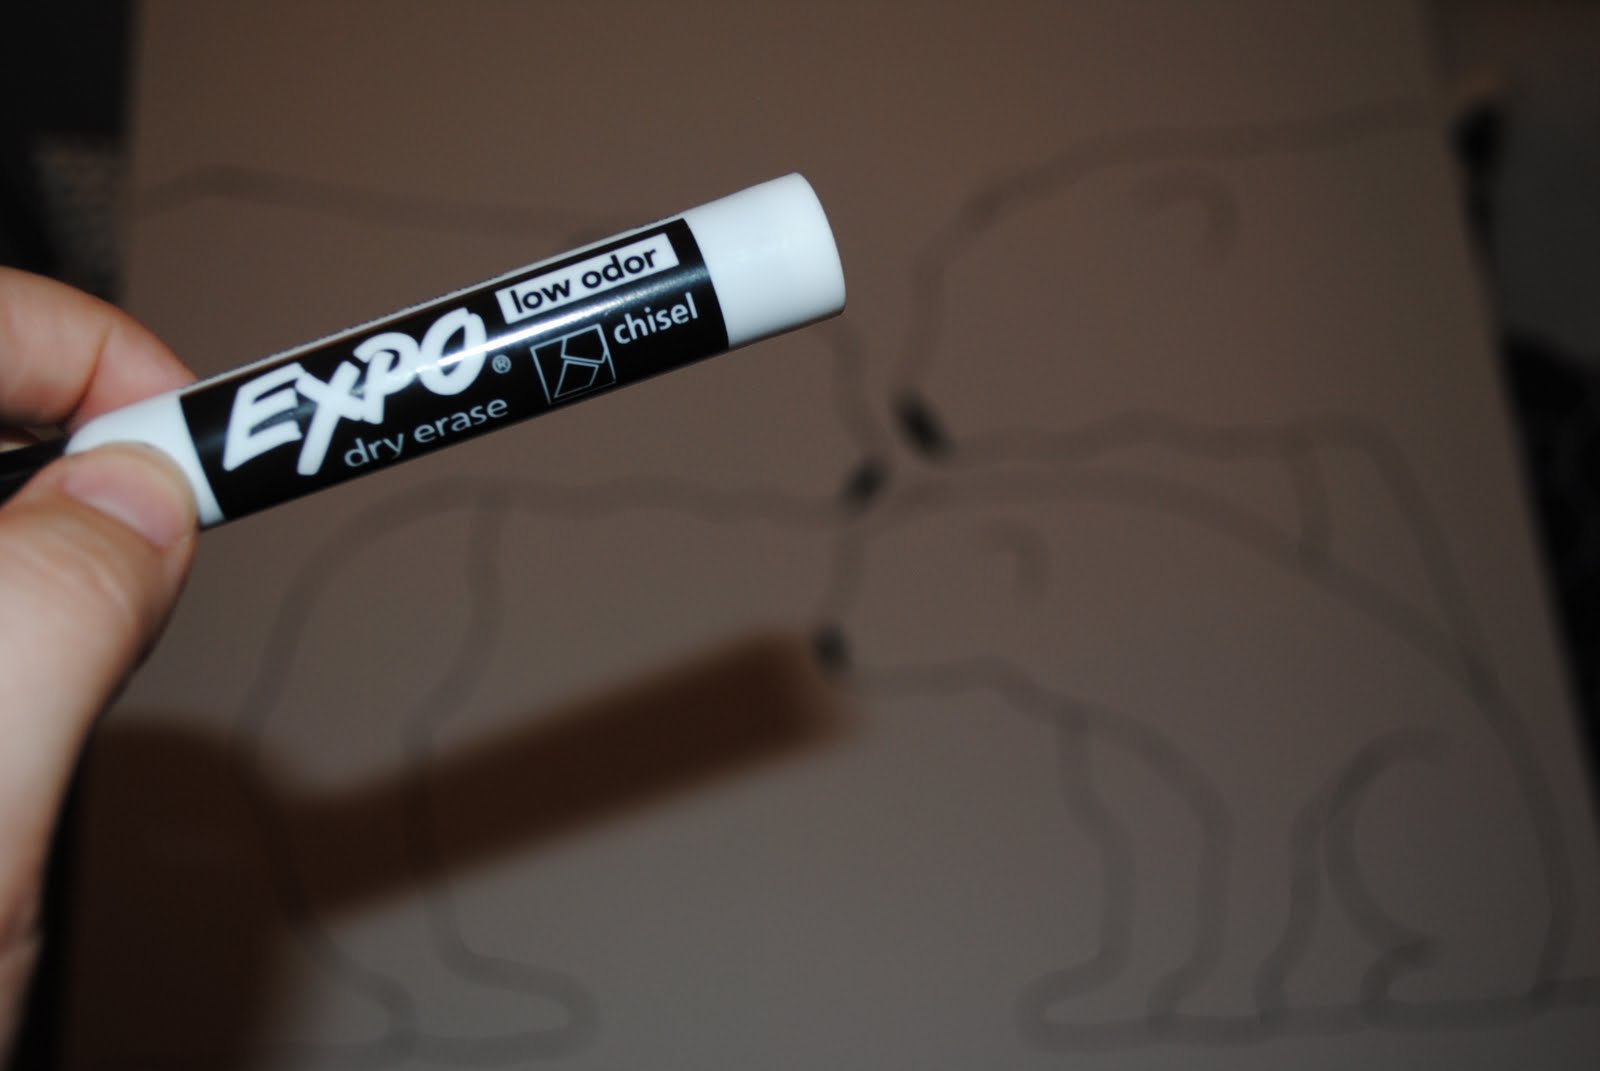
-30"x30" canvas, pencil, dry erase marker or sharpie, projector

- First off, I printed my picture and used the projector to draw it onto the canvas. Here you can see a light sketch contour of the polar bears. I finished correcting my lines to exactly how I wanted it to look.

-I used my dry erase marker to go over the lines.
And here it is:

I was thinking of painting the background like in the original, but I am liking the white background right now. Not sure if I should paint it. Should I? What do you think?

Hope you liked my little diy project. Have a great day everyone!

Monday, 29 August 2011

Back to School Fun

Howdy all! I hope you had a nice, relaxing weekend before the back to school fun starts for all those parents and students out there. We had a pretty fun and easy weekend. It was nice on Saturday, but on Sunday the rain started and it has been raining ever since. The storm was not as bad as we expected. There were some trees down and people without power, but luckily we were not affected. I decided to embark on a mission this weekend, which was to work on a light fixture for our bedroom. Lets just say I have arrived at a standstill, where after a couple of burns from the good ole' glue gun and lots of hours, I am not sure where I want to go with it.

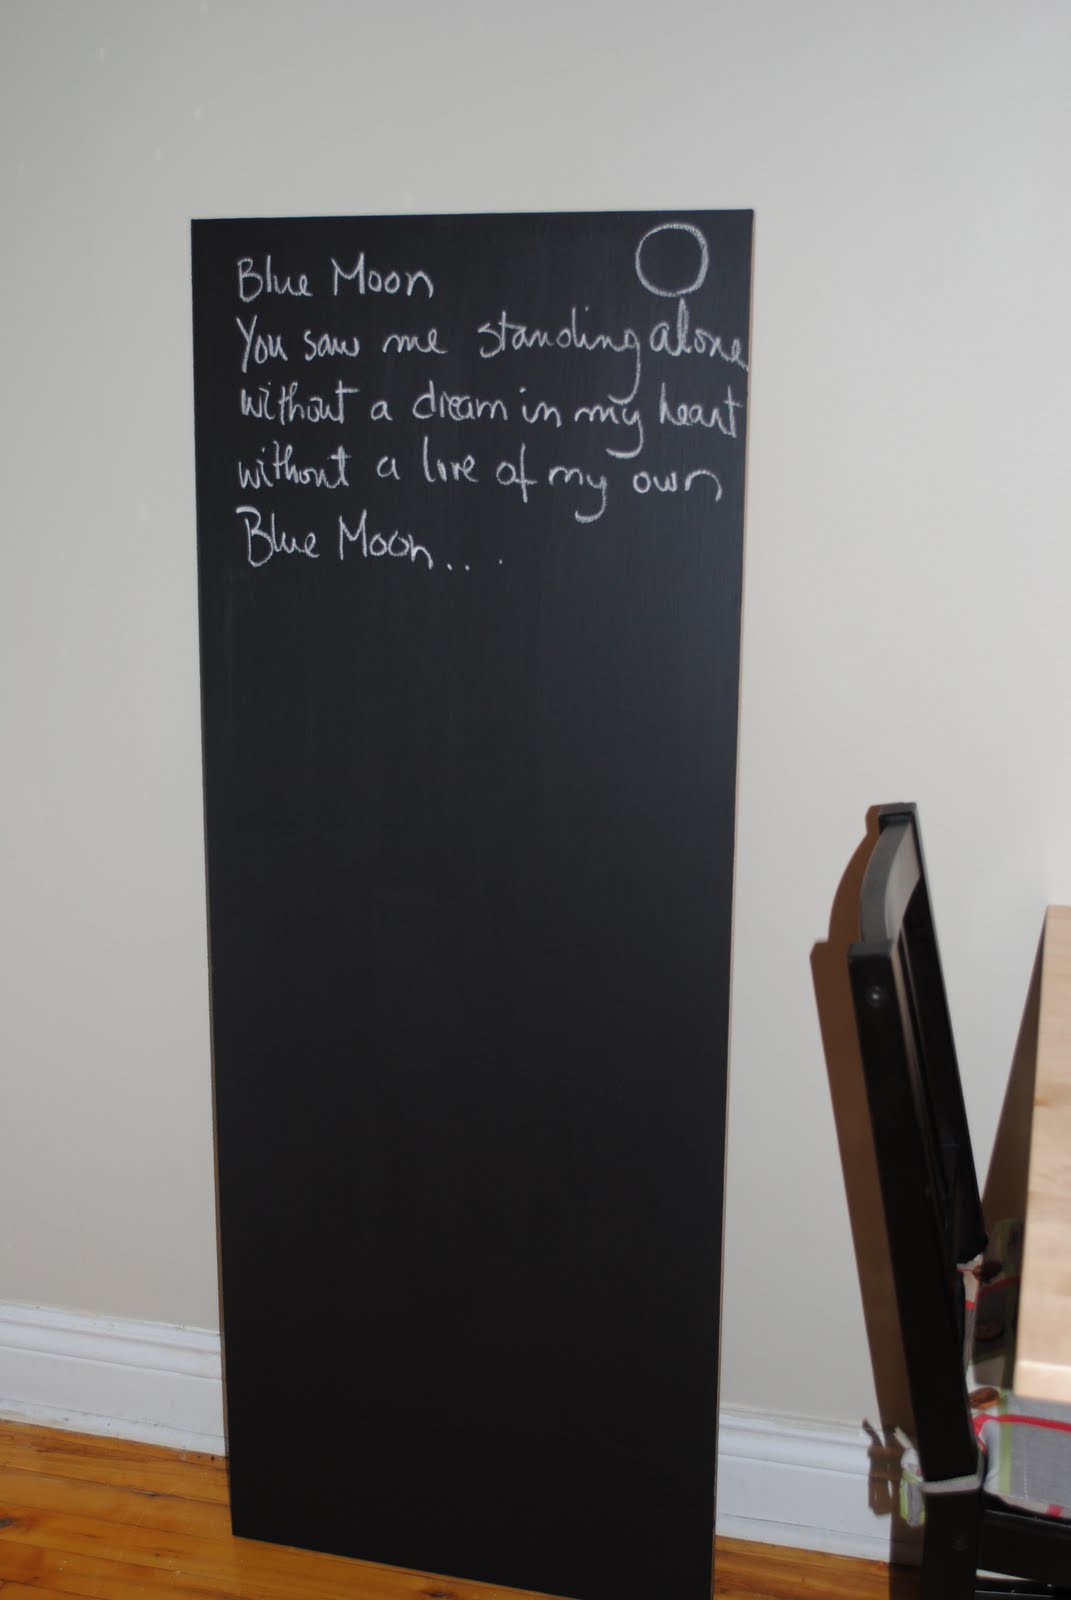
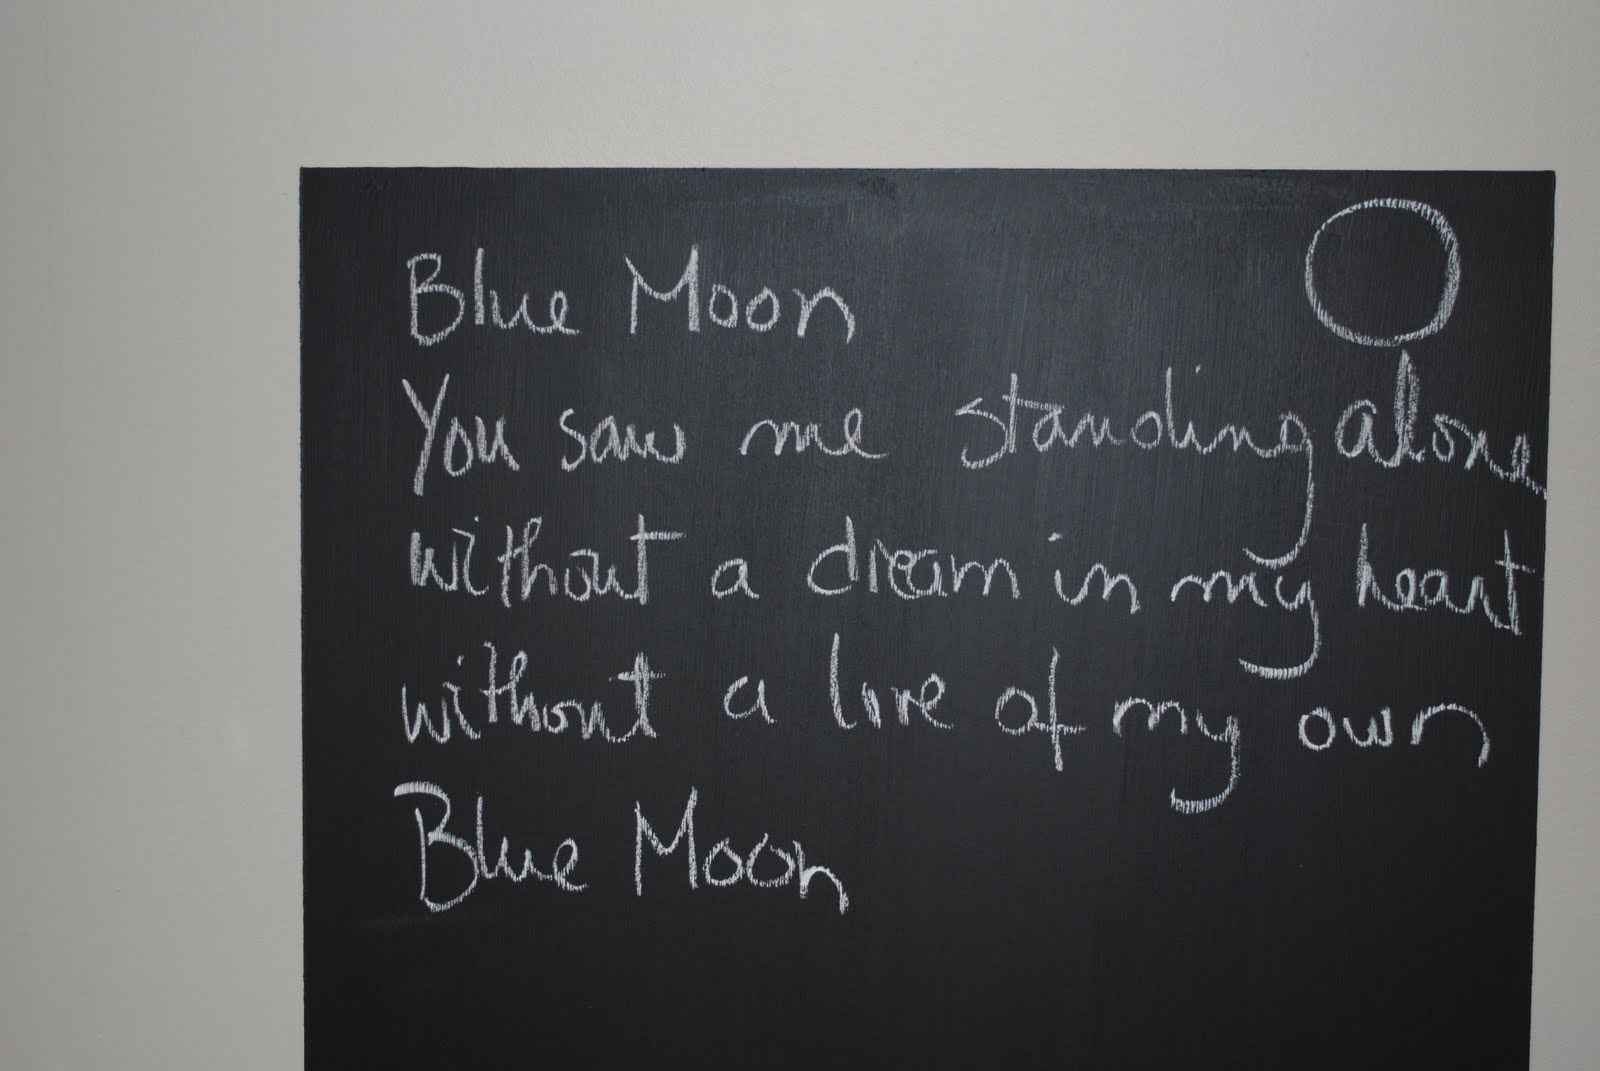
Back to school fun! One of those fun projects that got completed this weekend was a quick, easy and cute back to school diy project. I don't think I shared this with you, but when I was little I would love love love to write with chalk. I would always get in trouble for writing with chalk on walls, on windows etc. Yes, I was a wild child, but that was just because I loved writing with chalk and in school only the teachers got to write with it. Hmmm. I told myself two things: a) I had better become a teacher, b) I will have a chalkboard one day. After 20 some years, it was about time and there you have it. A little chalkboard in our kitchen. Yay!

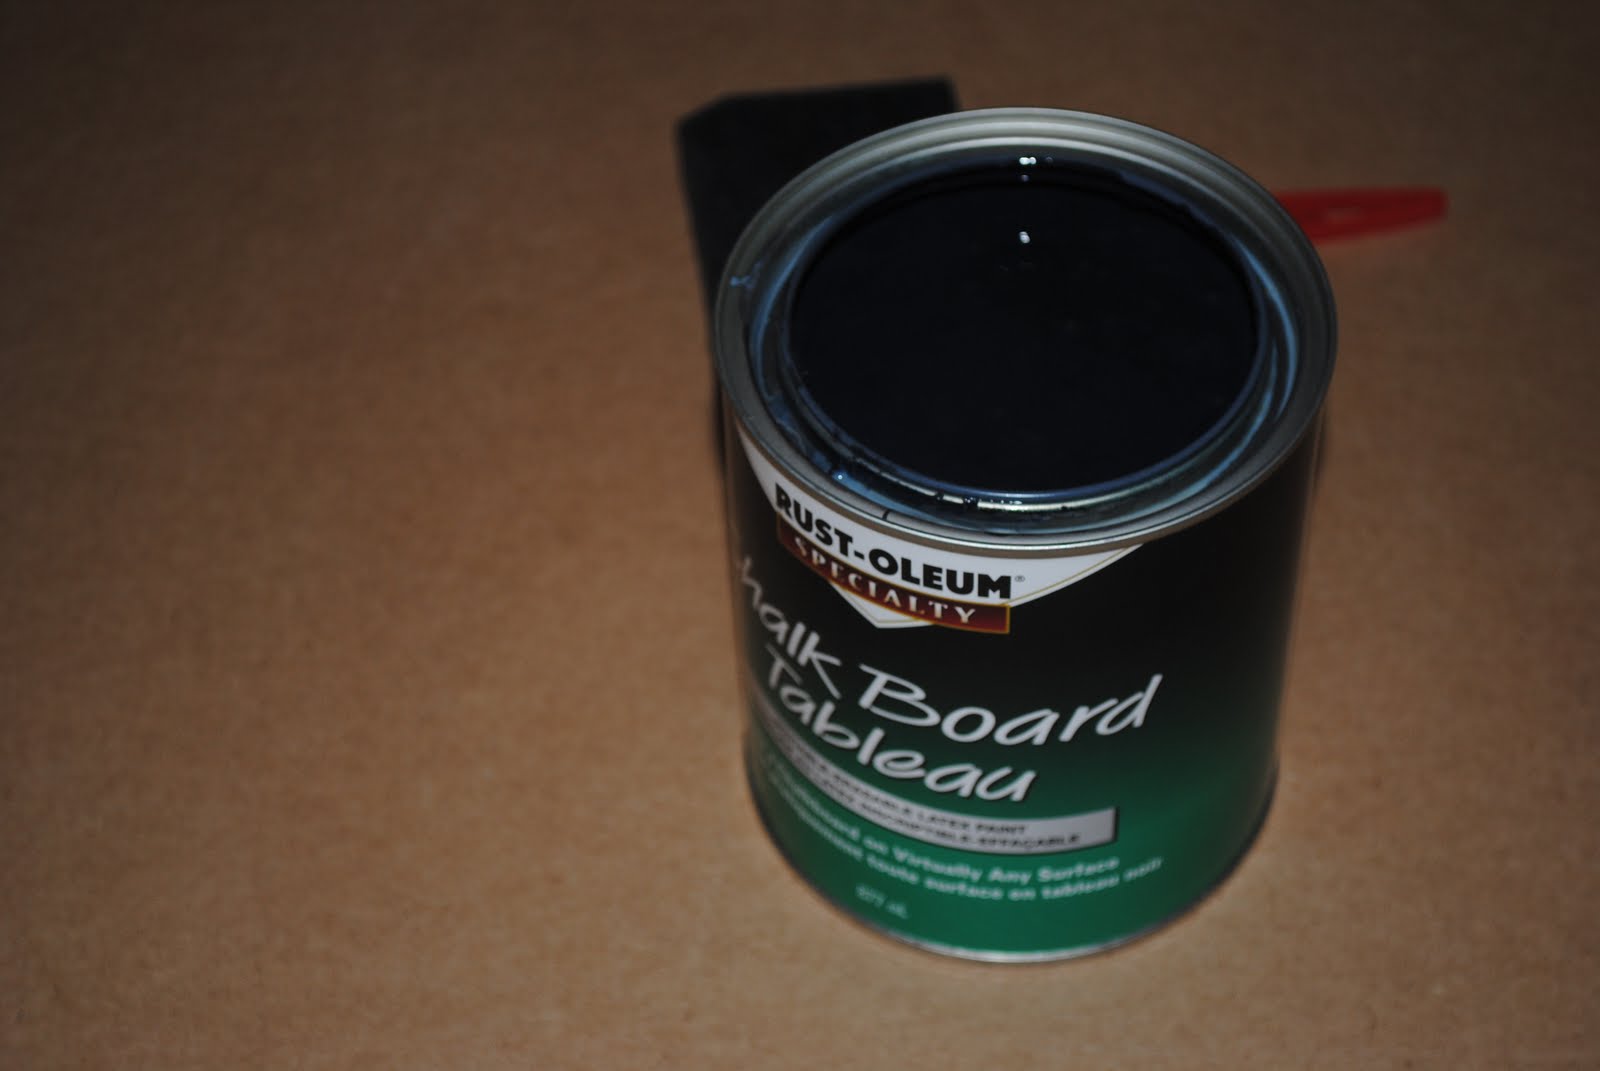
What I used: -a MDF board (leftover from another project), and chalkboard paint
Here it is:

I haven't decided it, where its permanent place will be, so we haven't hung it up. Any ideas or suggestions on how to secure it to the wall? It is mdf, so it is a little heavy.

Stay tuned for my dye experiment, sorry meant to say project reveal!

Wishing you a great week ahead!

Thursday, 18 August 2011

Guest Post- Pillow Tutorial from Barbara @ hodgepodge

Since, I got my new sewing machine I have been eager to start making pillows and what better way to learn how to make pillows than from a pro. Barbara from hodgepodge has so kindly written up a step-by-step tutorial for making a pillow. Thank you so much Barbara! You're the best!
Here it goes!


A huge thanks to Beatrice for inviting me to share a pillow tutorial here at The Crafty Bee.  Beatrice is a DIY diva, puts me to shame!
Recently she acquired a sewing machine and wants to try her hand at sewing. What better way that to sew a fabulous accent pillow!


I had a fabulous high school sewing teacher who taught me all I know. I always say to anyone who is discouraged and intimidating by sewing, "If you can sew a straight line, you can sew." All it takes is patience, time and a good iron. Why a good iron? Using an iron throughout makes your project look crisp and professional.

Now onto sewing a pillow....

The key to a good pillow is to pick the right fabric. Make sure you use a good upholstery weight fabric or heavy cotton. This will ensure a nice crisp pillow.

Materials needed:

Fabric
Coordinating thread
Buttons
Pillow insert {I like to use down, the best deal in town is Ikea - $6!}
Sewing machine
Iron

How-to:

1. Measure your pillow insert. For front side of the pillow add 1" to both sides. This will allow for a half inch seam allowance. For the back side you will cut two pieces that will create the envelope back enclosure. For the width, add 1". For the height, add 4". 


2. You will now iron and sew a hem on the wide edge of the two pieces. Fold over 1/2", then another 1" to create a hem,  this will be where they overlap to create an opening.


3. Overlap and pin the two hemmed edges as shown in picture.


4. You can either stitch the edges of the enclosure to create an opening OR if you want the Sarah Richardson look you can sew buttons and buttonholes to keep the enclosures closed.


5. Buttons and buttonhole option:

Measure where you want your buttons to lay. I used three buttons. A rule I learned in my short stint at fashion design school was odd numbers look best to the eye.


6. Sew the buttonholes, on one piece along the hemmed edge. Snip open.


7. Sew buttons on other hemmed edge, lining up with the buttonholes.


8. Mark and stitch the opening of the back.


9. Lay the front and back pieces, right sides together, matching corners. Pin and stitch along all four sides. I then trim the corners and zigzag the edges of the seams.


10. Turn right side out and iron to give a nice crisp edge.


11. Insert pillow and then voila!


Hope you will try to make one for yourself!

Thanks Beatrice for letting me share my how-to!
If you have any questions about this tutorial, feel free to email me:
barbaras{dot}hodgepodge{at}yahoo{dot}ca

XO Barbara

LinkWithin

Related Posts Plugin for WordPress, Blogger...